Adding Shadows to SwiftUI views

Among many things, SwiftUI provides an easy way to add shadows to view with a few lines of code. In today's post, we will see how to add a background shadow to any view in any direction in SwiftUI.
To add a background shadow, we will use the background API in SwiftUI and decorate it with necessary attributes to make it look like a shadow.
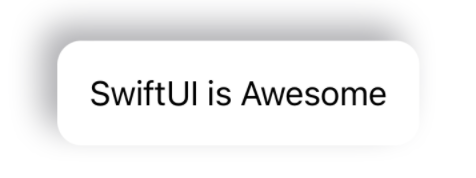
Let's start with a simple text view with no decoration of any kind. Once it's ready we can go ahead and start decorating it with background attributes to give it a feel of shadow.
struct ShadowView: View {
    var body: some View {
        Text("SwiftUI is Awesome")
    }
}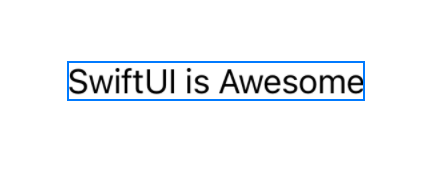
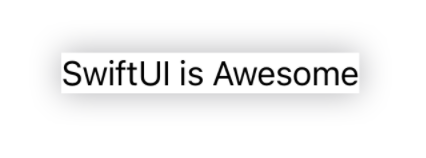
This is a simple view with no background, no shadow, and no fancy layouts. Now that our view is ready, let's go ahead and add a background with a Rectangle shape.
In order to add a shadow to Rectangle (Which acts as a background), let's use a shadow API. Shadow API takes 3 parameters as follows,
color- Shadow's color. If no color is specified, it will use the default color value, which is -Color(.sRGBLinear, white: 0, opacity: 0.33)radius- This is a measure of how much to blur the shadow. Larger values result in more blur.x- An amount to offset the shadow horizontally from the view.y- An amount to offset the shadow vertically from the view.
var body: some View {
    Text("SwiftUI is Awesome").background(
        Rectangle()
            .fill(Color.white)
            .shadow(
            	color: Color.gray.opacity(0.7),
                radius: 8,
                x: 0,
                y: 0
         	)
    )
}
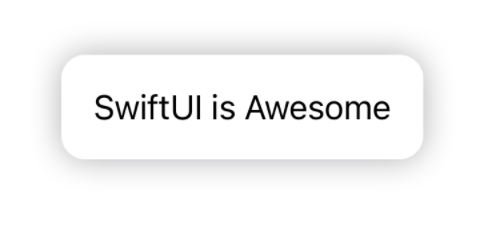
Adding Rounded Corners and Padding
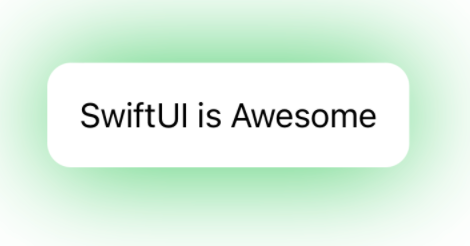
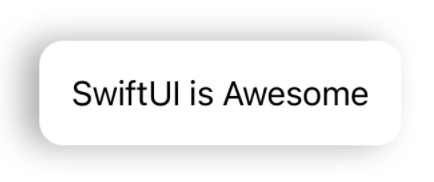
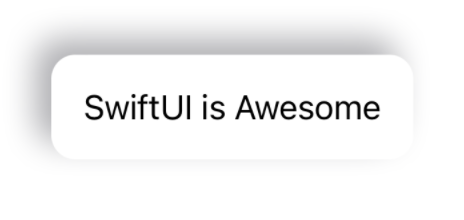
We successfully added a shadow to the view. But we can still do better. Let's add some padding around the text and make the corners round.
We can do this by using padding() attribute on the Text and corner radius of 12px using cornerRadius API on Rectangle
var body: some View {
    Text("SwiftUI is Awesome").padding().background(
        Rectangle()
            .fill(Color.white)
            .cornerRadius(12)
            .shadow(
                color: Color.gray.opacity(0.7),
                radius: 8,
                x: 0,
                y: 0
            )
    )
}
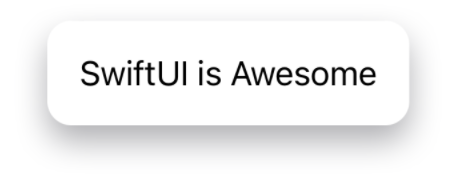
Now that we've added a simple shadow, you can configure it in any way by tweaking the shadow parameters.
Configuring Shadow Offset
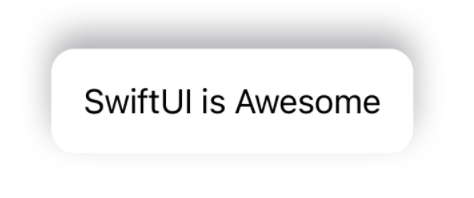
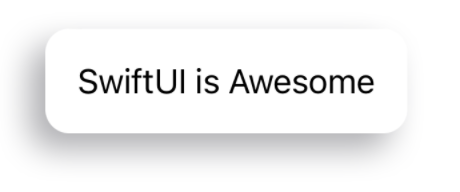
Instead of being centered in a view, SwiftUI also allows configuring the shadow to make it appear as if coming in a specific direction. For example, you can make it look like coming from a top-leading or a bottom-trailing corner.
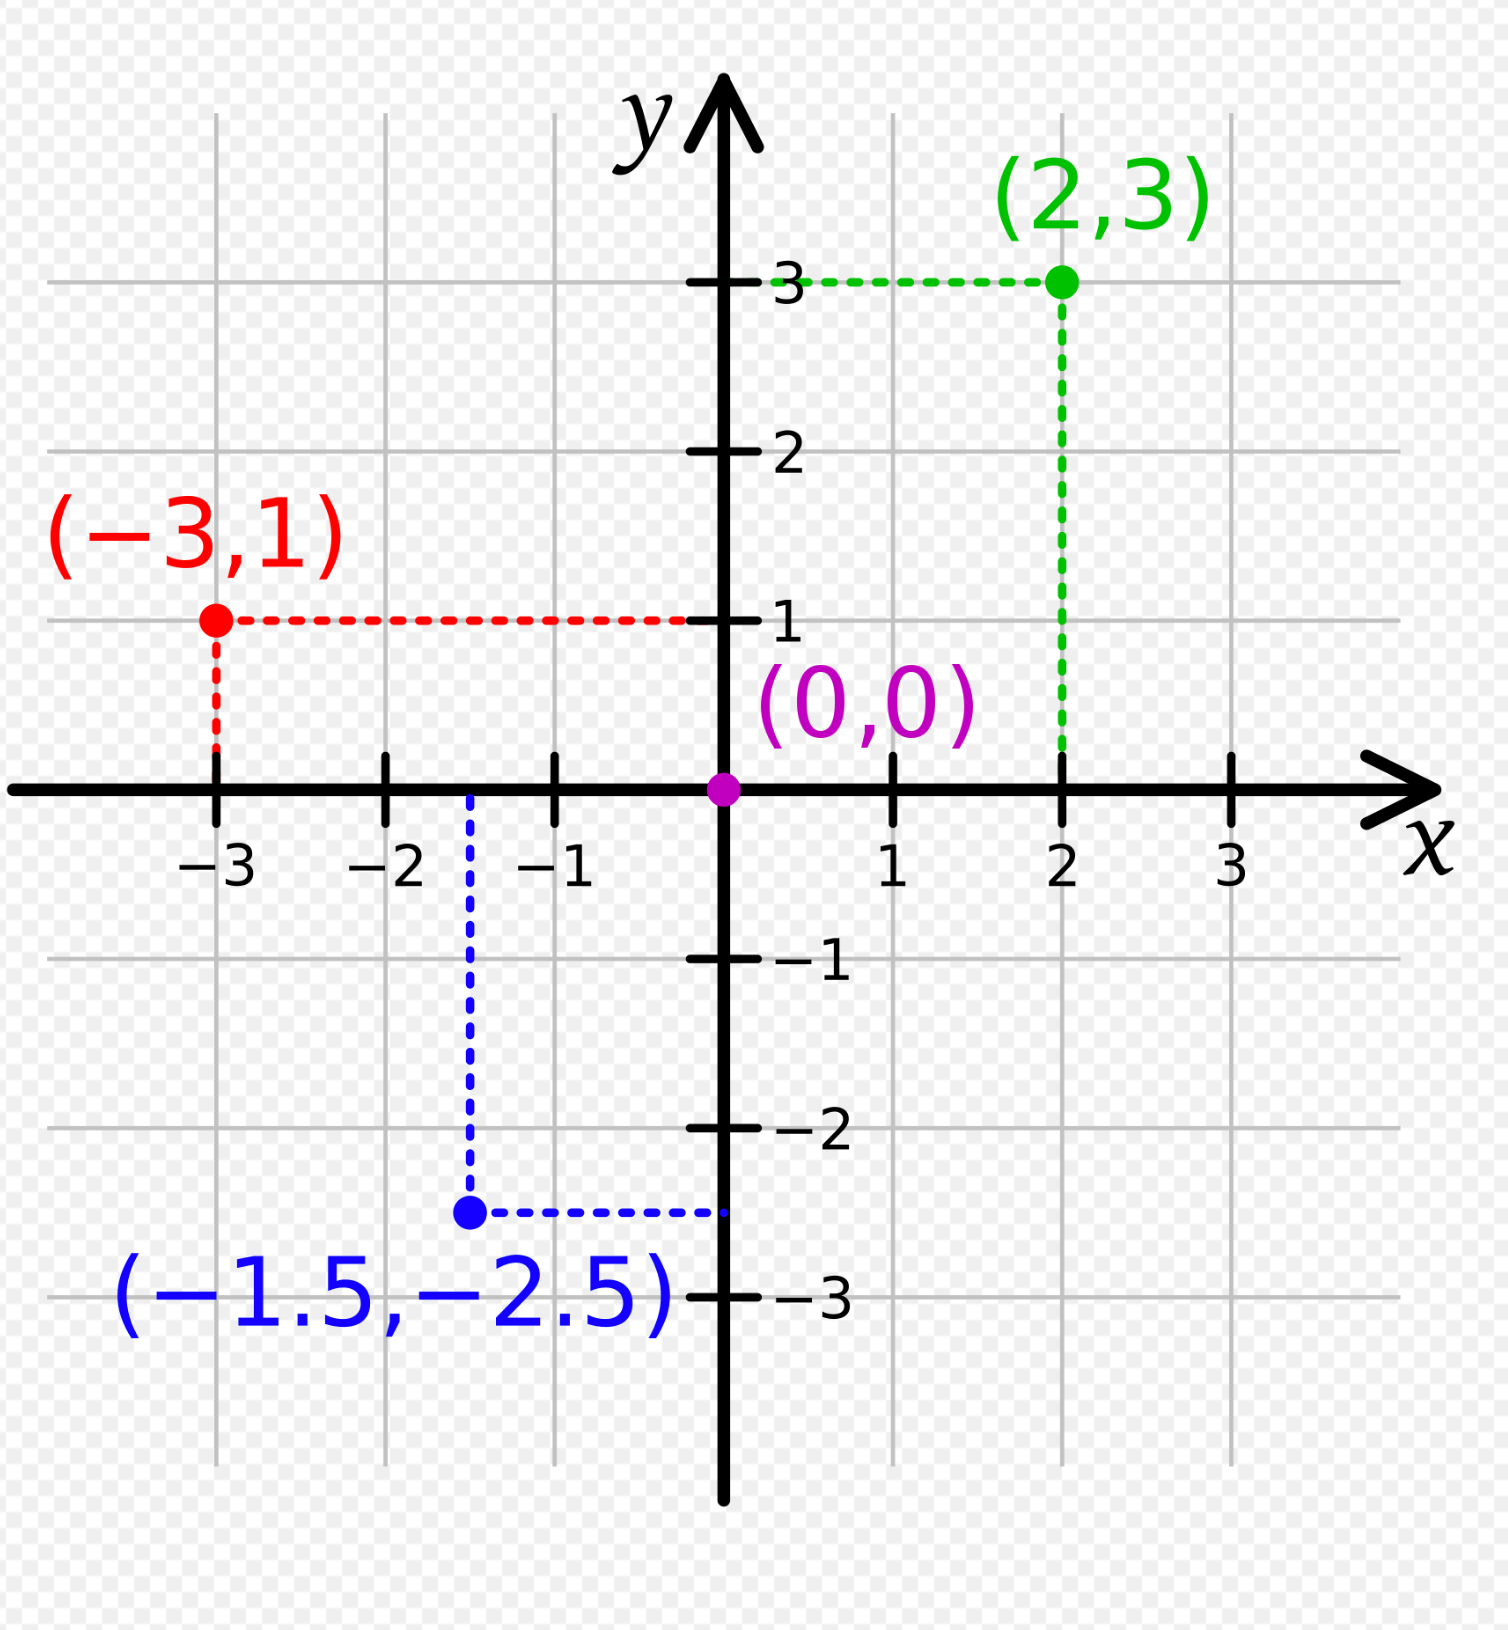
SwiftUI coordinate system works in a cartesian format. Means, as you move to the left or top, x and y values decrement respectively. The opposite is true if you move right or bottom. By default, the shadow is created with (0,0) offset which makes the shadow sit at the center of its parent view. You can move it in all possible directions by tweaking its offset parameters.
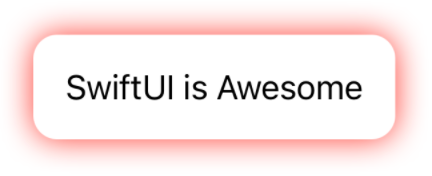
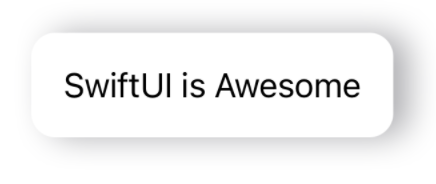
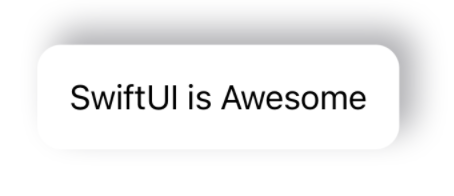
Let us move the shadow in the top-leading corner by adding (x, y) offset as (x: -8, y: -8).
.shadow(
    color: Color.gray.opacity(0.7),
    radius: 8,
    x: -8,
    y: -8
)
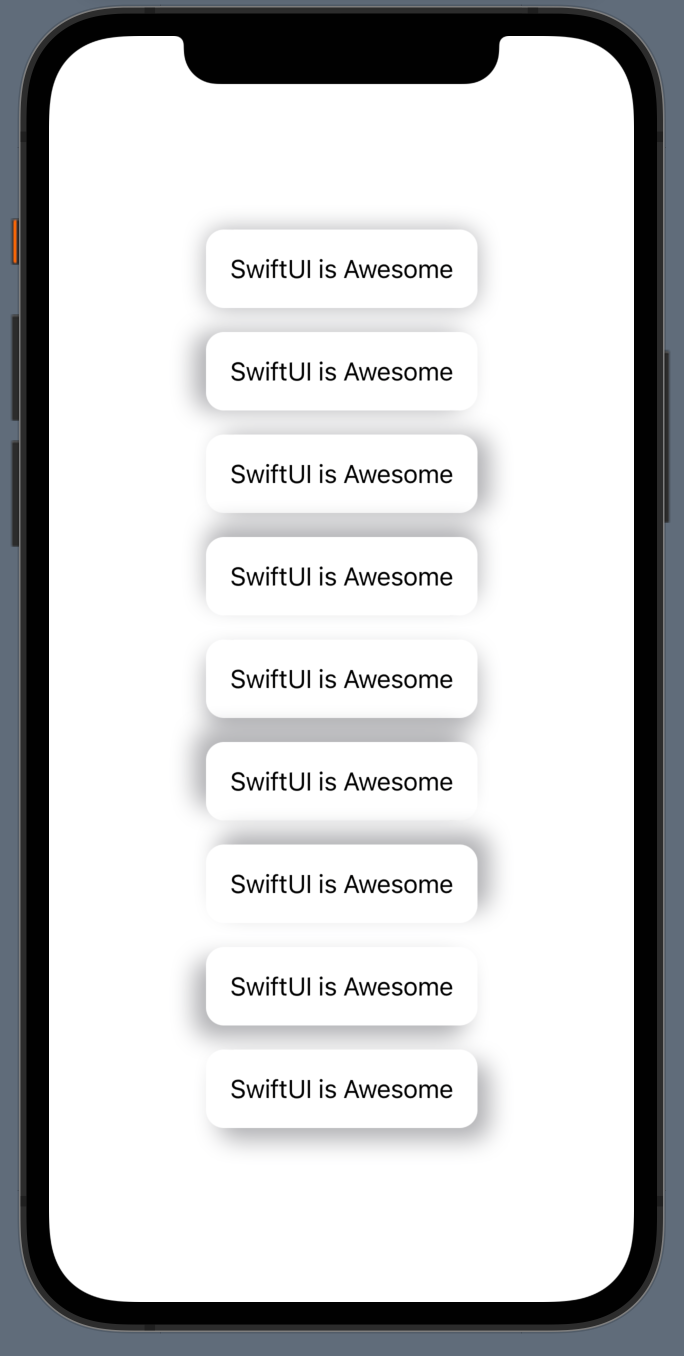
Similarly, you can move it in any direction by passing the desired value of these offsets. Besides center, there are 8 other possibilities if we consider linear and diagonal directions.
- Leading
(x: -8, y: 0) - Trailing
(x: 8, y: 0) - Top
(x: 0, y: -8) - Bottom
(x: 0, y: 8) - Top Leading
(x: -8, y: -8) - Top Trailing
(x: 8, y: -8) - Bottom Leading
(x: -8, y: 8) - Bottom Trailing
(x: 8, y: 8)
Github Repo
I have saved all the code associated with this post in this Github gist if you want to take a detailed look
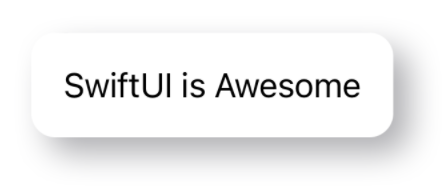
Looking at it all at once
As we covered all these cases of shadow view, let's take a look at all of them.
Summary
This is all for today. I hope this post was useful to give you an idea about how to add shadows to SwiftUI views. The full source code is available through the Github gist. Please feel free to let me know on Twitter if you have further questions or comments on this article.

