Create a Scrollable Content View in Swift and iOS


Have you ever worked on iOS and thought, I have so many views I want to show them in the scrolling content view. But wait, won't UITableView be an option for them? Yes, sure. But there are many cases when you don't need to use the reusable cells and simply want to show multiple views horizontally or vertically stacked against each other.
In today's blog post, we will see how you can stack multiple views on iOS against each other and have them scroll horizontally and vertically. This will include any UIView subclasses such as UIButton, UILabel, UITextView and so on.
Creating a horizontally scrollable content view
First, we will see how to horizontally stack multiple views so that they start horizontally scrolling when they exceed the device width.
- Setting up views
First, we need one subclass of each UIScrollView and UIStackView. We will add a scroll view as a subview to a view of our view controller and a stack view as a subview to a scroll view.
Since we are using auto layout, we will set translatesAutoresizingMaskIntoConstraints property on both of them to false.
private let stackView: UIStackView = {
    let stackView = UIStackView()
    stackView.translatesAutoresizingMaskIntoConstraints = false
    stackView.axis = .horizontal
    stackView.spacing = 20
    return stackView
}()

private let scrollView: UIScrollView = {
    let scrollView = UIScrollView()
    scrollView.translatesAutoresizingMaskIntoConstraints = false
    scrollView.showsHorizontalScrollIndicator = false
    return scrollView
}()

....

..


override func viewDidLoad() {
    super.viewDidLoad()
    setupViews()
}

private func setupViews() {
    view.backgroundColor = .white
    view.addSubview(scrollView)
    scrollView.addSubview(stackView)
}
2. Setting up Constraints
Once the views are set up and added as subviews to their respective super views, it's time to set up constraints.
We will constrain the top, leading, and trailing edges of the scroll view to the top, leading, and trailing edges of its superview. Since we want the scroll view to scroll horizontally, we will make its height a constant.
scrollView.topAnchor.constraint(equalTo: view.safeAreaLayoutGuide.topAnchor).isActive = true
scrollView.leadingAnchor.constraint(equalTo: view.leadingAnchor).isActive = true
scrollView.trailingAnchor.constraint(equalTo: view.trailingAnchor).isActive = true
scrollView.heightAnchor.constraint(equalToConstant: 50).isActive = true
For a stack view, we will constrain all its sides to its superview, that is, sides of the scroll view.
stackView.topAnchor.constraint(equalTo: scrollView.topAnchor).isActive = true
stackView.leadingAnchor.constraint(equalTo: scrollView.leadingAnchor).isActive = true
stackView.trailingAnchor.constraint(equalTo: scrollView.trailingAnchor).isActive = true
stackView.heightAnchor.constraint(equalTo: scrollView.heightAnchor).isActive = true
3. Adding Subviews
Now that we set up views and added the necessary constraints, we will add subviews to the stack view to demonstrate its scrolling behavior for the arbitrary number of child views.
addArrangedSubview API to add subviews to the stack view.
for _ in 0..<20 {
    let square = UIView()
    square.translatesAutoresizingMaskIntoConstraints = true
    square.widthAnchor.constraint(equalToConstant: 50).isActive = true
    square.heightAnchor.constraint(equalToConstant: 50).isActive = true
    square.backgroundColor = .blue
    stackView.addArrangedSubview(square)
}
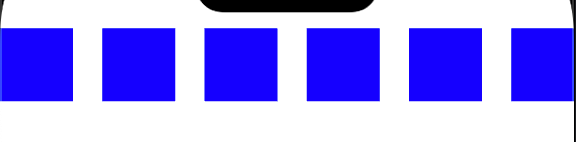
If you run the app now, you will see multiple subviews organized and scrolling horizontally.
Creating a vertically scrollable content view
In the second part, we will see how to vertically stack multiple views so that they start vertically scrolling when they exceed the device height.
- Setting up Views for vertically scrolling content view
This step is almost the same as the first part. We are simply setting up the views for demonstrating vertical scrolling behavior, so no change to that.
The only thing that changes is, we are now changing the stack view axis to horizontal and setting the showsVerticalScrollIndicator property on scroll view to false since we are vertically scrolling.
private let stackView: UIStackView = {
    let stackView = UIStackView()
    stackView.translatesAutoresizingMaskIntoConstraints = false
    stackView.axis = .vertical
    stackView.spacing = 20
    return stackView
}()

private let scrollView: UIScrollView = {
    let scrollView = UIScrollView()
    scrollView.translatesAutoresizingMaskIntoConstraints = false
    scrollView.showsVerticalScrollIndicator = false
    return scrollView
}()

override func viewDidLoad() {
    super.viewDidLoad()
    setupViews()
}

private func setupViews() {
    view.backgroundColor = .white

    view.addSubview(scrollView)
    scrollView.addSubview(stackView)
}
2. Setting up Constraints
The part where we add constraints to views changes slightly. We want to set up constraints in such a way that all the views scroll in the vertical direction.
For the scroll view, we will constrain its top and bottom anchor to that of the safe area layout guide's top and bottom anchors. We will also constrain its leading and trailing edges to the leading and trailing edges of the view controller's view.
scrollView.topAnchor.constraint(equalTo: view.safeAreaLayoutGuide.topAnchor).isActive = true
scrollView.leadingAnchor.constraint(equalTo: view.leadingAnchor).isActive = true
scrollView.bottomAnchor.constraint(equalTo: view.safeAreaLayoutGuide.bottomAnchor).isActive = true
scrollView.trailingAnchor.constraint(equalTo: view.trailingAnchor).isActive = true
We use a bit different constraint system for constraining stack view. First, we will constrain the width of the stack view to the width of the scroll view. Next, we will constrain its top and bottom anchors to that of scroll view's.
stackView.widthAnchor.constraint(equalTo: scrollView.widthAnchor).isActive = true
stackView.topAnchor.constraint(equalTo: scrollView.topAnchor).isActive = true
stackView.bottomAnchor.constraint(equalTo: scrollView.bottomAnchor).isActive = true
3. Adding Subviews
Now that we set up views and added the necessary constraints, we will add subviews to the stack view to demonstrate its scrolling behavior for the arbitrary number of child views.
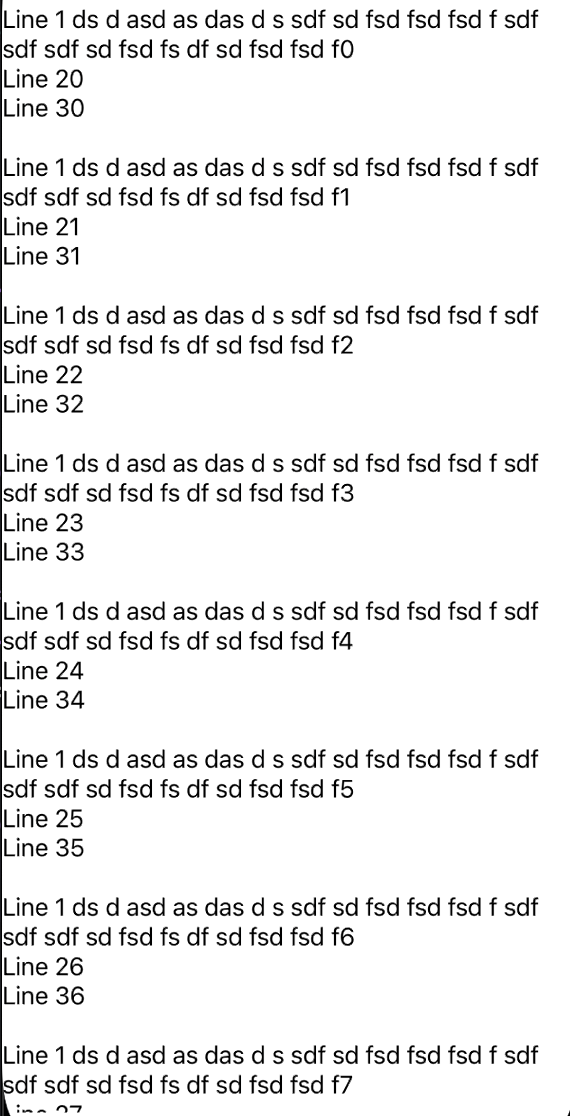
addArrangedSubview API to add subviews to the stack view.Since we want to demonstrate the vertically scrolling behavior with arbitrary vertical length, we will use UILabel instances here.
for i in 0..<10 {
    let label = UILabel(frame: .zero)
    label.translatesAutoresizingMaskIntoConstraints = false
    label.numberOfLines = 0
    label.text = "Line 1 ds d asd as das d s sdf sd fsd fsd fsd f sdf sdf sdf sd fsd fs df sd fsd fsd f\(i)\nLine 2\(i)\nLine 3\(i)"
    label.heightAnchor.constraint(greaterThanOrEqualToConstant: 0).isActive = true
    stackView.addArrangedSubview(label)
    label.widthAnchor.constraint(equalTo: stackView.widthAnchor).isActive = true
}
Summary
So that was all about how to make scroll view and stack view work for any kind of scrollable content in the horizontal and vertical direction. Earlier, I used to use my own implementation of scrollable view. But after using it for some time, I realized the pain behind it and started exploring other approaches and this is one of them.
I hope this article was useful to you and will be usable to implement any kind of scrollable content in your iOS app.
If you have any comments or questions, please feel free to reach out to me on LinkedIn.
If you like my blog content and wish to keep me going, please consider donating on Buy Me a Coffee or Patreon. Help, in any form or amount, is highly appreciated and it's a big motivation to keep me writing more articles like this.

