Extending SwiftUI views beyond the safe area


iOS offers a safe area at the top and bottom of the screen. This safe area prevents content from touching notches present and helps developers place their views within the visible portion of the overall interface.
However, there are cases when we want to extend beyond this safe area. For example, when you want to create a custom navigation or a tab bar view or the time when you want a list of the content beyond the safe area.
Extending Colors Beyond the Safe Area
The first application to extend the content beyond a safe area is to extend colors to touch the safe areas to prevent glitched UI. For example, let's say you want to create a custom nav bar view. Let's build a view considering restrictions around the safe area.
struct CustomNavBarView: View {
    var body: some View {
        VStack {
            Text("Hello World")
                .frame(maxWidth: .infinity)
                .padding()
                .background(Color.pink.frame(maxWidth: .infinity))
            Spacer()
        }
    }
}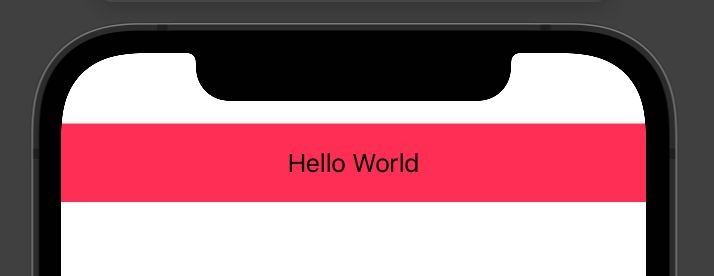
However, this does not look so good. Being the navigation bar, we want the background color to extend all the way to the top safe area. In order to make our views ignore safe areas in a particular direction, we can use the following iOS API on SwiftUI views.
This API allows us to specify the direction in which we want to ignore the safe area
At first instinct, we may use it directly on our content, which is a Text view.
var body: some View {
    VStack {
        Text("Hello World")
            .frame(maxWidth: .infinity)
            .padding()
            .background(Color.pink.frame(maxWidth: .infinity))
            .ignoresSafeArea(edges: .top)
        Spacer()
    }
}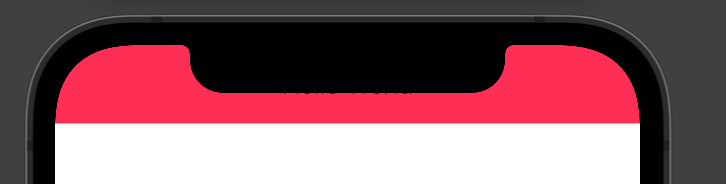
Unfortunately, it pushes entire content beyond the safe area. Not something we want on our custom navbar view. All we want is only our color to extend beyond safe area boundaries. To fix this, we will make a small change.
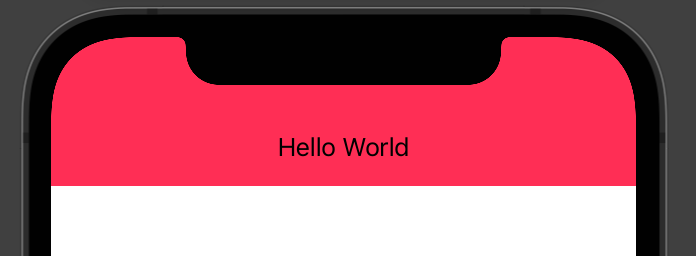
Instead of applying ignoresSafeArea to Text, we will apply it to the background color. This will take background color all the way beyond the safe area but will keep the text out of it.
var body: some View {
    VStack {
        Text("Hello World")
            .frame(maxWidth: .infinity)
            .padding()
            .background(Color.pink.ignoresSafeArea(edges: .top))
            .frame(maxWidth: .infinity)
        Spacer()
    }
}
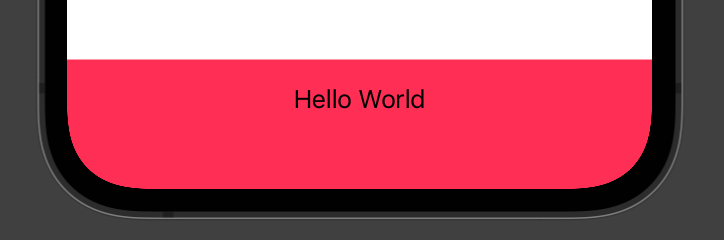
We can apply a similar effect when we want to add a custom tab bar at the bottom of the screen and we want colors to extend all the way beyond the bottom safe area.
The only change we need to do is to change ignoresSafeArea(edges: .top) to ignoresSafeArea(edges: .bottom) so that the background color of our view will ignore the bottom safe area.
var body: some View {
    VStack {
        Spacer()
        Text("Hello World")
            .frame(maxWidth: .infinity)
            .padding()
            .background(Color.pink.ignoresSafeArea(edges: .bottom))
            .frame(maxWidth: .infinity)
    }
}
Extending Views Beyond the Safe Area
Extending content beyond a safe area is not just limited to views. It applies to any content that inherits from type View. Let's say we want to add a Rectangle view to our screen. To create it, we will use a Rectangle constructor. To prove our point regarding the safe area, we will stretch it to the maximum in both horizontal and vertical directions.
This can be achieved by using .frame(maxWidth: .infinity, maxHeight: .infinity) on the created rectangle.
struct FullScreenView: View {
    var body: some View {
        VStack {
            Rectangle()
                .fill(Color.pink)
                .frame(maxWidth: .infinity, maxHeight: .infinity)
        }
    }
}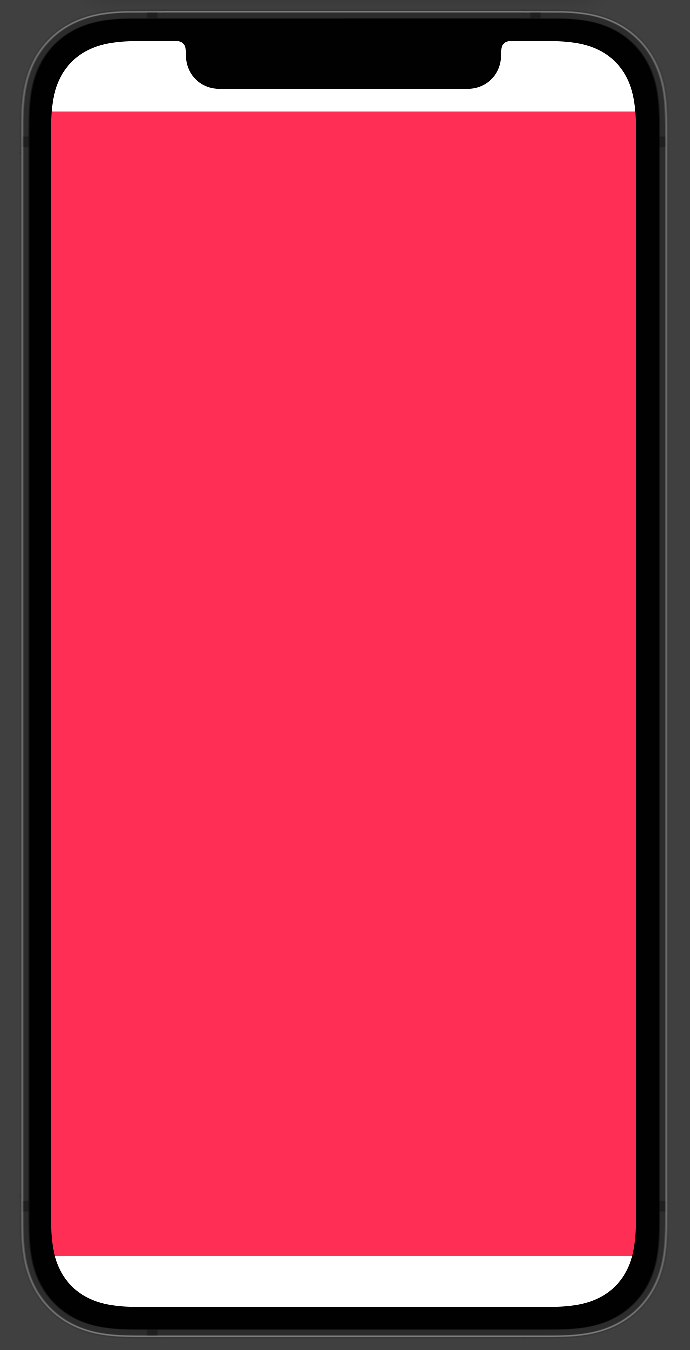
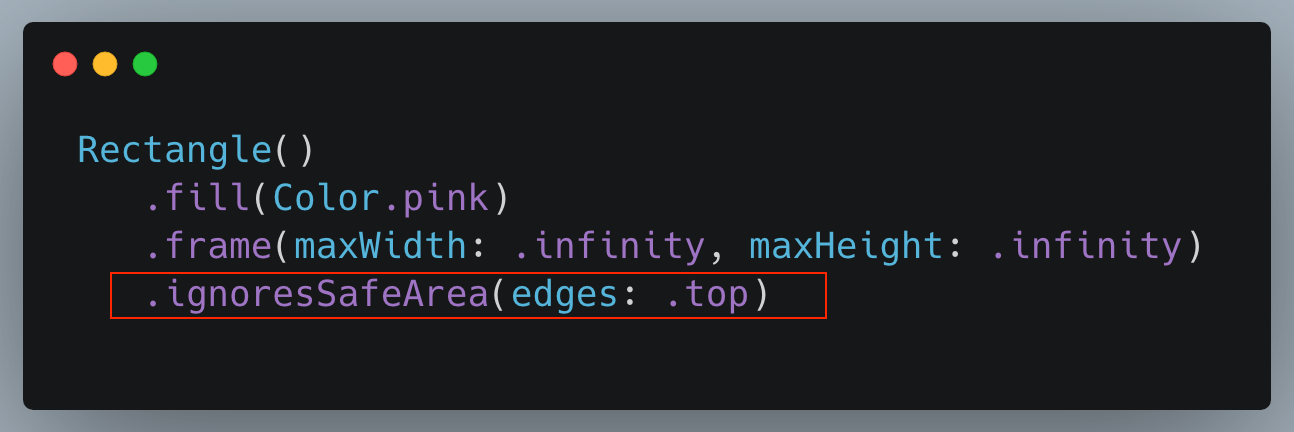
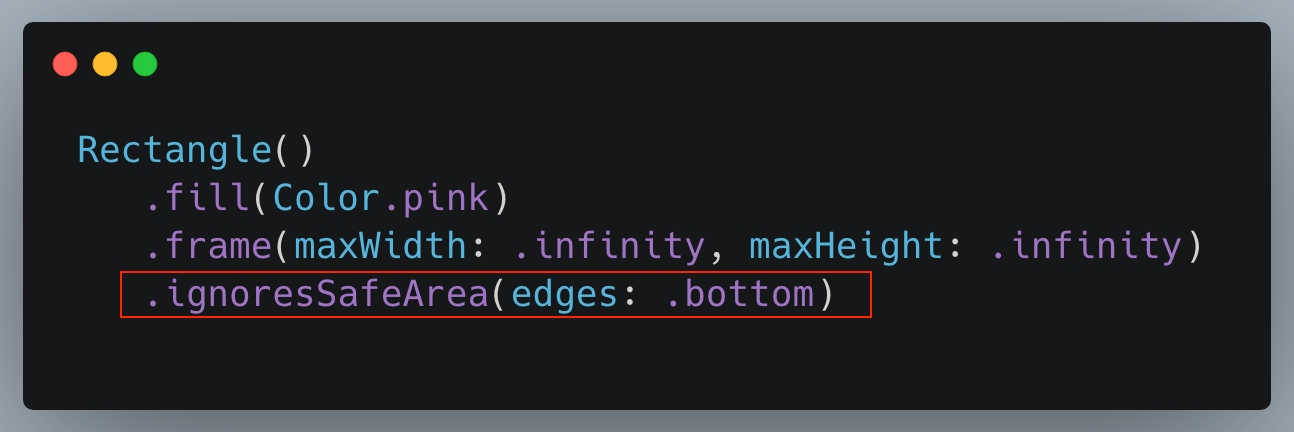
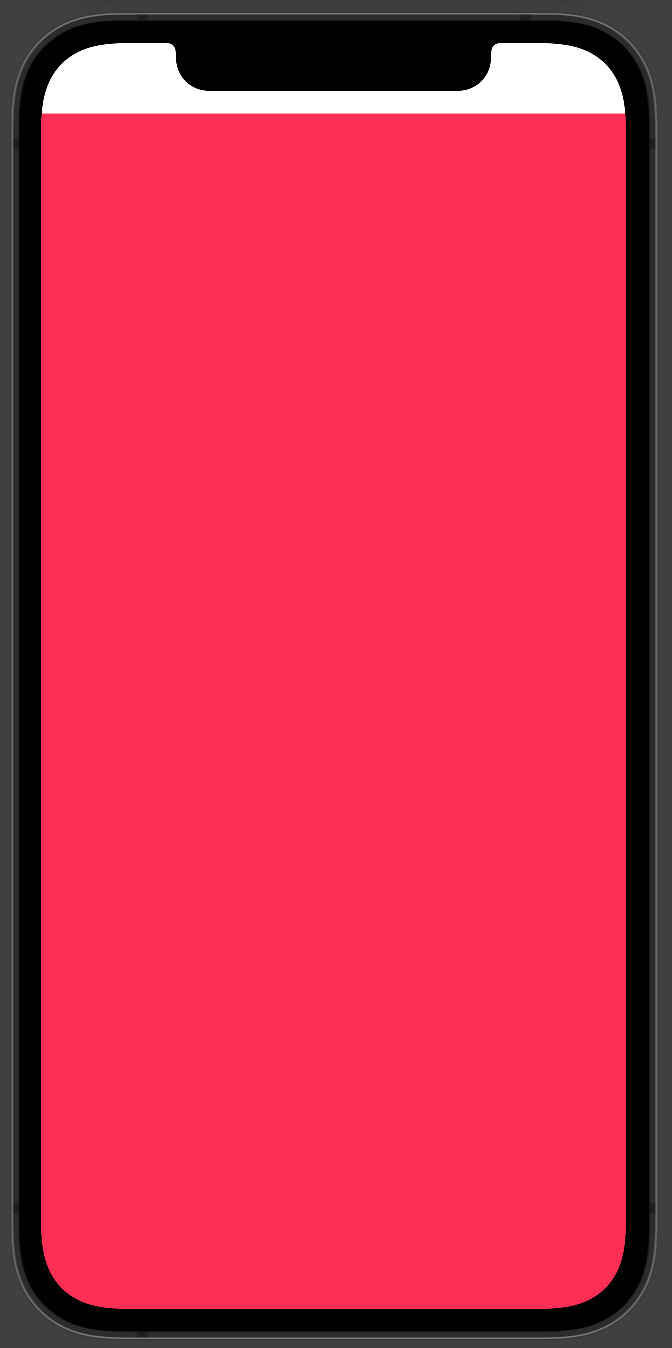
As you can see, although the rectangle has taken all available space in horizontal and vertical directions, it still leaves out some vertical space due to safe area. To extend it beyond top or bottom safe areas, we will again use the ignoresSafeArea API. Depending on whether we want to ignore top, bottom or vertical safe area, we will pass either .top, .bottom or .vertical values to edges parameter of ignoresSafeArea API.


.ignoresSafeArea() modifier on your view to ignore safe areas in all directions.ignoresSafeArea(.keyboard) to ignore the safe area when the keyboard is activeApplications of Going Beyond the Safe Area in the App
There are a few scenarios where you want to extend beyond the safe area. As I mentioned earlier in this post, you may want to create a custom version of the navbar or tab bar. To mimic their standard appearance, you may want to use ignoresSafeArea API to extend beyond the safe area.
Another example is that you may want to use the full-screen loading indicator with transparent background and loading spinner. To give the impression that the full screen is loading, you may want to make the loading view the full screen by ignoring safe areas in all directions.
We can add an overlay of loading view over the main content while data is loading. We will customize the loading view to ignore the safe area in all directions so that it will appear as if taking the full space.
struct FullScreenLoadingView: View {
    var body: some View {
        Text("Sed ut perspiciatis unde omnis iste natus error sit voluptatem accusantium doloremque laudantium, totam rem aperiam, eaque ipsa quae ab illo inventore veritatis et quasi architecto beatae vitae dicta sunt explicabo. Nemo enim ipsam voluptatem")
            .padding()
            .frame(maxWidth: .infinity, maxHeight: .infinity)
            .overlay (
                ZStack {
                    Rectangle()
                        .fill(Color.gray.opacity(0.8))
                        .ignoresSafeArea(edges: .all)
                    ProgressView()
                        .progressViewStyle(
                            CircularProgressViewStyle(
                                tint: Color.white)
                        )
                        .padding()
                        .background(Color.black.opacity(0.4))
                        .cornerRadius(12)
                }
        )
    }
}Conclusion
Safe areas help us place our views within the visible portion of the overall interface. However, there are cases when we want to extend our content beyond the safe area as we saw in this post. This post has got your back by explaining how you can extend your content and appearances such as colors beyond the safe area to create a delightful and consistent user experience.
I hope this article was useful in explaining the concepts behind the safe area and how to go beyond it. If you have any questions, comments, or concerns regarding this article, please feel free to reach out to me on Twitter @jayeshkawli

