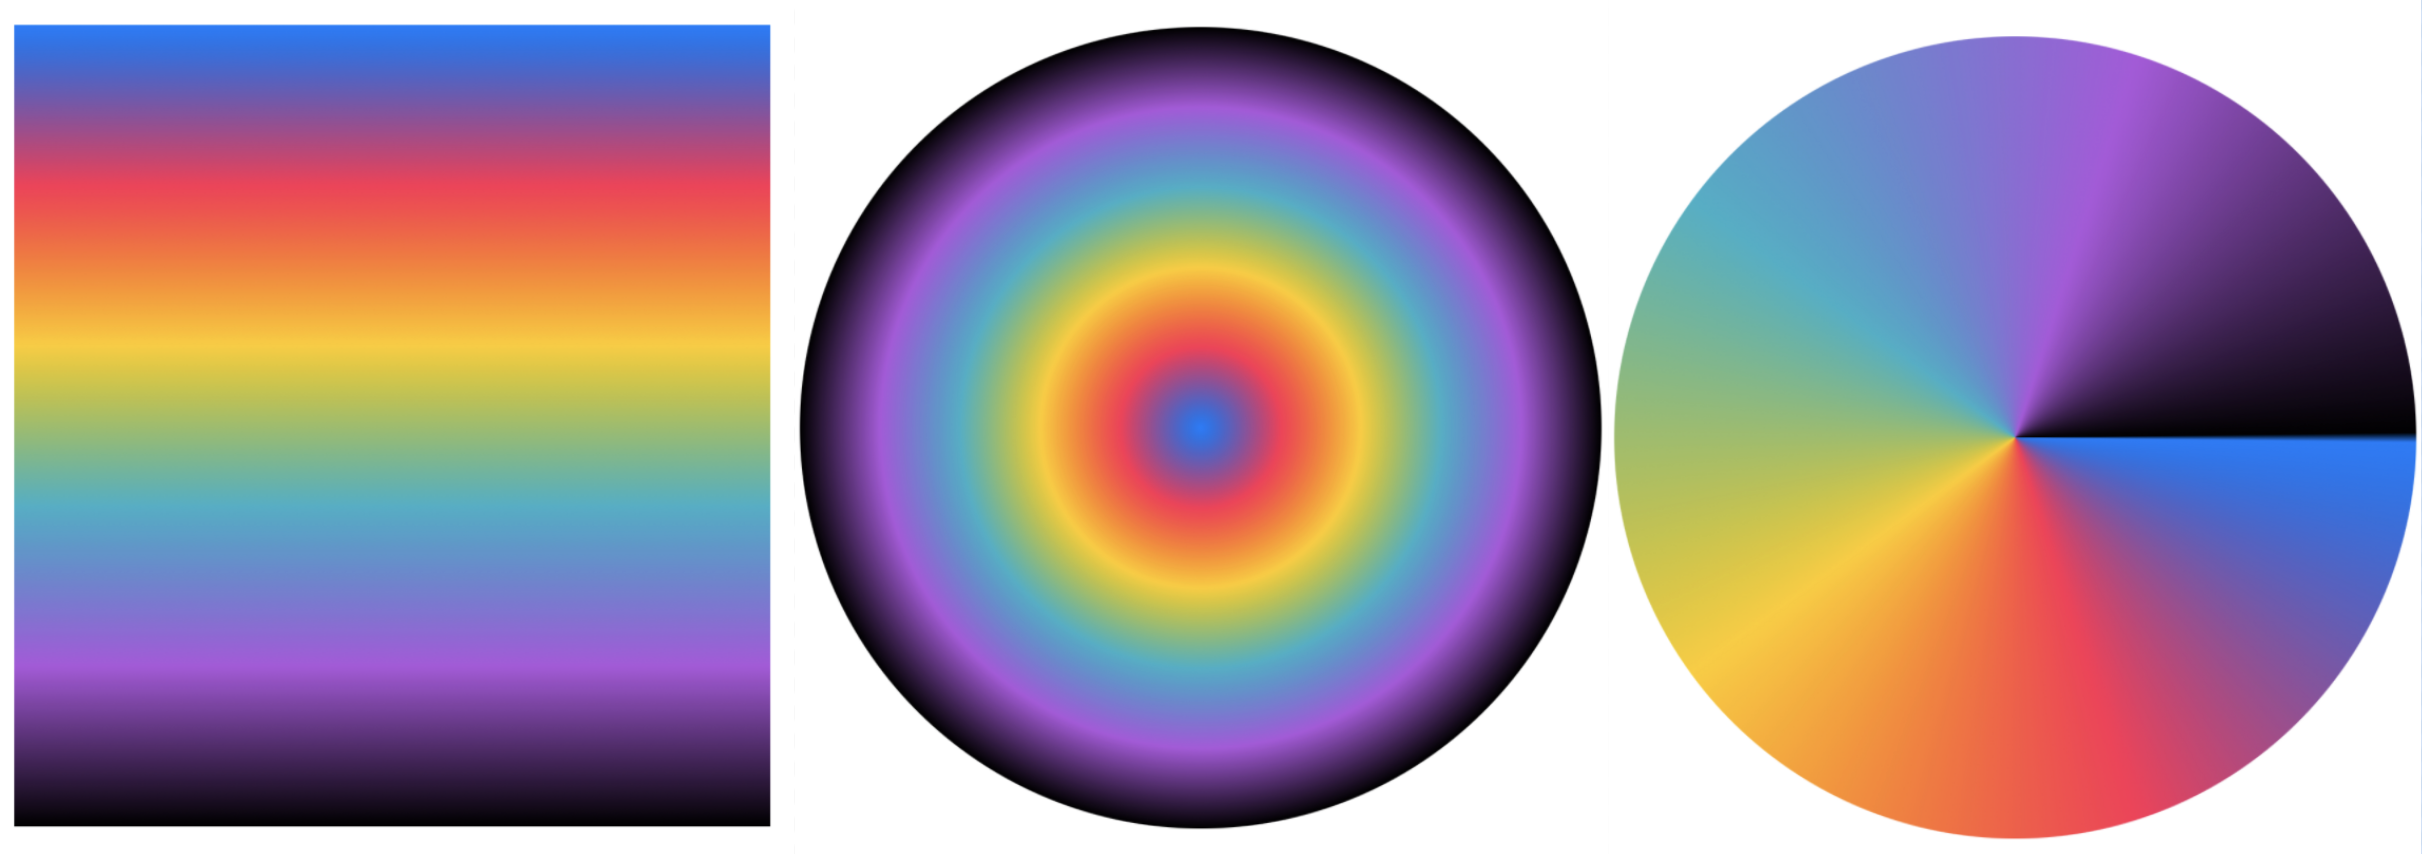
How to Use Gradients in SwiftUI - Radial Gradients

Apple defines general gradient as,
A color gradient represented as an array of color stops, each having a parametric location value.
The color gradient is nothing but a collection of colors organized by a specific set of rules. You can have a color gradient with as many colors as you want - evenly or unevenly distributed in the given area.
In today's blog post we are going to talk about how to create and use RadialGradient in SwiftUI.
Apple defines radial gradient as,
The gradient applies the color function as the distance from a center point, scaled to fit within the defined start and end radii. The gradient maps the unit space center point into the bounding rectangle of each shape filled with the gradient.
RadialGradient in SwiftUI can be created with one of the following APIs,
/// Creates a radial gradient from a base gradient.
public init(gradient: Gradient, center: UnitPoint, startRadius: CGFloat, endRadius: CGFloat)

/// Creates a radial gradient from a collection of colors.
public init(colors: [Color], center: UnitPoint, startRadius: CGFloat, endRadius: CGFloat)

/// Creates a radial gradient from a collection of color stops.
public init(stops: [Gradient.Stop], center: UnitPoint, startRadius: CGFloat, endRadius: CGFloat)
All these APIs are responsible for the creation of radial gradients, but some offer flexibility in terms of color stops and the range of colors in a given gradient space. Let's take a look at them one-by-one and see how to create radial gradients using them.
Creating a radial gradient from the base gradient
The radial gradient can be directly created by creating a separate instance of Gradient and passing it to the RadialGradient's initializer above.
There are various ways of creating an instance Gradient. I already explored them in this blog post. Please refer to it if you want to know more about all the possible ways of initializing Gradient instance
We will create a simple gradient with 4 colors and pass it down to RadialGradient's initializer along with the gradient's center point, start radius and end radius.
let gradientWithFourColors = Gradient(colors: [
    Color.blue,
    Color.pink,
    Color.yellow,
    Color.green
    ]
)

let radialGradient = RadialGradient(gradient: gradientWithFourColors, center: .center, startRadius: 0, endRadius: 190)
We set the center of the gradient to the objective center. Meaning any container that we put the gradient in, its center will be located at the exact point where the container's center lies.
startRadius and endRadius define start and endpoints for the radial gradient. If the startRadius is zero, the gradient starts exactly at the gradient's center point. endRadius defines the radius of the gradient and how far it can grow. Between startRadius and endRadius, gradient colors are equally distributed unless the developer has defined the custom color stops.
As you increase the value ofstartRadius, the gradient will begin a little bit away from the center. As you increase the value ofendRadius, the gradient will end a little bit farther from the center. If the value of the container is same as the gradient size, you will see all the colors getting equal distribution. If there is a mismatch, either some or all parts of some color will be lost or the available space is filled by the color closest to the void
Now that our radial gradient is ready, let's fill the rectangle of the same size (Its width and height same as the gradient's diameter) with it.
Rectangle().fill(radialGradient).frame(width: 380, height: 380).cornerRadius(190)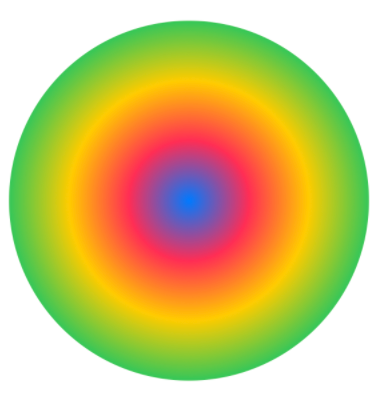
This is the simplest kind of radial gradient possible with a gradient composed of 4 colors.
Now that our basics are clear, let's observe the effects of varying center and startRadius and endRadius on the gradient appearance.
How Changing the Center Affects the Gradient Appearance
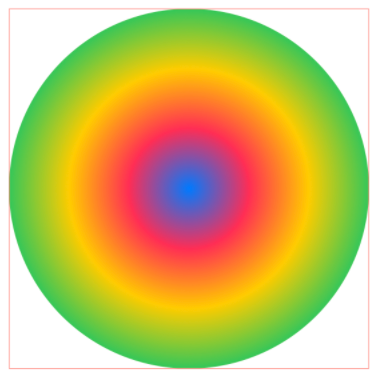
So far we created just one radial gradient with its center situated at center. This makes the center of the gradient coincide with the center of the container. In the above example, we've filled the rectangle shape with the radial gradient. Since the center of the gradient is defined as the center, it lies at the center of the rectangle. This is also obvious from the red border around the enclosing rectangle indicating centers of the gradient and rectangle are the same.
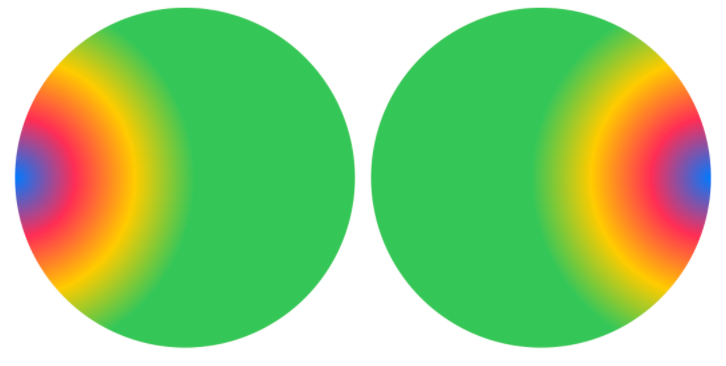
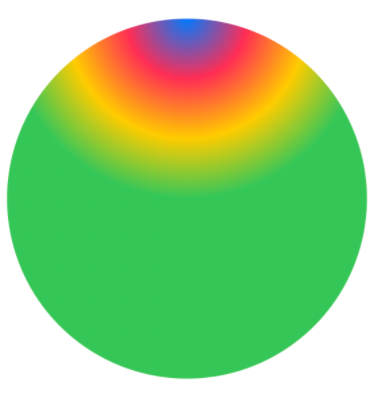
Now, if I change the gradient center to say, top or bottom, it will appear as if it is originating from the center of the top or the bottom edge of the rectangle. The same applies if you choose the leading or trailing edge to be the center of the gradient. (The center of the gradient will lie in middle of leading or a trailing edge of the enclosing container)
// Gradient with center on top
let radialGradient = RadialGradient(gradient: gradientWithFourColors, center: .top, startRadius: 0, endRadius: 180)

// Gradient with center on bottom
let radialGradient = RadialGradient(gradient: gradientWithFourColors, center: .bottom, startRadius: 0, endRadius: 180)

// And so on ....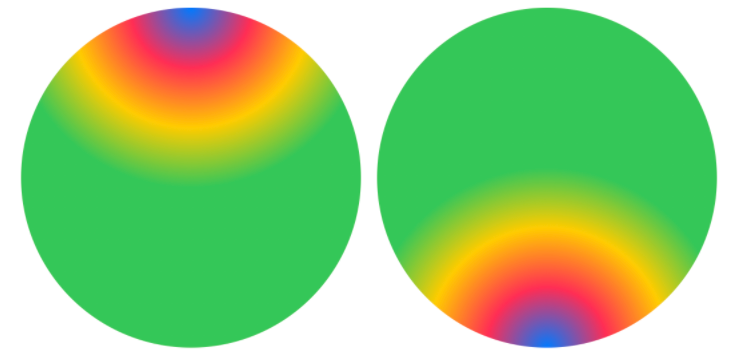
There are 10 possible values of gradient center enum,
zerocentertopLeading(Same aszero)topTrailingbottomLeadingbottomTrailingtopbottomleadingtrailing
As you can see, the appearance of the gradient is completely dependent on the size of the container. If the gradient overflows over the size of the container, its colors falling outside its boundary will be cut off. If there is an extra available space for the gradient inside the container, it's filled with the closest color in the gradient
In one of the above examples, we set up the gradient center in the middle of the top edge. The gradient is still radial and has the same size, but since it's put on the edge, some of its parts are lost since they fall outside the rectangular container. Since it starts on the top, it also made some void at bottom of the rectangle. This void has been filled with the last color in the gradient - That is, green color.
How Changing the Start Radius and End Radius Affects the Gradient Appearance
start and end radius parameters of gradient define points at which gradient starts and ends.
Let's start with a simple case of a radial gradient. The gradient is 180 px in radius and it's contained in the rectangle having the same width and height as the diameter of the gradient.
If the startRadius is 0, which means the gradient begins at the point where the radius is 0 and endRadius is 180, which means it ends at the point where the radius is 180.

Now, if I want the gradient to start at 25% of the original radius, I will edit startRadius to be 25% of the original radius - which is 45 pixels.
let radialGradient = RadialGradient(gradient: gradientWithFourColors, center: .center, startRadius: 45, endRadius: 180)

Rectangle().fill(radialGradient).frame(width: 360, height: 360).cornerRadius(180).border(.red, width: 0.5)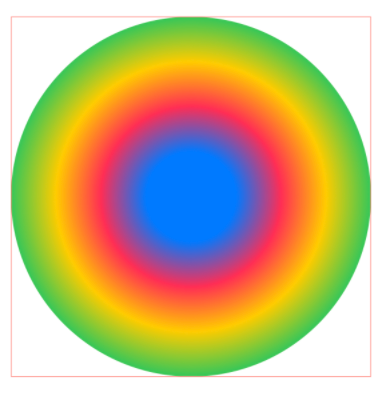
As you can see, it has two effects. It leaves a void between the point where the radius is 0 and another point where the radius is 45 pixels. The space in this area is filled with the first color in our gradient colors list - Blue color.
Since we started the gradient a bit late, some portion of the last gradient color (green) is pushed out of containing rectangle. It exists somewhere there, but since the backing rectangle ends at the 180 pixels boundary, the portion of gradient which goes beyond the 180 pixels boundary is not drawn.
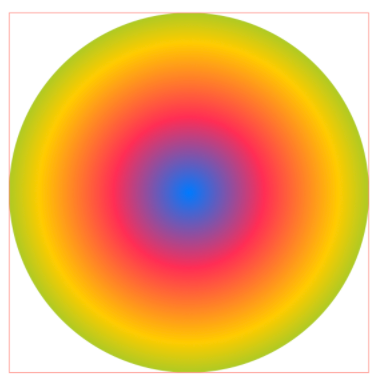
The opposite effect is seen when you provide a negative startRadius. The portion of blue color disappears and the green color takes all the extra space in the opposite direction
let radialGradient = RadialGradient(gradient: gradientWithFourColors, center: .center, startRadius: -45, endRadius: 180)

Rectangle().fill(radialGradient).frame(width: 360, height: 360).cornerRadius(180).border(.red, width: 0.5)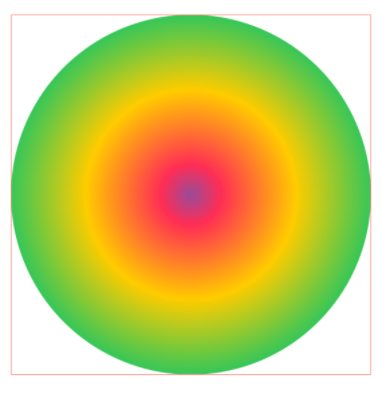
Now, let's observe the effect of changing endRadius on the gradient appearance
Changing the endRadius has sort of similar effect on gradient appearance as changing the startRadius except it happens in the opposite direction. For example, if you increase theendRadius, the gradient is going to expand outward and it needs more space to lay all its colors. If the size of the gradient exceeds the size of its backing container, colors lying beyond the boundary will be clipped and won't be visible.
Similarly, if you reduce the gradient's endRadius, the gradient finishes too early and the rest of the available space in the container is taken by the last color in the gradient. Let's look at and compare these two scenarios,
// Gradient ends too early
let radialGradient = RadialGradient(gradient: gradientWithFourColors, center: .center, startRadius: 0, endRadius: 135)

Rectangle().fill(radialGradient).frame(width: 360, height: 360).cornerRadius(180).border(.red, width: 0.5)

// Gradient ends too late
let radialGradient = RadialGradient(gradient: gradientWithFourColors, center: .center, startRadius: 0, endRadius: 225)

Rectangle().fill(radialGradient).frame(width: 360, height: 360).cornerRadius(180).border(.red, width: 0.5)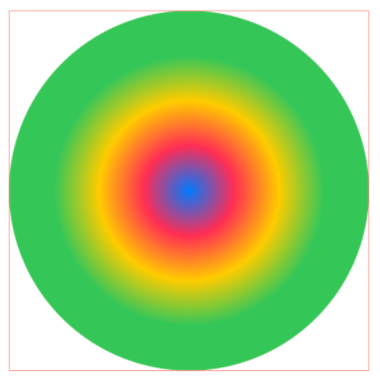
Summary
So this was all about creating and configuring radial gradients in SwiftUI. I started this blog post to be shorter since it talks only about the radial gradient, but given there are many ways to customize just a radial gradient, it quickly grew larger than I originally anticipated.
I hope the size of the article didn't intimidate you. I tried to be as specific as I could as long as all the gradient configurations are concerned and help you with an in-depth understanding of creating a radial gradient.
In the next and final blog post, I am going to talk about another gradient that SwiftUI has to offer - Angular Gradient. Since it also has a bunch of smaller configurations and added flexibility in terms of how developers can customize it, it might also grow in size, but I promise that by the end of these 3 tutorials, you will have a firm grasp of gradients understanding in SwiftUI.
Until the next blog post...

