iOS Animations - Part 5
Building simple image slider with Core Animation.
You will soon find that it is supremely easy and customizable in terms of other options without having developer to deal with underlying intricacies. Since most of the code and functions are offered by Apple's core animation framework.
We are going to use Core animation's CAAnimation instance to achieve the desired effect.
Let's say you have UIImageView's instance sliderImageView which you are going to use to show slider animation. Make sure you also maintain an array of images in the suitable collection to sequentially display on the slider.
NSArray* imageCollection = @[@"image_1", @"image_2", @"image_3", @"image_4"];
Then add a transition button which will be responsible for making image transitions.
Let's call our IBOutlet action as performImageTransition as follows
- (IBAction)performImageTransition:(id)sender {
    // We will maintain a currentIndex property which will keep track of previous, current and next image to display on the viewport.
    self.currentIndex++;
    self.imageViewTransition = [CATransition animation];
    // Decides the type of animation takes place between successive image transitions
    self.imageViewTransition.type = kCATransitionPush;
    // Decides the direction from which transition occurs
    self.imageViewTransition.subtype = kCATransitionFromRight;
    // Decides the transition duration
    self.imageViewTransition.duration = 0.25f;
    // Add an animation to our UIImageView instance.
    [self.sliderImageView.layer addAnimation:self.imageViewTransition forKey:kCATransition];
    // Update an image for sliderImageView
    self.sliderImageView.image = [UIImage imageNamed:self.imageCollection[self.currentIndex%self.imageCollection.count]];
}
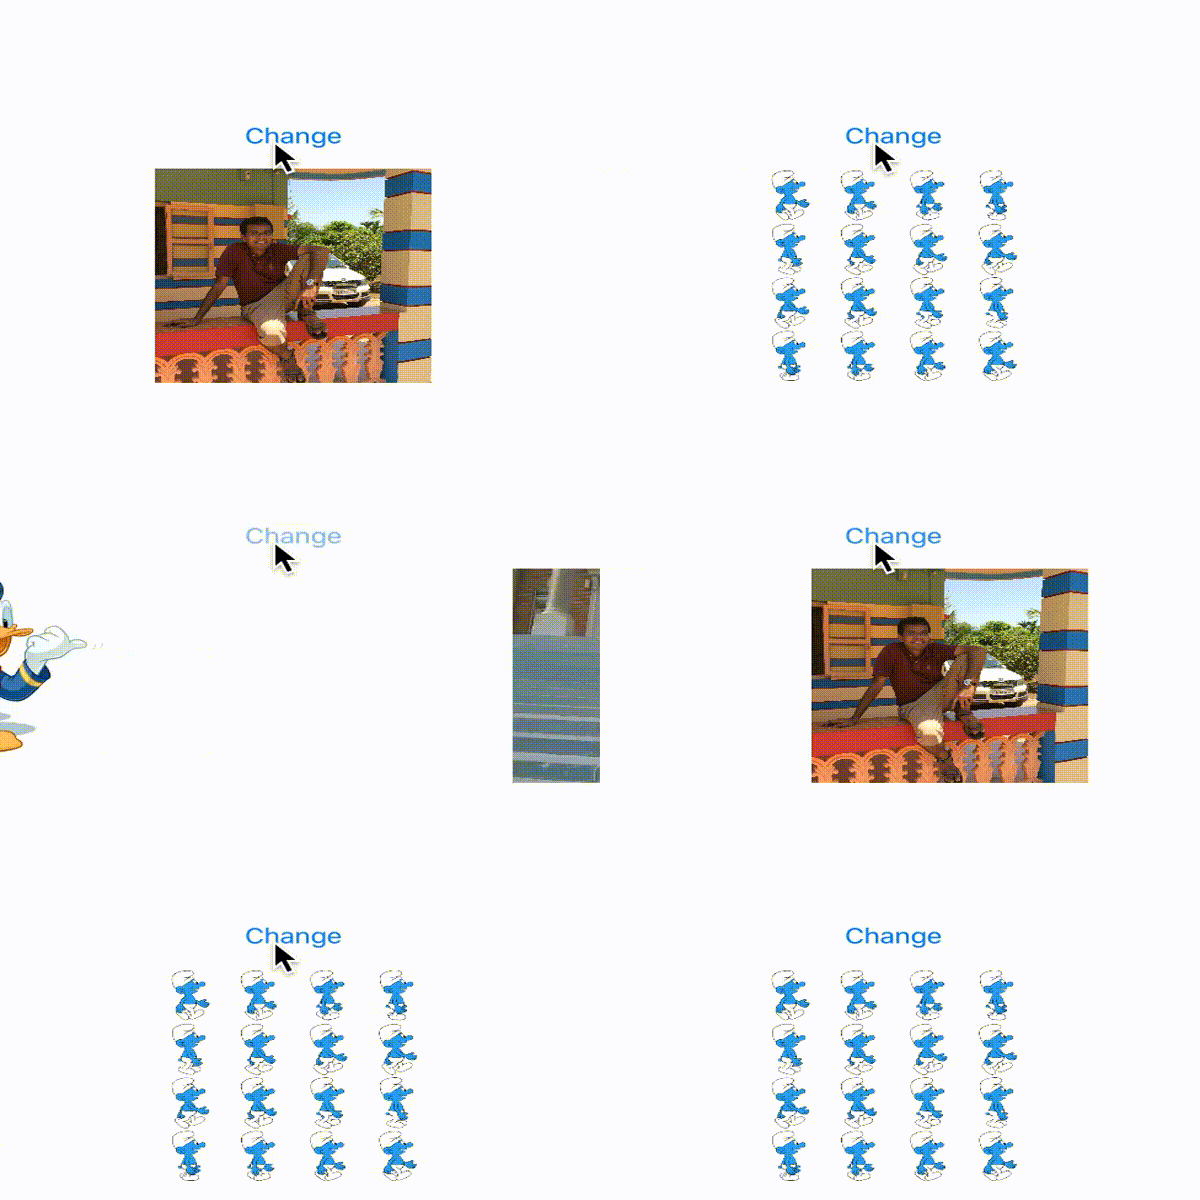
For options mentioned above, it will show following animation sequence

Of course you can tweak various parameters and then observe how transition effect changes.
for e.g. when I update transition type and subtype to following options,
self.imageViewTransition.type = kCATransitionMoveIn;
self.imageViewTransition.subtype = kCATransitionFromTop;
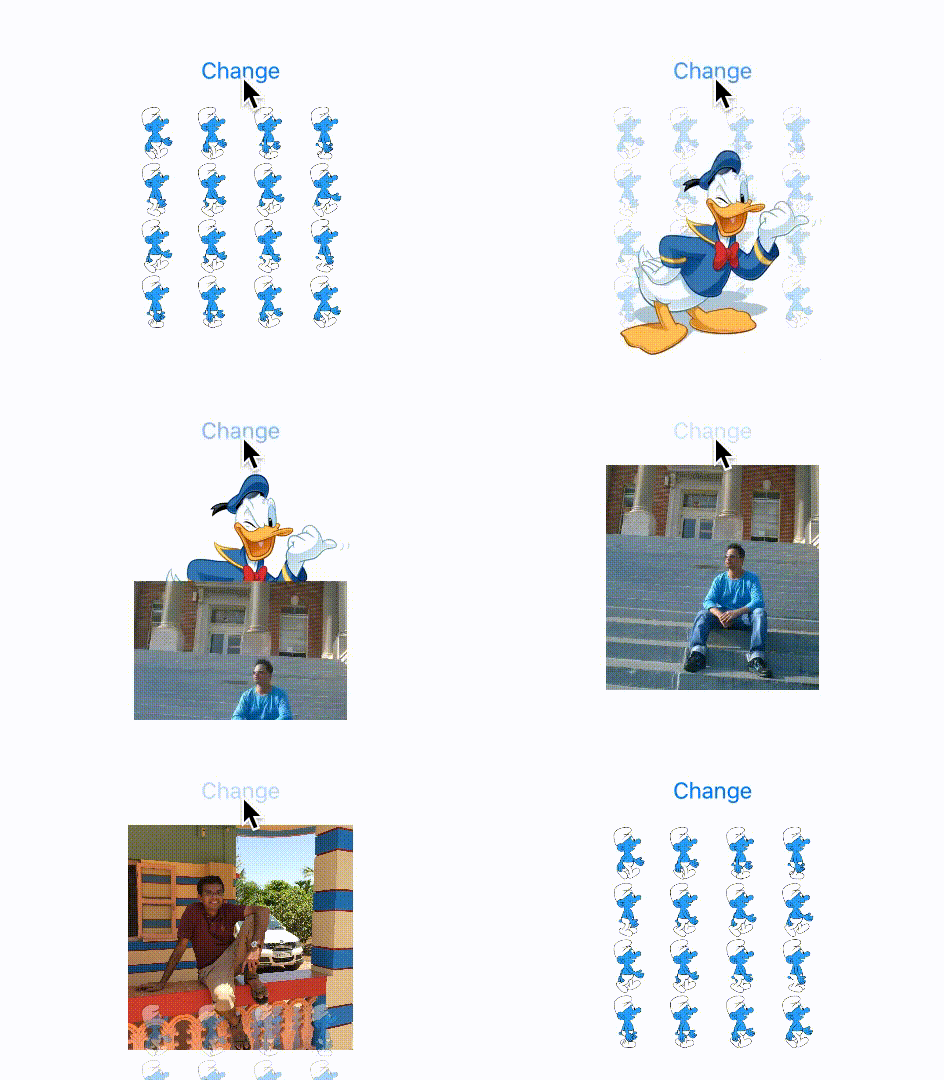
We get the following transition effect,

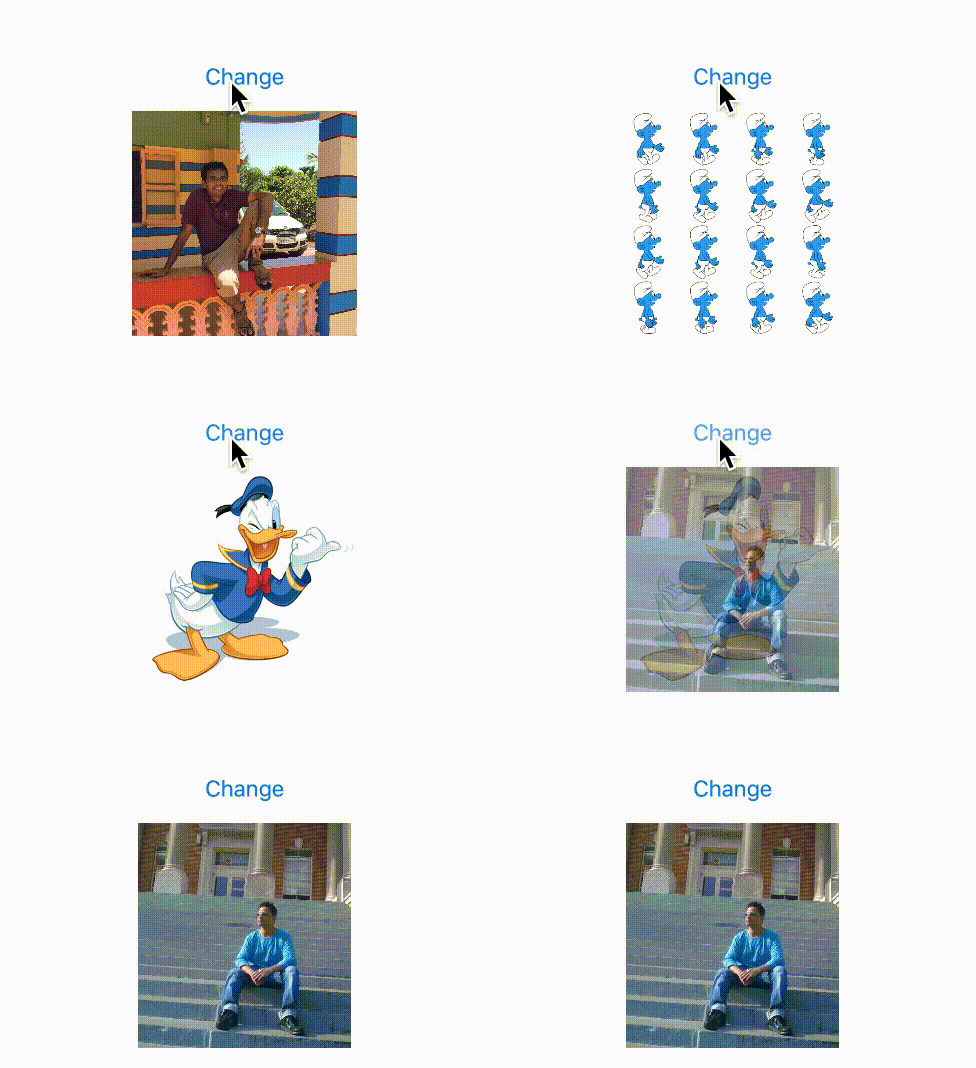
We will do one more experiment by changing parameters to one more set as mentioned below.
self.imageViewTransition.type = kCATransitionFade;
Please note that since we chose the transition type to
kCATransitionFade, we need not set the subtype since fade has no direction defined. Even if you choose to set the subtype, it will have no visible effect on the resulting animation

Please be advised that you can apply as many effects as possible by any combination of
CAAnimationtype and subtype. You can find their values declared in one of the header filesCAAnimation.hunderQuartzCore
Hope this will help someone who is trying to build a simple image slider. Though I have added the code only for forward transition, you can update it to move in either directions utilizing left/right direction in animation instance subtype and either incrementing/decrementing the image sequence on go
You can find full source code along with demo and other animation examples on the GitHub Repository


