Simulate View Controller Transitions - iOS/Objective-C

We all have dealt with push transition of UINavigationController as well as presentViewController and dismissViewController transitions of typical UIViewController. However, today we will learn how to emulate the transition from one viewController to another without moving to a new viewController. The technique is quite simple and I will only explain few animation transitions. Once you get the basic technique, you can simulate any animation you want without having to jump on the new screen.
The way this is done can be explained in following simple steps. Please remember that we are not moving to a new viewController. We are making updates to existing viewController and making it look like me made transition to a new screen.
In a nutshell, we are pulling a magician here
- Show the original view
- Take the screenshot of the view
- Add the screenshot image as a subView to current view
- While that image is added on the foreground, make necessary updates behind the image
- Add suitable animation to get rid of screenshot image from the foreground. May it be a fading, popViewController/dismissViewController or any other necessary animation which will make this imageView go away from viewPort
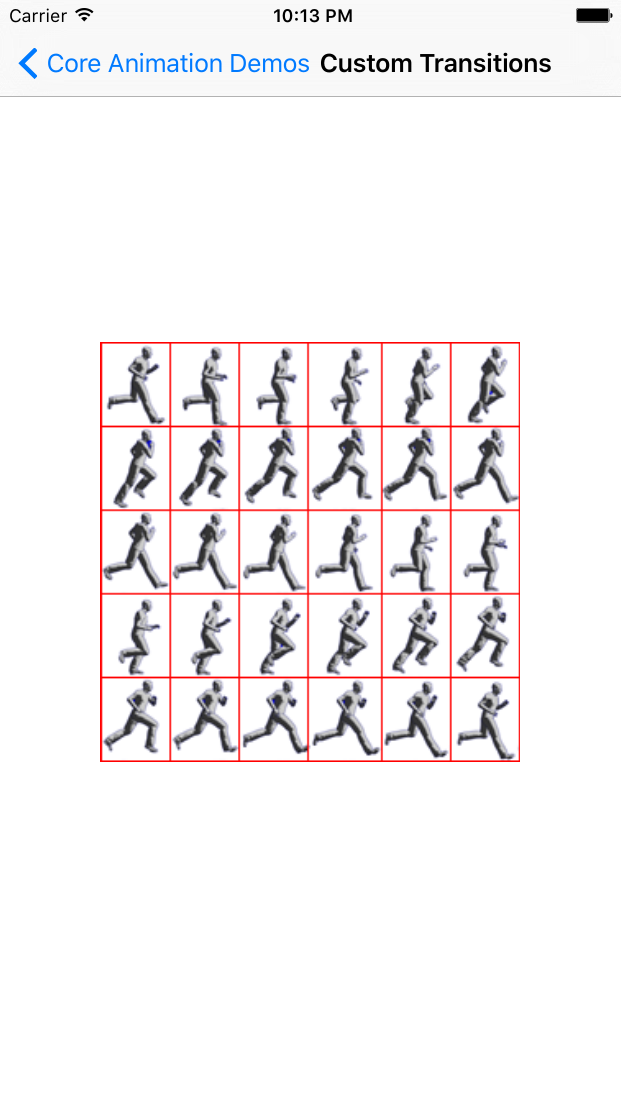
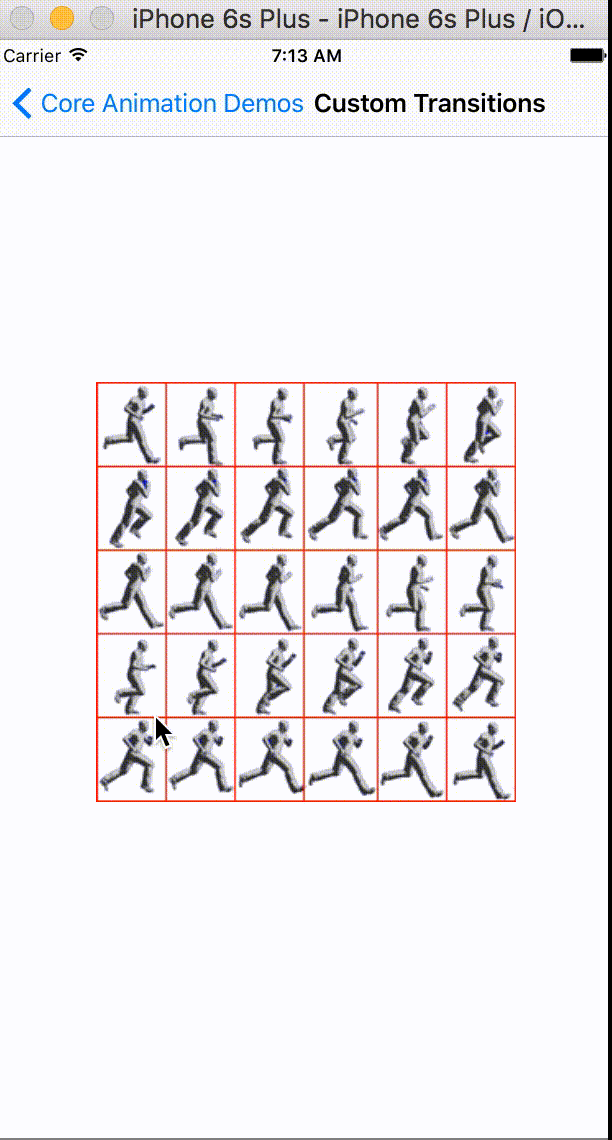
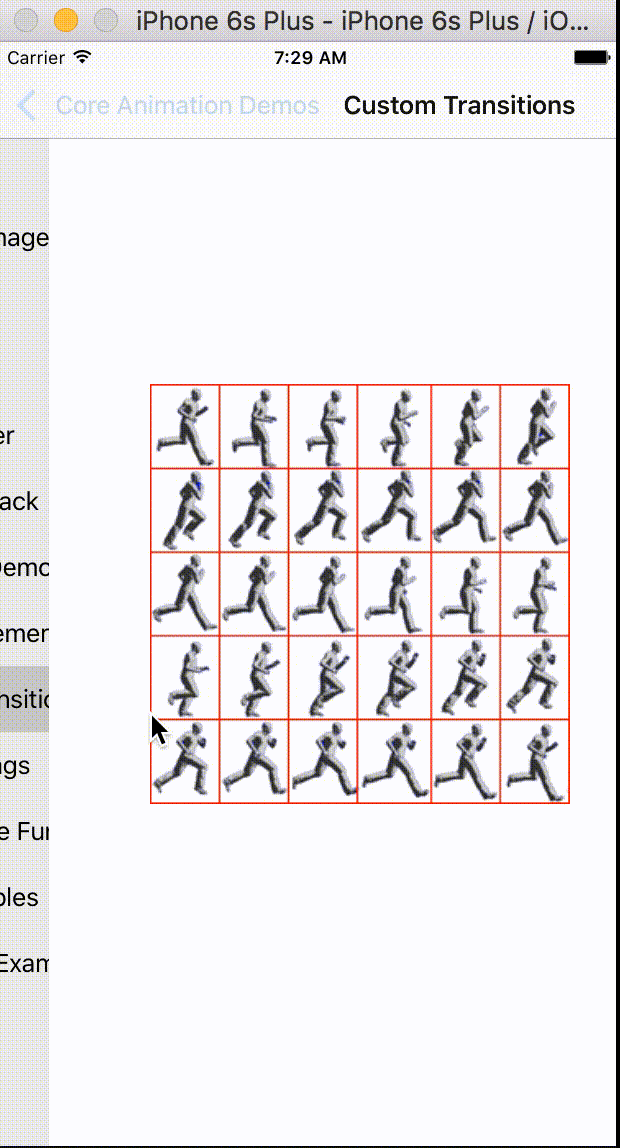
As a first step, this is how our original viewController looks like. Let's call it a CustomTransitionViewController
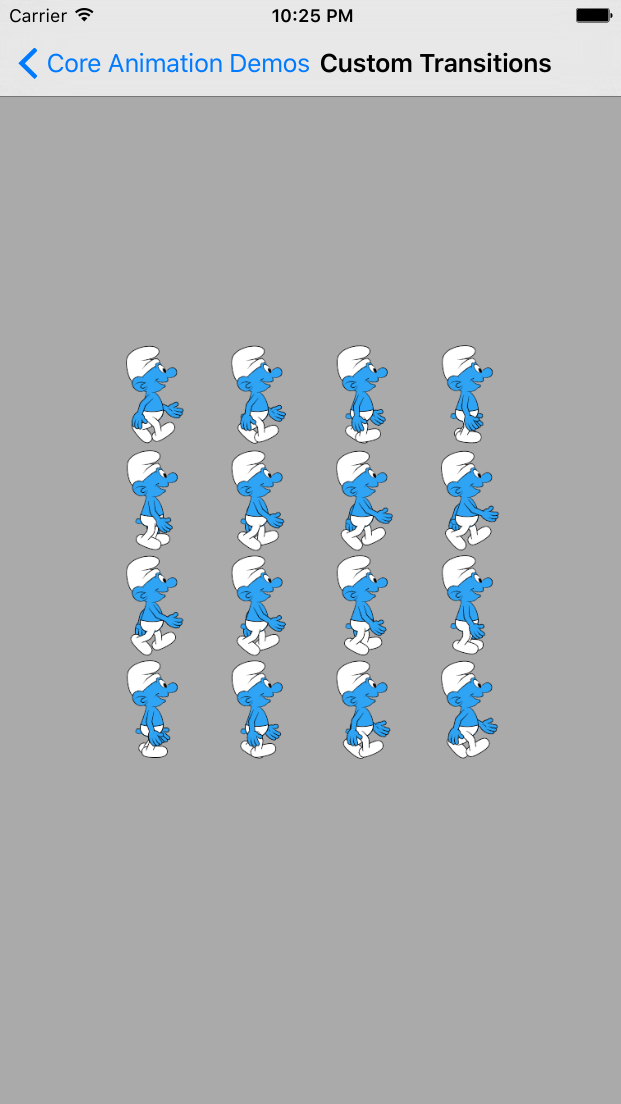
There are two things we will change on this viewController as a part of update.
- Change the background color to light grey color
- Change the moving man image to blue Smurf
In the second step, we will capture the screenshot of this viewController which looks exactly same as the original viewController and add that as a subView to self.view
UIGraphicsBeginImageContextWithOptions(self.view.bounds.size, YES, 0);
    [self.view.layer renderInContext:UIGraphicsGetCurrentContext()];
    UIImage* currentViewScreenshot = UIGraphicsGetImageFromCurrentImageContext();
    UIImageView* frontConverImageView = [[UIImageView alloc] initWithImage:currentViewScreenshot];
    frontConverImageView.frame = self.view.bounds;
    [self.view addSubview:frontConverImageView];
So far we have done second and third steps and added a screenshot as a subView to currentView.
Next, while current view is hidden, we will make necessary updates to view background color and imageView at the center.
[self.centerImageView setImage:[UIImage imageNamed:@"smurf_sprite"]];
[self.view setBackgroundColor:[UIColor lightGrayColor]];
The background view will look like following,
Now as a fifth and final stage we will add an animation to get rid of the front screenshot which is hiding the updated view beneath.
I will show only few animations along with result. You can customize them later as per requirement
-
Rotating and Fading away front view
[UIView animateWithDuration:0.75 animations:^{
      // Rotate and fade away front view behind the scene.
  	CGAffineTransform transform = CGAffineTransformMakeScale(0.01, 0.01);
  	transform = CGAffineTransformRotate(transform, M_PI);
  	frontConverImageView.transform = transform;
  } completion:^(BOOL finished) {
      // Remove the front image cover view when it disappears from the view port.
      [frontConverImageView removeFromSuperview];
  }];
This animation will look like this,
-
Push navigation controller type animation to swipe front view away
[UIView animateWithDuration:0.75 animations:^{
      //Disappear the front image view to the left.
  	frontConverImageView.frame = CGRectMake(-self.view.frame.size.width, 0, frontConverImageView.frame.size.width, frontConverImageView.frame.size.height);
} completion:^(BOOL finished) {
// Remove the front image cover view when it disappears from the view port.
[frontConverImageView removeFromSuperview];
}];
-
Dismiss view controller type animation to make front image view move away
[UIView animateWithDuration:0.75 animations:^{
      //Disappear the front image view to the left.
  	frontConverImageView.frame = CGRectMake(0, self.view.frame.size.height, frontConverImageView.frame.size.width, frontConverImageView.frame.size.height);
} completion:^(BOOL finished) {
// Remove the front image cover view when it disappears from the view port.
[frontConverImageView removeFromSuperview];
}];
That should give you enough pointers if you want to do some crazier stuff. This could be great tip if you want to update your views without making a viewController transition.

