Swift - Infinite loading items in the collection view (iOS)

Today, I am going to talk about infinite loading using collection view. Infinite loading is pretty much common nowadays and not a buzzword anymore. However, it took me a longer to understand and implement its working and now I glad to have a chance to present my lessons through this blog.
For the sake of this blog post, I will assume that your networking and object modeling layer is black-box but rest assured, I will be including it in the sample GitHub repository
First off create a new project named InfiniteLoadExample accompanied by a podfile which has following content,
We will be using RxSwift and associated goodies for this tutorial since it's the best way to handle MVVM architecture
platform :ios, '10.0'
use_frameworks!

target 'InfiniteLoadExample' do

pod 'RxCocoa', '~> 3.0.0'
pod 'Moya-ModelMapper/RxSwift', '~> 4.1.0'
pod 'RxOptional'
pod 'Kingfisher', '~> 3.0'
pod 'RxDataSources', '~> 1.0'

end

post_install do |installer|
    installer.pods_project.targets.each do |target|
        target.build_configurations.each do |config|
              config.build_settings['ENABLE_TESTABILITY'] = 'YES'
              config.build_settings['SWIFT_VERSION'] = '3.0'
        end
    end
end
Once this is done, run the pod install on command from the same directory where this podfile is stored. Once this is done, open the project file InfiniteLoadExample.xcworkspace with all the pod dependencies and libraries. Build the project and make sure nothing is missing.
As mentioned earlier in this post, I will be assuming that network and object modeling layers are completely black box and I will be assuming them in this post without any implementation details. But we will be using them in the final project
- Adding unsafe URLs to app's plist
For this example, we are going to use a couple of endpoints which are not on https, so the first step will be to add them to plist so that our app can still send requests to them
- jayeshkawli.com - This is my own domain and I have used it to store images. These images are the courtesy of FlatIcon
- demo9276819.mockable.io - I am using Mockable to mock the JSON response
Just add following code to the plist file and your app is ready to send network requests
	<key>NSAppTransportSecurity</key>
	<dict>
		<key>NSAllowsArbitraryLoads</key>
		<true/>
		<key>NSExceptionDomains</key>
		<dict>
			<key>jayeshkawli.com</key>
			<dict>
				<key>NSExceptionAllowsInsecureHTTPLoads</key>
				<true/>
				<key>NSIncludesSubdomains</key>
				<true/>
			</dict>
            <key>demo9276819.mockable.io</key>
            <dict>
                <key>NSExceptionAllowsInsecureHTTPLoads</key>
                <true/>
                <key>NSIncludesSubdomains</key>
                <true/>
            </dict>
		</dict>
	</dict>
- Creating object models
Next step is we will create an object model to decode JSON and store them into individual models
struct CategoryObject: Mappable {
    let allProductsObject: AllProductsObject

    init(map: Mapper) throws {
        allProductsObject = try map.from("response")
    }
}

struct AllProductsObject: Mappable {
    let categoryId: Int
    let categoryName: String
    let productCount: Int
    let products: [Product]
    let currentPage: Int

    init(map: Mapper) throws {
        currentPage = try map.from("current_page")
        categoryId = try map.from("category_id")
        categoryName = try map.from("category_name")
        productCount = try map.from("product_count")
        products = try map.from("product_collection")
    }
}

struct Product: Mappable {
    let name: String
    let averageOverallRating: CGFloat
    let freeShipText: String
    let imageURL: String
    let listPrice: CGFloat
    let manufacturerName: String
    let showSalesBanner: Bool
    let salePrice: CGFloat
    var isFavorited: Bool
    let numStarRatings: Int
    let sku: String

    init(map: Mapper) throws {
        name = try map.from("name")
        averageOverallRating = try map.from("average_overall_rating", transformation: extractFloatValue)
        freeShipText = try map.from("free_ship_text")
        imageURL = try map.from("image_url")
        listPrice = try map.from("list_price", transformation: extractFloatValue)
        manufacturerName = try map.from("manufacturer_name", transformation: manufacturerNameTransformation)
        showSalesBanner = try map.from("show_sale_banner")
        salePrice = try map.from("sale_price", transformation: extractFloatValue)
        isFavorited = try map.from("is_favorited")
        numStarRatings = try map.from("number_of_reviews")
        sku = try map.from("sku")
    }
}
Please note that here I am using
ModelMapperpod. So don't worry if this doesn't work in your standalone no 3rd party library project. Once you've run the above-mentioned step to installpods, this should be fine
As clear from above model maps, we have a hierarchical structure of the model and how it encodes the keys
CategoryObject is a parent of AllProductsObject
AllProductsObject is a parent of Product
and Product is an object that encodes all the key information about underlying product object
Let's look at the JSON quickly to get a brief idea,
{
	"response": {
		"category_id": 1000,
		"category_name": "My Category",
		"current_page": 3,
		"product_count": 34,
		"product_collection": [{
			"image_url": "http://jayeshkawli.com/infinite_load/021-money.png",
			"list_price": 499.99,
			"manufacturer_name": "Manufacture 21",
			"name": "Product 21",
			"is_favorited": false,
            .....
            ...
            ..
            .
- Setting up the
UICollectionView
Next step is to set to UICollectionView which we will eventually use to display and select products. Below is the brief overview of how to set up the collection view
* Adding layout details:
        let itemExpectedWidth = (self.view.bounds.width - (defaultContentInsetsLeftRight * (CGFloat(numberOfColumns) + 1.0))) / CGFloat(numberOfColumns)
        let flowLayout = UICollectionViewFlowLayout()
        flowLayout.itemSize = CGSize(width: itemExpectedWidth, height: 250)
        flowLayout.minimumLineSpacing = defaultContentInsetsTop
        flowLayout.minimumInteritemSpacing = defaultContentInsetsTop
        flowLayout.scrollDirection = .vertical
        flowLayout.sectionInset = UIEdgeInsets(top: defaultContentInsetsTop, left: defaultContentInsetsLeftRight, bottom: defaultContentInsetsBottom, right: defaultContentInsetsLeftRight)
        collectionView = UICollectionView(frame: .zero, collectionViewLayout: flowLayout)

        collectionView.indicatorStyle = .white
        collectionView.translatesAutoresizingMaskIntoConstraints = false
        collectionView.backgroundColor = UIColor(red: 0.96, green: 1.0, blue: 0.98, alpha: 1.0)
        collectionView.dataSource = self
        collectionView.delegate = self
        collectionView.allowsSelection = true
        self.view.addSubview(collectionView)
        collectionView.register(CustomCollectionViewCell.self, forCellWithReuseIdentifier: cellIdentifier)
Here we are
- Creating and customizing the flow layout
- Adding that layout to the collection view
- Adding collection view to our main view
- Registering
CustomCollectionViewCellto our collection view which will be used to display individual product details - We will call our main class holding
CollectionViewasAllProductsViewController
- Adding view model to
AllProductsViewController
We are using MVVM here and what's the fun if we don't use the view model? To have more fun we will be initializing our AllProductsViewController controller with a view model which will contain the business logic. We will call it an AllProductsDataViewModel
The code to initialize view controller with a view model will look like this in AppDelegate since we're setting this view controller as a root view controller for a window
let allProductsViewController = AllProductsViewController(collectionViewModel: AllProductsDataViewModel(categoryIdentifier: "41", page: 1))
self.window?.rootViewController = allProductsViewController
self.window?.frame = UIScreen.main.bounds
self.window?.makeKeyAndVisible()
Let's look at the basic properties associated with this view model
class AllProductsDataViewModel {

    var productsCollection: Variable<[Product]>
    var currentBeginningIndex: Int
    var currentEndingIndex: Int
    var productsCount: Variable<Int>
    let categoryIdentifier: String
    var pageNumber: Int
    var loadingProducts: Variable<Bool>
    var categoryName: Variable<String>
    var selectedProduct: Variable<Product?>
    var markingFavorite: Variable<Bool>
    var favoritedProductSKUs: [String] = []
    var favoritedProduct: Variable<Product?>
    var pageLoadFinished: Variable<Bool>
    var numberOfItemsLoaded: Variable<String>
    ....
    ..
Please notice the
Variable<>associated with some property types. This is to support them with RxSwift which makes them observable so that any class observing the change in their values can react when the change takes place.
These properties are updated by the ViewModel itself and our AllProductsViewController controller will be observing them. Any change in those values will result in appropriate action by the controller to update a UI. This is important since ViewModel will be responsible for applying any and all business logic to them and view is merely a dumb observer observing these values and applying changes to the view
- Detecting the end of Collection View (So that we can load the next batch)
Since now we have all Object Models, Networking layer, CollectionView and related ViewModel ready, we will look into the actual implementation.
Detecting end of the collection view is important since that will allow us to load the next batch of products. The collection view is an essential scroll view so we can use following delegate method which gets called automatically every time scroll view is scrolled
func scrollViewDidScroll(_ scrollView: UIScrollView)
In this method, we will do the magic of detecting the end of the scroll view and load additional items if they're available on the server
func scrollViewDidScroll(_ scrollView: UIScrollView) {
    let offset = 200
    let bottomEdge = scrollView.contentOffset.y + scrollView.frame.size.height;
    if (bottomEdge + offset >= scrollView.contentSize.height) {
        // Load next batch of products
        self.collectionViewModel.loadCategories()
    }
}
Here, we are checking if collection view has reached its end or not by checking the contentOffset and height of scrollView. We are also adding an offset here. With the offset, we won't wait until the user reaches the extreme bottom of the page, but we will start the loading process little early so that user can have the seamless experience to view all the products without any interruptions
- Loading next batch of products through view models
This will better be understood through the example so let's look at the implementation first. As it's clear from the previous bullet point, we are calling the method named loadCategories every time we need to load the next batch of products.
func loadCategories() {
    guard !loadingProducts.value, !pageLoadFinished.value else { return }

    let endpointClosure = { (target: WebAPIService) -> Endpoint<WebAPIService> in
        let defaultEndpoint = MoyaProvider.defaultEndpointMapping(for: target)
        return defaultEndpoint.adding(newHTTPHeaderFields: ["Accept": "application/json"])
    }

    let productsResponseProviderReactive = RxMoyaProvider<WebAPIService>(endpointClosure: endpointClosure)

    let customPageData: Observable<CategoryObject> = productsResponseProviderReactive.request(.category(identifier: self.categoryIdentifier, page: self.pageNumber)).debug().mapObject(type: CategoryObject.self)
    self.loadingProducts.value = true
    _ = customPageData.subscribe { response in
        switch response {
        case .next(let result):
            let allProducts = result.allProductsObject.products
            self.currentBeginningIndex = self.productsCollection.value.count
            self.currentEndingIndex = self.currentBeginningIndex + result.allProductsObject.products.count - 1
            self.productsCount.value = result.allProductsObject.productCount
            self.categoryName.value = result.allProductsObject.categoryName
            self.productsCollection.value.append(contentsOf: allProducts)
            self.pageNumber = self.pageNumber + 1
            self.loadingProducts.value = false
            self.pageLoadFinished.value = allProducts.count < batchSize
            self.numberOfItemsLoaded.value = "\(self.productsCollection.value.count)/\(self.productsCount.value) Loaded"
        case .error(let error):
            print("Error occurred with description \(error.localizedDescription)")
            self.loadingProducts.value = false
        default:
            break
        }
    }
}
Let's look at the pieces by piece examples explanation,
- Maintaining loading states
guard !loadingProducts.value, !pageLoadFinished.value else { return }
This line is used to avoiding the scenario where we might end up calling network request continuously while one is already in flight. As we know scrollViewDidScroll is called every time UIScrollView is scrolled which results in loadCategories method being called every time scroll event happens.
We are using loadingProducts variable to make sure while previous network request is in progress, we won't send another one. Since loadingProducts is declared with Variable<Bool> type, we end up using loadingProducts.value to use its value.
Another variable pageLoadFinished is used to keep track of whether we have reached the ultimate end. That is server has done providing all the values and we no longer have any new values to display. In this case, loadCategories will never be called once values of pageLoadFinished are set to true. This is also used to avoid unnecessary network requests when we already have detected the end of products list.
- Creating network request observer with object model specification
let endpointClosure = { (target: WebAPIService) -> Endpoint<WebAPIService> in
    let defaultEndpoint = MoyaProvider.defaultEndpointMapping(for: target)
    return defaultEndpoint.adding(newHTTPHeaderFields: ["Accept": "application/json"])
}

let productsResponseProviderReactive = RxMoyaProvider<WebAPIService>(endpointClosure: endpointClosure)

let customPageData: Observable<CategoryObject> = productsResponseProviderReactive.request(.category(identifier: self.categoryIdentifier, page: self.pageNumber)).debug().mapObject(type: CategoryObject.self)
self.loadingProducts.value = true
First, we will create an endpointClosure object which will encode the properties such as HTTPHeaderFields associated with the outgoing request.
Next, with the help of endpointClosure, we will create an instance of RxMoyaProvider<WebAPIService> which is a reactive object which will be used to send a network request with given parameters.
Next, we will use the productsResponseProviderReactive to create an instance of Observable<CategoryObject> which is an observable which can be subscribed to for any changes or receipt of data (In this case products data coming back from the server). CategoryObject is the type that we expect incoming JSON to map to.
Notice that we are calling the request method on object of type Observable<CategoryObject> where we pass categoryIdentifier and pageNumber. This is consumed by how Moya handles the outgoing request and these parameters will eventually be utilized by outgoing request. For example, we pass the page number for which we request the products. This will be encoded by the request and sent along.
Then we call mapObject method with type CategoryObject. This is to make it an explicit that incoming JSON should be decoded to this type. If JSON is malformed, it cannot be decoded to type and control will go in the failure block associated with the observable subscription.
On the last line, we set the value of another observable loadingProducts to true. This is to prevent another network request from firing while the user is still scrolling the collection view. We will block all the subsequent network requests until current request in flight returns the data.
- Subscribing to the observable
_ = customPageData.subscribe { response in
    switch response {
    case .next(let result):
    ....
    ..
    case .error(let error):
    ....
    ..
    default:
    ....
    ..
This is just an example of how to subscribe to an observable. In the previous example, we create an object of type Observable<CategoryObject> which is observable and returns the object CategoryObject to its subscriber.
When we receive the response, there are 2 states possible (In addition to default). First one is that result is of type .next(let result) where you have successfully received an object with an expected type
Another case is an error which can cause due to incoming JSON not being in the correct format or related errors such as network unreachable of mapping failure.
Irrespective whether the response was successful or not, you still want to reset the value of loadingProducts to false inside subscription block to prevent the app from freezing in case we want to reset the loading status and send another request.
self.loadingProducts.value = false
- Utilizing received data and displaying on the
UICollectionView
Now that we have an observer that can be utilized to get the data from the network, we can subscribe to it and set the states on AllProductsViewModel which are eventually observed by the AllProductsViewController class.
_ = customPageData.subscribe { response in
    switch response {
    case .next(let result):
        let allProducts = result.allProductsObject.products
        self.currentBeginningIndex = self.productsCollection.value.count
        self.currentEndingIndex = self.currentBeginningIndex + result.allProductsObject.products.count - 1
        self.productsCount.value = result.allProductsObject.productCount
        self.categoryName.value = result.allProductsObject.categoryName
        self.productsCollection.value.append(contentsOf: allProducts)
        self.pageNumber = self.pageNumber + 1
        self.loadingProducts.value = false
        self.pageLoadFinished.value = allProducts.count < batchSize
        self.numberOfItemsLoaded.value = "\(self.productsCollection.value.count)/\(self.productsCount.value) Loaded"
After we get the batch of products, we set the variables currentBeginningIndex and currentEndingIndex to keep track of beginning and end of the current batch of products.
productsCount stores the current count of downloaded product objects and categoryName remains the same as it's the constant for the selected category of products collection.
We append the current batch of products to productsCollection which holds all the downloaded product objects until this point. Since this is a new batch, we also update the pageNumber to reflect the current page.
Since products have been successfully downloaded, we set loadingProducts to false to make sure next time loadCategories is called, it downloads the next batch.
pageLoadFinished flag is used to check if we've downloaded all the available products and is an indicator to stop trying to load the next batch. It is set to true if the size of the current batch of products is less than the constant size of the single batch.
Lastly, we're also setting the numberOfItemsLoaded which is consumed by AllProductsViewController to display the number of downloaded items against the total count.
Let's see how these states are then used by the AllProductsViewController class.
_ = self.collectionViewModel.productsCollection.asObservable().observeOn(MainScheduler.instance).subscribe(onNext: { (products) in
    self.collectionView.performBatchUpdates({
        var indexPathsCollection: [IndexPath] = []
        if self.collectionViewModel.currentBeginningIndex < self.collectionViewModel.currentEndingIndex {
            for i in self.collectionViewModel.currentBeginningIndex...self.collectionViewModel.currentEndingIndex {
                indexPathsCollection.append(IndexPath(item: i, section: 0))
            }
            self.collectionView.insertItems(at: indexPathsCollection)
        }
    }, completion: nil)
})
Here, out viewController observes a productsCollection and as soon as it's updated, subscription block gets called. In there we execute performBatchUpdates on CollectionView only for new indices by appending new indexPaths in indexPathsCollection array. This array is then used to insert into collectionView which reloads only newly introduced indexPaths.
Additionally we keep observer on pageLoadingFinished and loadingProducts Observables to display or hide activityIndicator when they are true or false respectively.
_ = Observable.combineLatest(self.collectionViewModel.loadingProducts.asObservable(), self.collectionViewModel.pageLoadFinished.asObservable()).observeOn(MainScheduler.instance).subscribe(onNext: { (loading, markingFavorite, pageLoadFinished)in
    if loading == true && pageLoadFinished == false {
        self.activityIndicatorView.startAnimating()
    } else {
        self.activityIndicatorView.stopAnimating()
    }
})
As ViewModel changes the state, they are communicated to ViewControllers through Observables which in turn updates the UI based on the state variable values.
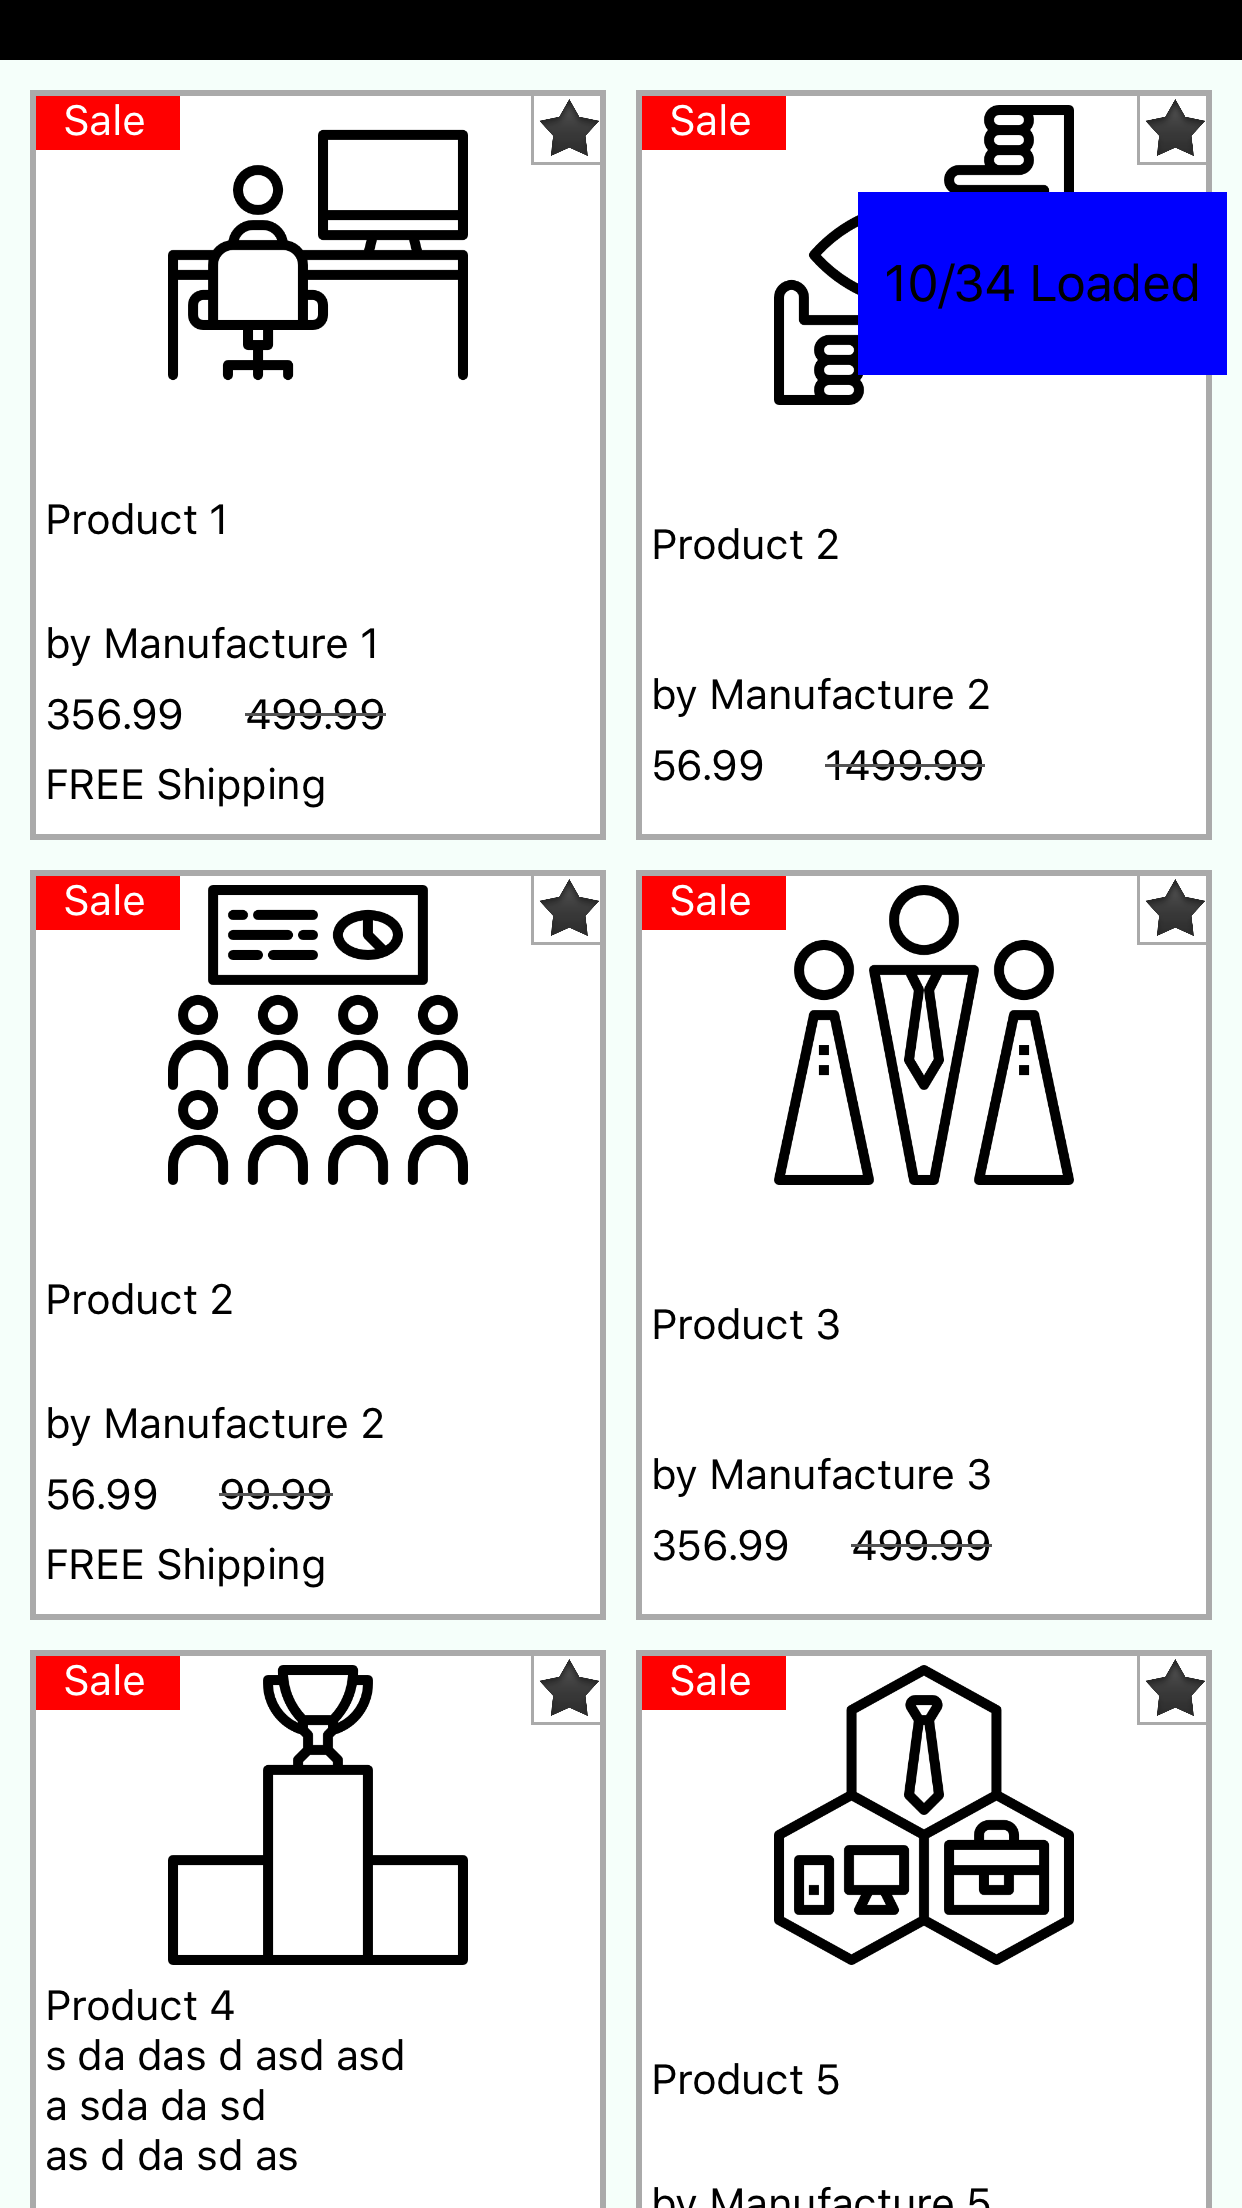
Let's add some fun to our project displaying the number of downloaded products and their total count.
First, we will add a sticky label over UICollectionView which will retain its position irrespective of scrolling.
let productsCountDisplayLabel: UILabel
....
..
self.productsCountDisplayLabel = UILabel()
self.productsCountDisplayLabel.translatesAutoresizingMaskIntoConstraints = false
self.productsCountDisplayLabel.numberOfLines = 0
self.productsCountDisplayLabel.backgroundColor = .blue
self.view.addSubview(self.productsCountDisplayLabel)
And then we can put the observer on numberOfItemsLoaded property associated with ViewModel which will be used to update the label
_ = self.collectionViewModel.numberOfItemsLoaded.asObservable().observeOn(MainScheduler.instance).subscribe(onNext: { (numberOfItemsLoaded) in
    self.productsCountDisplayLabel.text = "\n  \(numberOfItemsLoaded)  \n"
})
And...Here's the final demo of the project,
I have hosted the full demo project on GitLab. Feel free to play with it and don't hesitate to get back to me if you have any more questions

