Using MVVM Architecture with SwiftUI - Clean Architecture


MVVM has been a choice of architecture in iOS development for a long time. It survived the Objective-C era and has been quite popular in Swift world too. However, things became slightly complicated when SwiftUI came along.
It was a bit confusing to see how it can be used in the SwiftUI paradigm where it changed a lot of foundations in iOS development.
In today's blog post, we are going to see how to build SwiftUI apps on iOS using MVVM architecture.
MVVM Components
MVVM pattern consists of the following major components
- View - A screen representing user-visible data in the app
- Model - An object representing data downloaded from the network service
- View Model - A component for handling business logic and converting downloaded network models into user-representable view models
- Network Service - A component responsible for talking with APIs. The view model will talk to network service through protocols and get the requested data from pre-defined endpoints
In order to demonstrate the working of the SwiftUI app with MVVM, we will build a sample app going step-by-step adding an explanation at each step.
- Building a Network Service
We will start from the bottom of the stack by building a network service. The network service is responsible for getting data from the endpoint and converting it into local Decodable objects.
The network service initializer will take two parameters,
urlSession- An object of the typeURLSessionbaseURLString- An URL string representing the base API URL
class NetworkService: NetworkServiceable {

    let urlSession: URLSession
    let baseURLString: String

    init(urlSession: URLSession = .shared, baseURLString: String) {
        self.urlSession = urlSession
        self.baseURLString = baseURLString
    }
}
2. Building a Model
To represent the model, we will build a Swift struct conforming to Decodable protocol which will represent the downloaded posts from the remote endpoint.
struct Post: Decodable {
    let userId: Int
    let id: Int
    let title: String
    let body: String
}
Represents data downloaded from Posts API
3. A Publisher for Getting Post Models
Network service will have a single method that will return a publisher with an output of an array of Post objects returning no error. We will add this method to NetworkServiceable protocol and make NetworkService class conform to it to make injecting the mock network service easier during unit testing.
import Foundation
import Combine

protocol NetworkServiceable {
    func getPosts() -> AnyPublisher<[Post], Never>
}


class NetworkService: NetworkServiceable {

    let urlSession: URLSession
    let baseURLString: String

    init(urlSession: URLSession = .shared, baseURLString: String) {
        self.urlSession = urlSession
        self.baseURLString = baseURLString
    }

    func getPosts() -> AnyPublisher<[Post], Never> {

        let urlString = baseURLString + "posts"

        guard let url = URL(string: urlString) else {
            return Just<[Post]>([]).eraseToAnyPublisher()
        }

        return urlSession.dataTaskPublisher(for: url)
            .map { $0.data }
            .decode(type: [Post].self, decoder: JSONDecoder())
            .replaceError(with: [])
            .eraseToAnyPublisher()
    }
}
4. Building a LoadingState
Before we move to build a view model, let's first create an enum representing the app loading state. We use this state to represent different states the app goes through while loading the content. This includes the following stages,
- idle - When the app is idle
- loading - When the app is loading
- success - The app successfully loaded the data
- failure - The app failed to load the data from API
Let's code them into Swift by representing each state with an enum case,
struct ErrorViewModel: Equatable {
    let message: String
}

enum LoadingState<LoadedViewModel: Equatable>: Equatable {
    case idle
    case loading
    case failed(ErrorViewModel)
    case success(LoadedViewModel)
}
LoadingState enum conform to Equatable protocol. In the next steps, we need to compare these states to avoid firing duplicate network requests and having this enum conform to Equatable protocol makes it possible to perform that comparisonPlease note that in the above example we have used a generic where the caller to this enum can pass any object representing LoadedViewModel as long as that object conforms to Equatable protocol.
5. Building a View Model
In this step, we will actually build a view model for our sample app. We will call it LandingScreenViewModel.
Before we start implementing it, few things to note,
- The view model initializer will take an object conforming to
NetworkServiceablein its initializer. This makes it easier to pass the mock network service and switch it to the real one during unit testing - The view model will conform to
ObservableObjectsince we are going to publish at least one of its properties which will be observed by the view and change the state accordingly - The view model will have its own version of
LoadedViewModelwhich will encapsulate view models derived from models received from the network service. These view models represent user-displayable data and will be produced after applying the desired transformation to the incoming model data. We need to makeLoadedViewModelconform toEquatabledue to the requirement ofLoadingStateenum LoadedViewModelwill have two properties -idandposts. Each object inpostswill be of typePostDataand will conform toIdentifiableprotocol to be able to get used in the list
Now with all the theoretical concepts out of the way, let's write a code for the view model,
import Foundation
import Combine
import SwiftUI

class LandingScreenViewModel: ObservableObject {

    struct PostData: Identifiable {
        let id: String
        let title: String
        let body: String
    }

    struct LoadedViewModel: Equatable {

        static func == (lhs: LandingScreenViewModel.LoadedViewModel, rhs: LandingScreenViewModel.LoadedViewModel) -> Bool {
            lhs.id == rhs.id
        }

        let id: String
        let posts: [PostData]
    }

    @Published private(set) var state: LoadingState<LoadedViewModel> = .idle

    private var postsPublisher: AnyCancellable?

    @State var showErrorAlert = false

    private let networkService: NetworkServiceable

    private var postsData: [PostData] = []

    init(networkService: NetworkServiceable) {
        self.networkService = networkService
    }

    func loadData() {

        guard state != .loading else {
            return
        }

        state = .loading

        postsPublisher = networkService.getPosts().receive(on: DispatchQueue.main).sink { [weak self] completion in
            if case .failure(let error) = completion {
                self?.showErrorAlert = true
                self?.state = .failed(ErrorViewModel(message: error.localizedDescription))
            }
        } receiveValue: { [weak self] posts in

            let postsData = posts.map { PostData(id: String($0.id), title: $0.title, body: $0.body) }

            self?.postsData = postsData

            self?.state = .success(.init(id: UUID().uuidString, posts: postsData))
        }
    }
}
As you can see, we are using an additional state variable named showErrorAlert to allow the related view to change the state if the error is encountered.
The view model has a primary method loadData() responsible for requesting data by routing the request through a network request wrapper. Our view will call this method in the next section as soon as the view appears to the user.
6. Building a Screen
Now that all the foundations for the MVVM app are ready, let's start building the topmost layer - An app screen. We will call it a LandingScreen
Few things to note before we jump to the implementation,
LandingScreenbeing a SwiftUI view will conform toViewprotocol- It will have a reference to
LandingScreenViewModelobject through a property. Since we're observing at least one of the view model's properties, we will decorate it with@ObservedObjectannotation - The view will change its display state based on the state associated with the view model as follows
- Idle - When the view appears and the state is idle, fire network request to load the data by calling
loadmethod on the view model - Loading - View will show the progress view while view loading is in progress
- Success - The view model will be set to a success state once the data is successfully downloaded. We will then apply it to the view and display to the user
- Failed - Not everything will go right all the time. Call to API is bound to fail for a multitude of reasons. If that happens, the view needs to handle this state to show an alert message indicating the nature of the occurred error
import SwiftUI

struct LandingScreen: View {

    @ObservedObject var viewModel: LandingScreenViewModel

    var body: some View {
        let state = viewModel.state

        switch state {
        case .idle:
            Color.clear.onAppear(perform: viewModel.loadData)
        case .loading:
            ProgressView()
        case .success(let loadedViewModel):
            VStack(alignment: .leading) {
                List {
                    ForEach(loadedViewModel.posts.indices, id: \.self) { index in

                        let post = loadedViewModel.posts[index]

                        VStack(alignment: .leading, spacing: 12) {
                            Text(post.title)
                                .font(.title)
                                .fontWeight(.bold)
                            Text(post.body)
                                .font(.body)
                                .fontWeight(.medium)
                        }
                    }
                }
            }
            .sheet(item: $viewModel.selectedPost) { selectedPost in
                Text(selectedPost.title)
            }
        case .failed(let errorViewModel):
            Color.clear.alert(isPresented: $viewModel.showErrorAlert) {
                Alert(
                    title: Text("Error"),
                    message: Text(errorViewModel.message),
                    dismissButton: .default(Text("OK"))
                )
            }
        }
    }
}
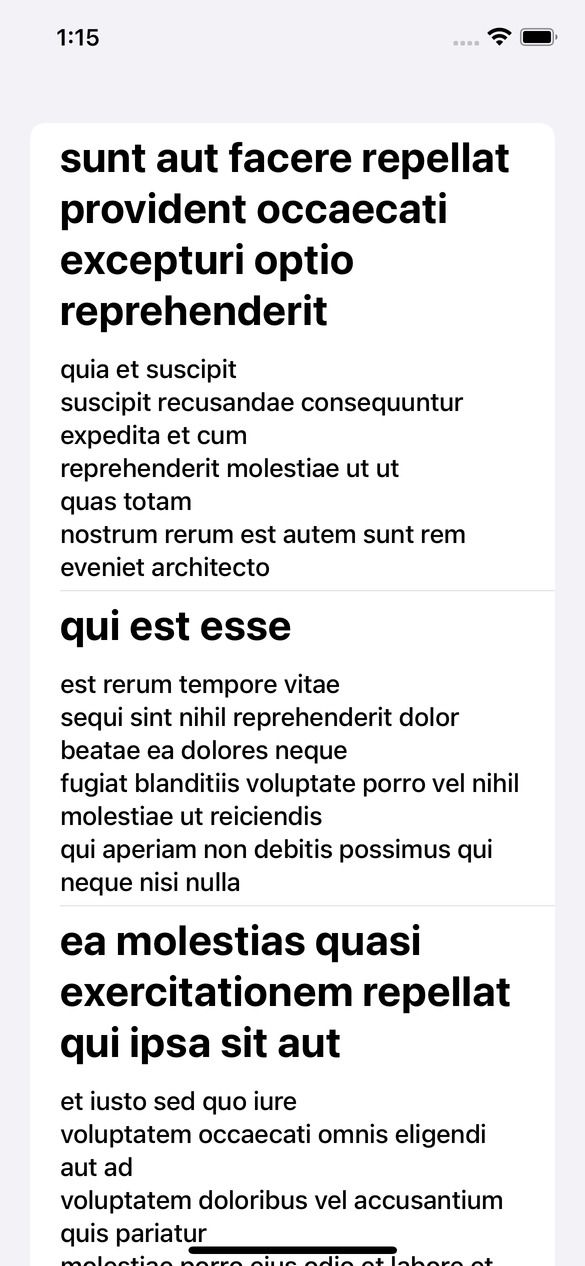
Demo
Now that all our parts are ready, our app is ready for demo. Let's run the app and see the different states it goes through.


Handling Tap Events
We can do extra by adding tap functionality and a way to navigate to the next screen with the current architecture. We will do the following changes to support tap and next-screen navigation.
- Add a tap handler for each row of the list
- Support to navigate to a new screen with the selected view model
// LandingScreen.swift

.....
...
..

VStack(alignment: .leading) {
    List {
        ForEach(loadedViewModel.posts.indices, id: \.self) { index in

            let post = loadedViewModel.posts[index]

            VStack(alignment: .leading, spacing: 12) {
                Text(post.title)
                    .font(.title)
                    .fontWeight(.bold)
                Text(post.body)
                    .font(.body)
                    .fontWeight(.medium)
            }.onTapGesture {
                viewModel.postSelected(at: index)
            }
        }
    }
}
.sheet(item: $viewModel.selectedPost) { selectedPost in
    Text(selectedPost.title)
}

.....
...
..
And make changes to the view model to handle the selection,
class LandingScreenViewModel: ObservableObject {

    .....

	@Published var selectedPost: PostData?

    private var postsData: [PostData] = []

    func postSelected(at index: Int) {
        self.selectedPost = self.postsData[index]
    }
    ...
    ..

}Here's how it works,
We have added a tap handler which gets invoked as the user taps on the list item. The tap handler calls postSelected method on the view model which sets its published property to selectedPost with post at the passed index.
selectedPost is an observed object in LandingScreen. As soon as it's set to non-nil property, it triggers the modal sheet.
Thank you for reading. The full source code with demo for this post is available on Github. You can view and play with the demo by visiting this Github link
Summary
So this was all about using MVVM to build a SwiftUI app on iOS. MVVM is one of the preferred architectures on the iOS platform and lots of apps are using it in production. However, it shouldn't be too difficult or impossible to build an app using this architecture in the new SwiftUI paradigm.
I hope this post was useful to get the hang of how MVVM and SwiftUI together look like. This architecture is also highly testable where network layer and view models can be unit tested by mocking dependencies and UI can be tested with snapshot and UI tests.
Since this post has already gotten too big, I avoided adding a tests section for the sake of space and time. But if you want me to add another article on Testing MVVM applications with SwiftUI, feel free to let me know and I will work on it. As usual, thanks for reading it. I hope it was useful. For any comments, feedback, corrections, and proposals for future articles, please reach out to me on Twitter @jayeshkawli.

