Making a Homemade French-fries

Being in a lockdown for more than 6 months is stressful. However, it doesn't have to be like that all the time. Couple of weeks back I was feeling rather low-energy and depressed. I didn't know what I should do to get rid of this feeling.
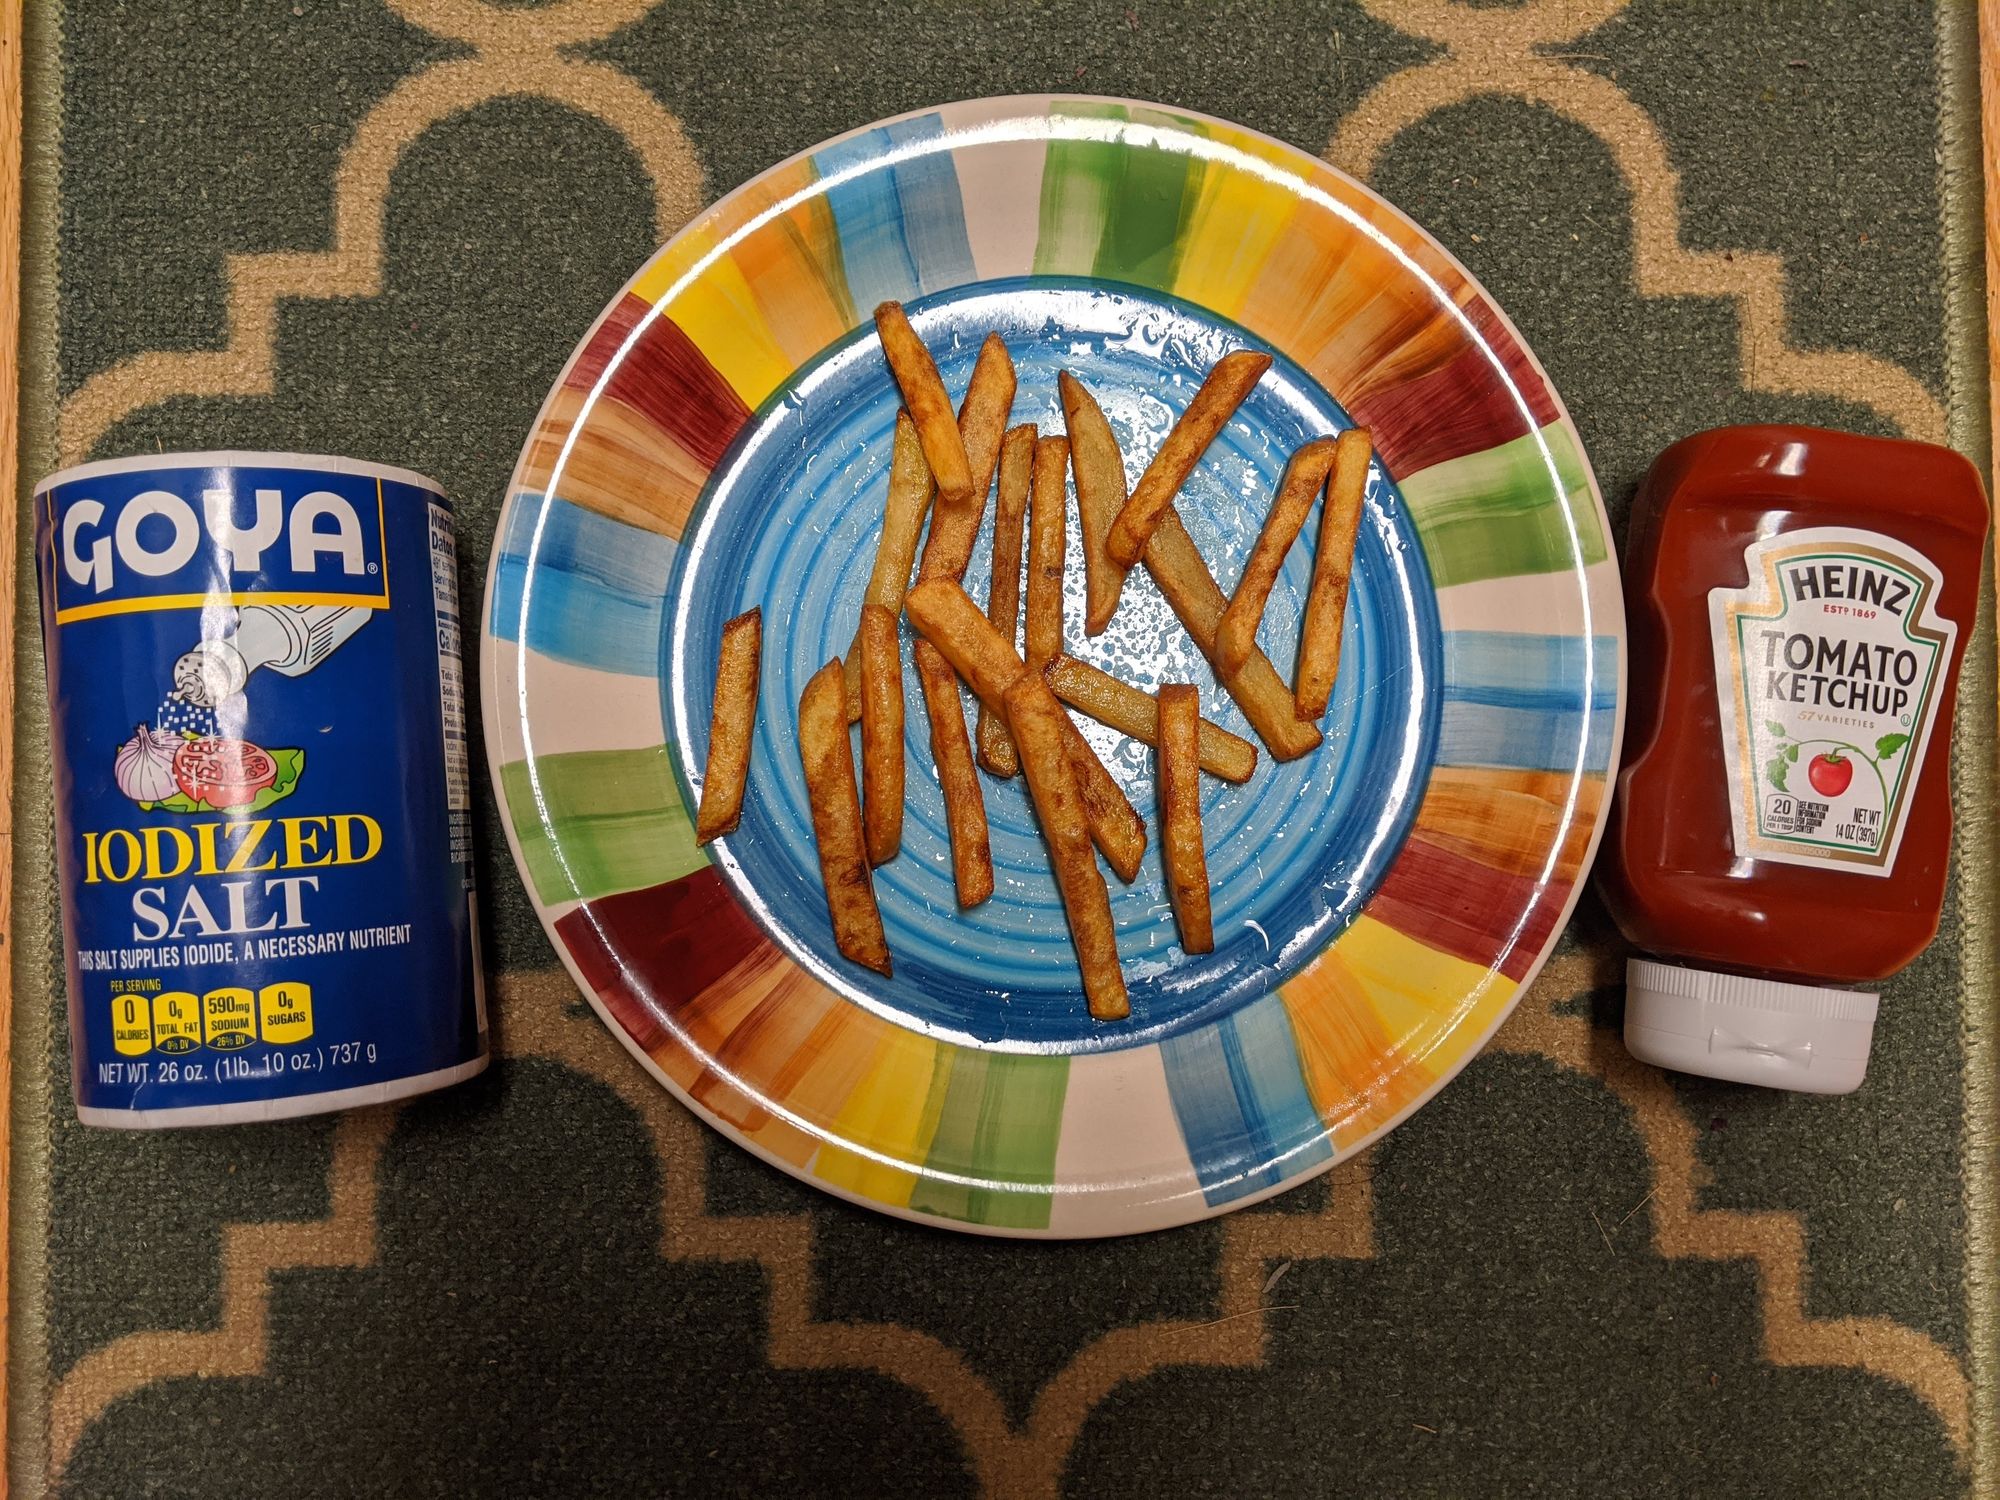
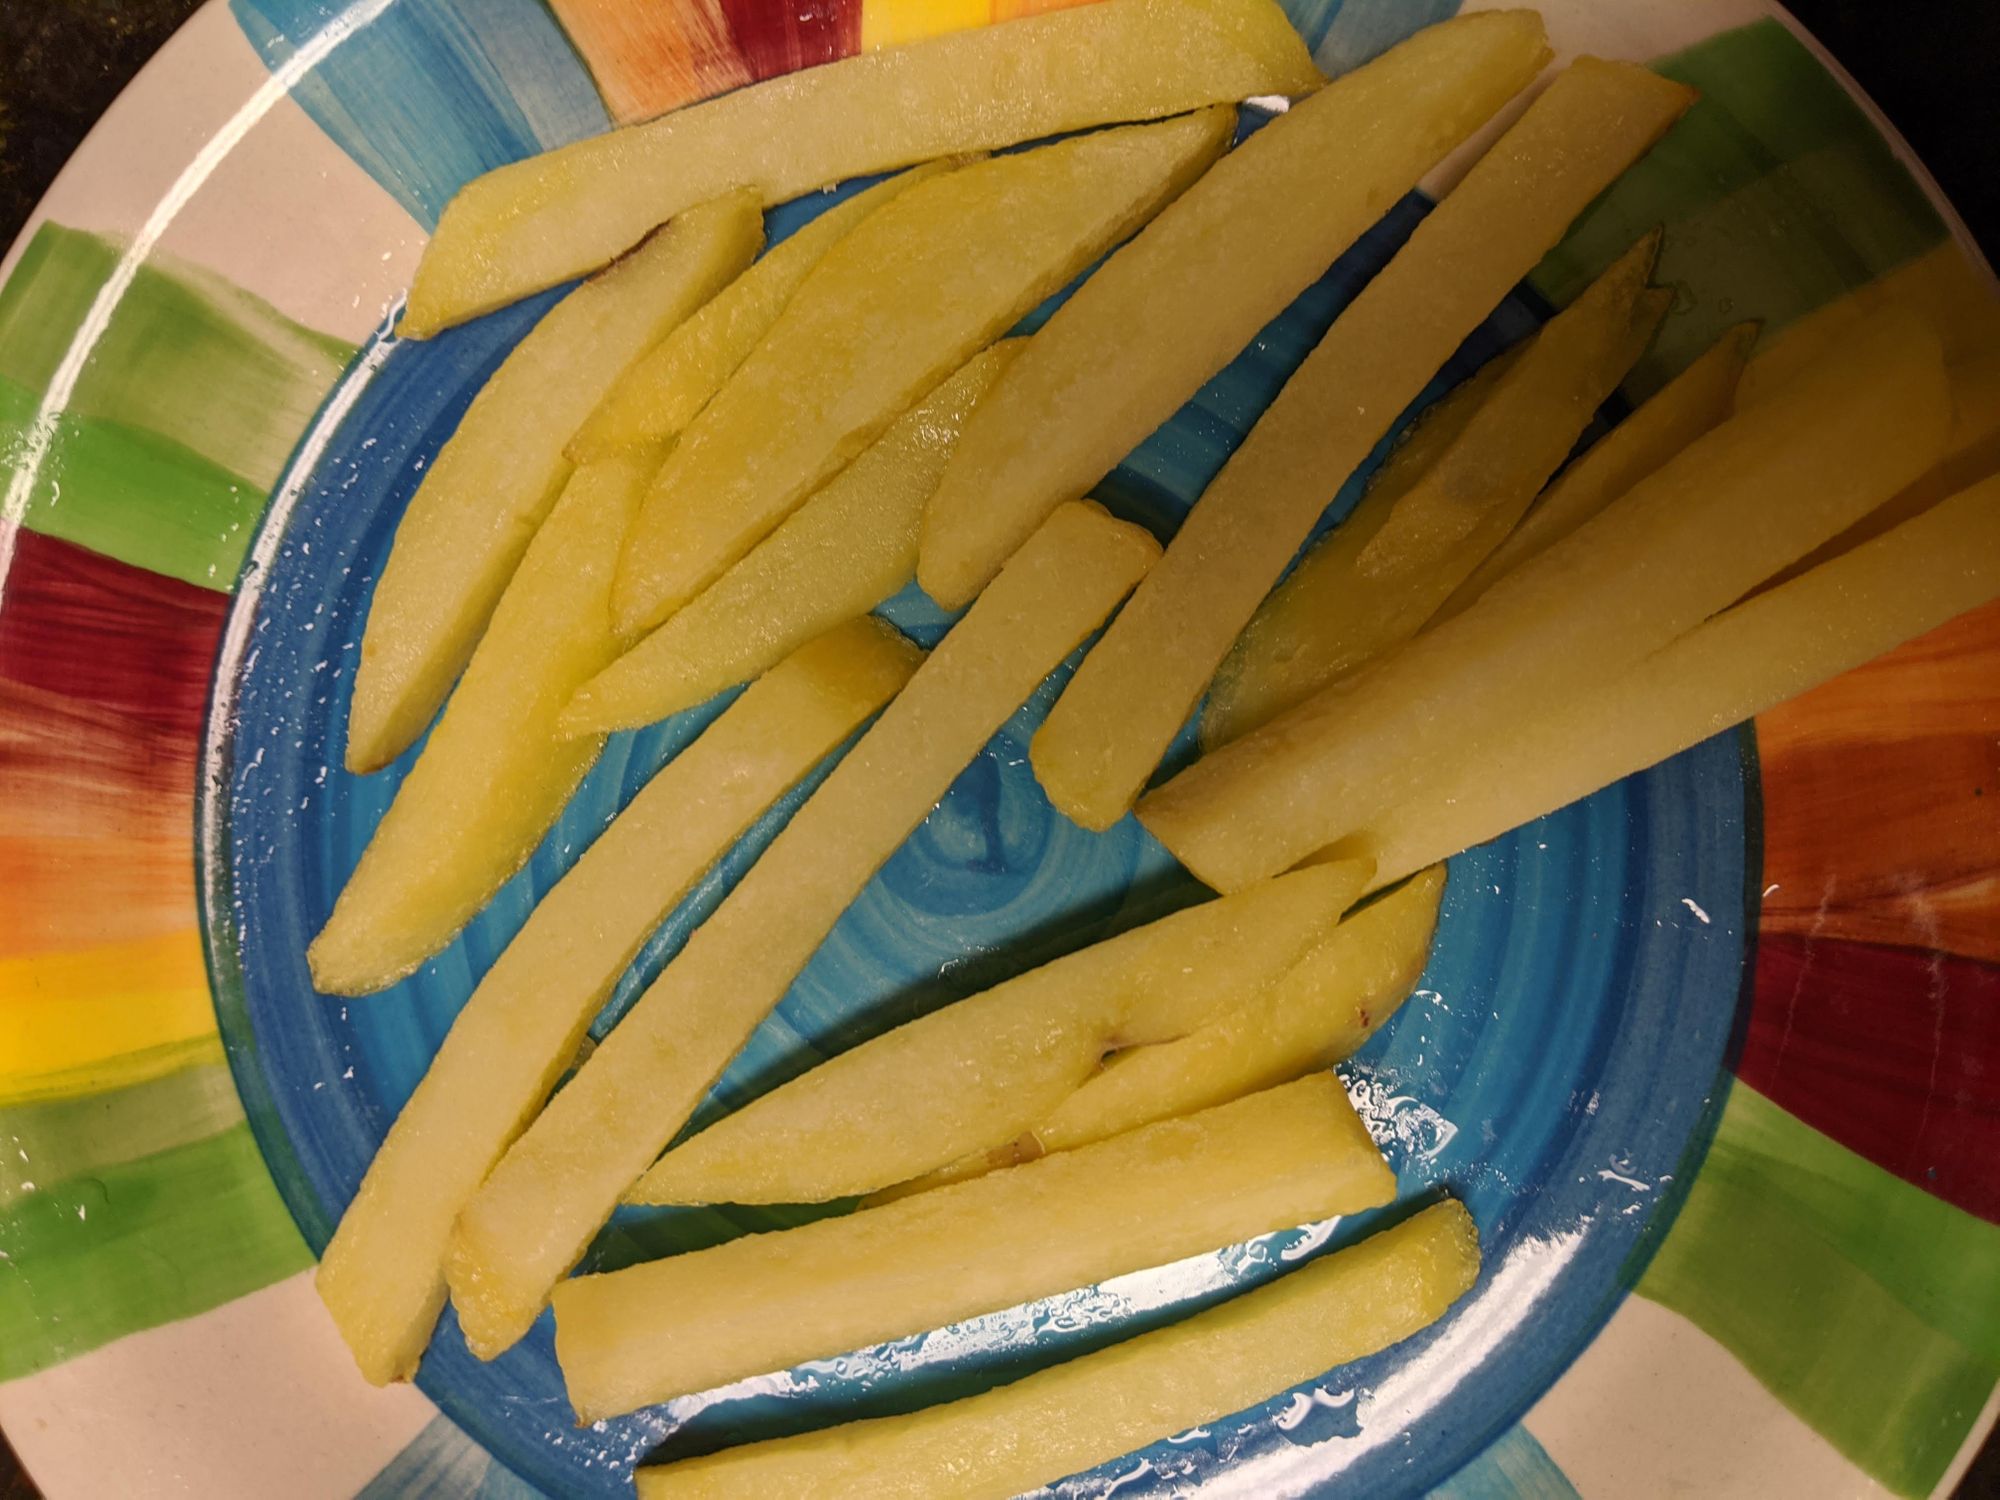
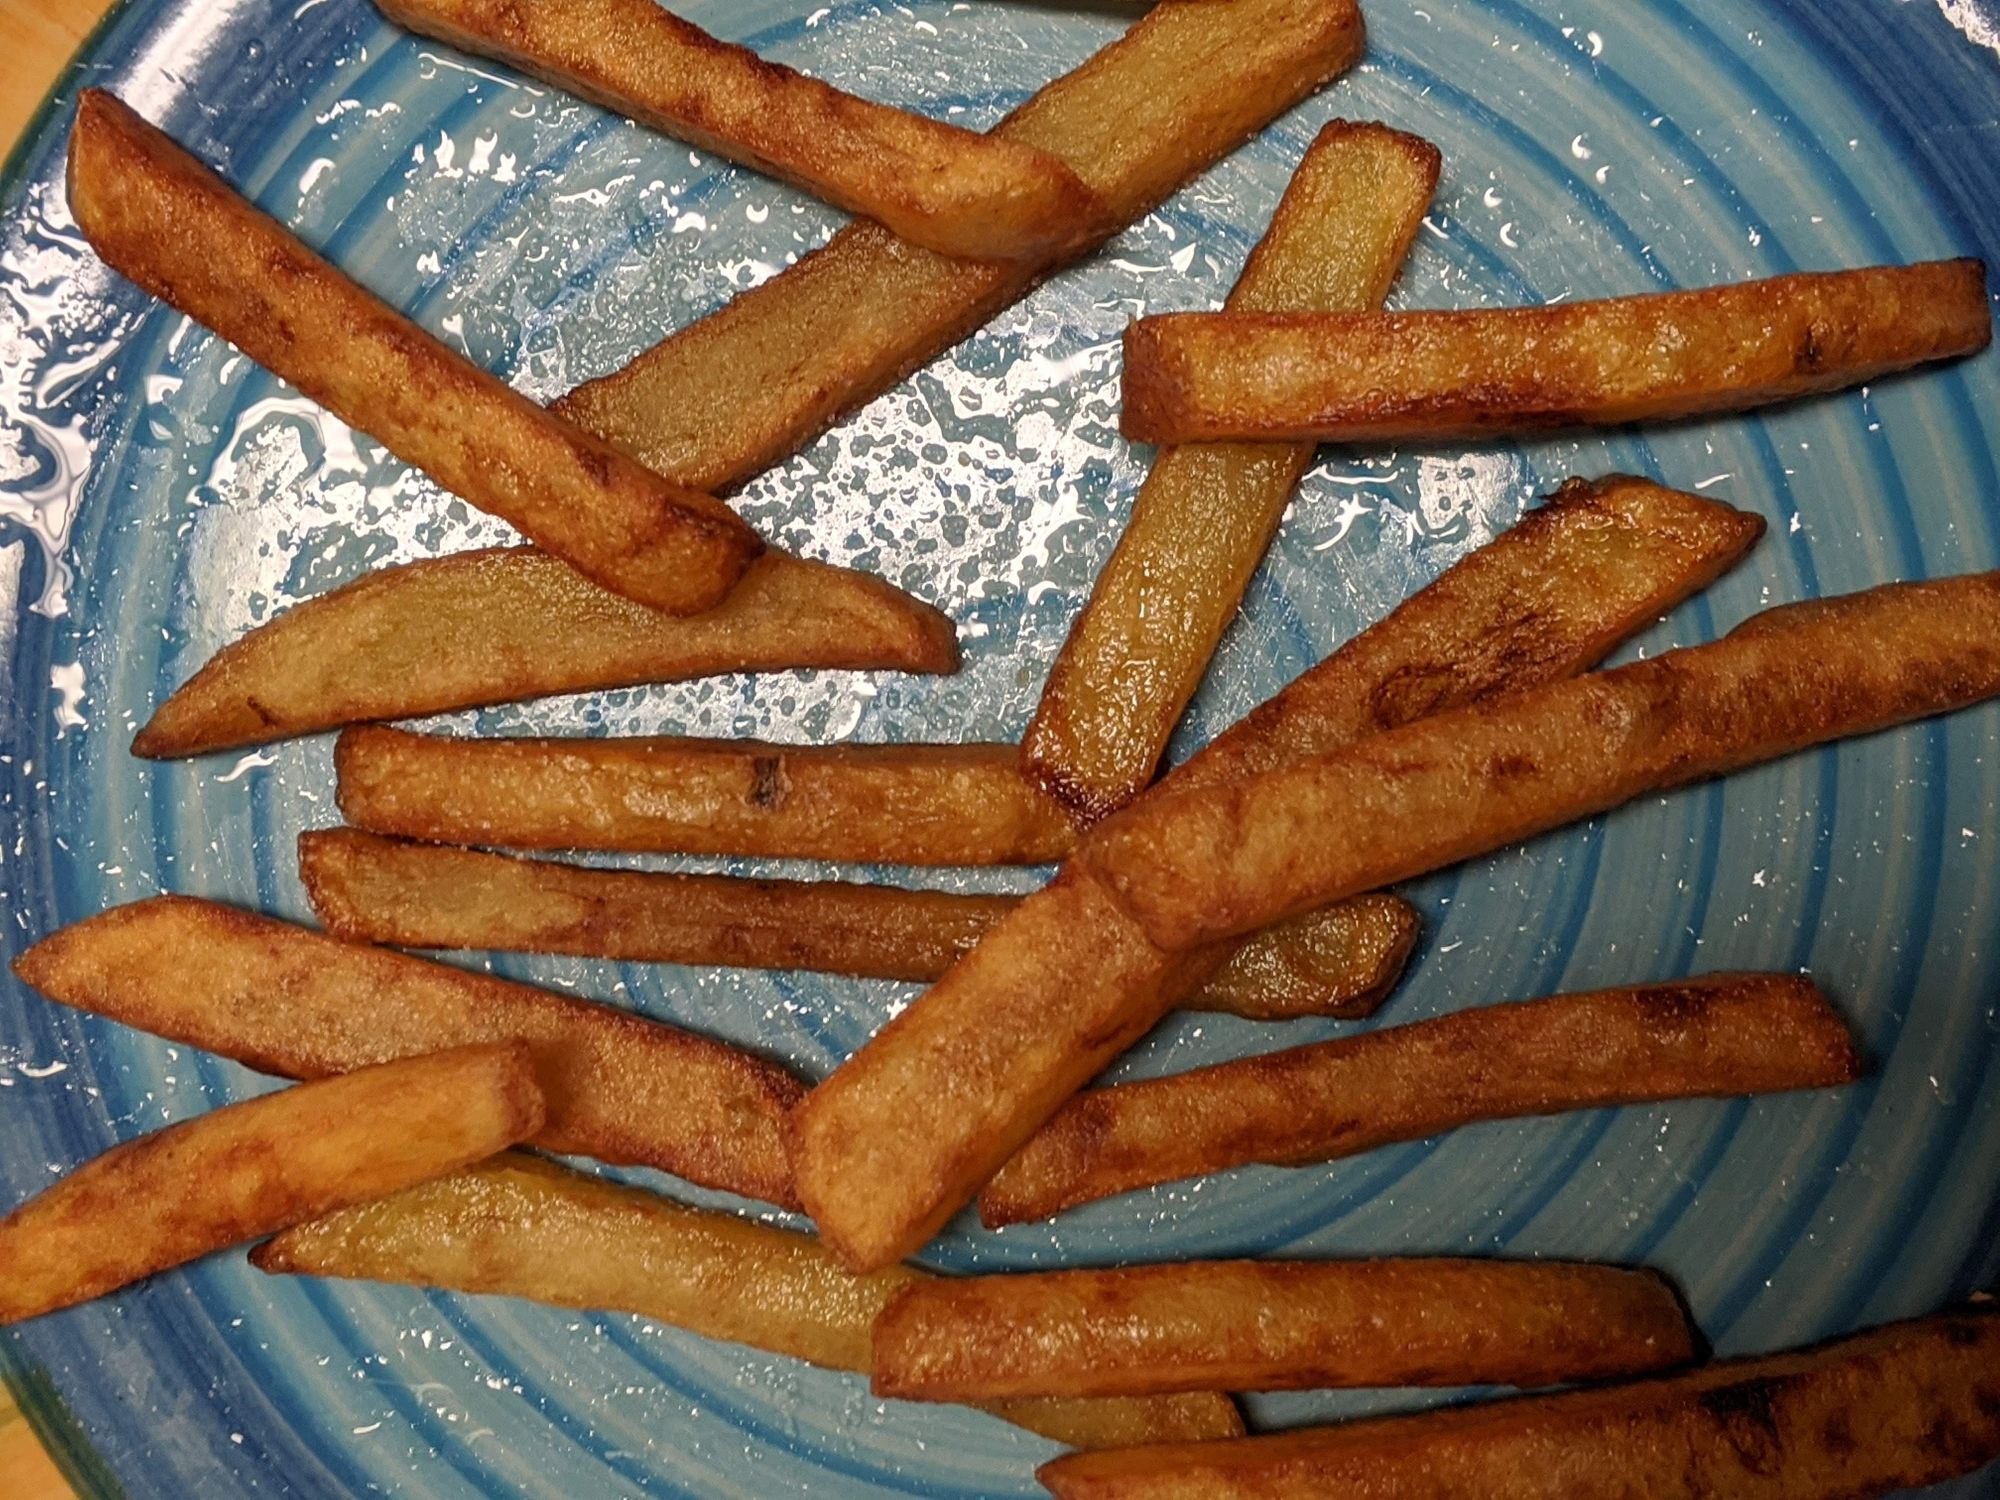
Then I remembered I had some potatoes in my pantry. I was getting hungry and was craving for some snacks. It had been a while since I made fries. Last time it was long time ago and as you can see in a picture, they weren't even close to how real fries look.
They were sort of wobbly and still white instead of having brown and golden color. Here's the try #2. The process I followed was combined from multiple videos. I altered it a bit based on reviews and to fit my convenience level.
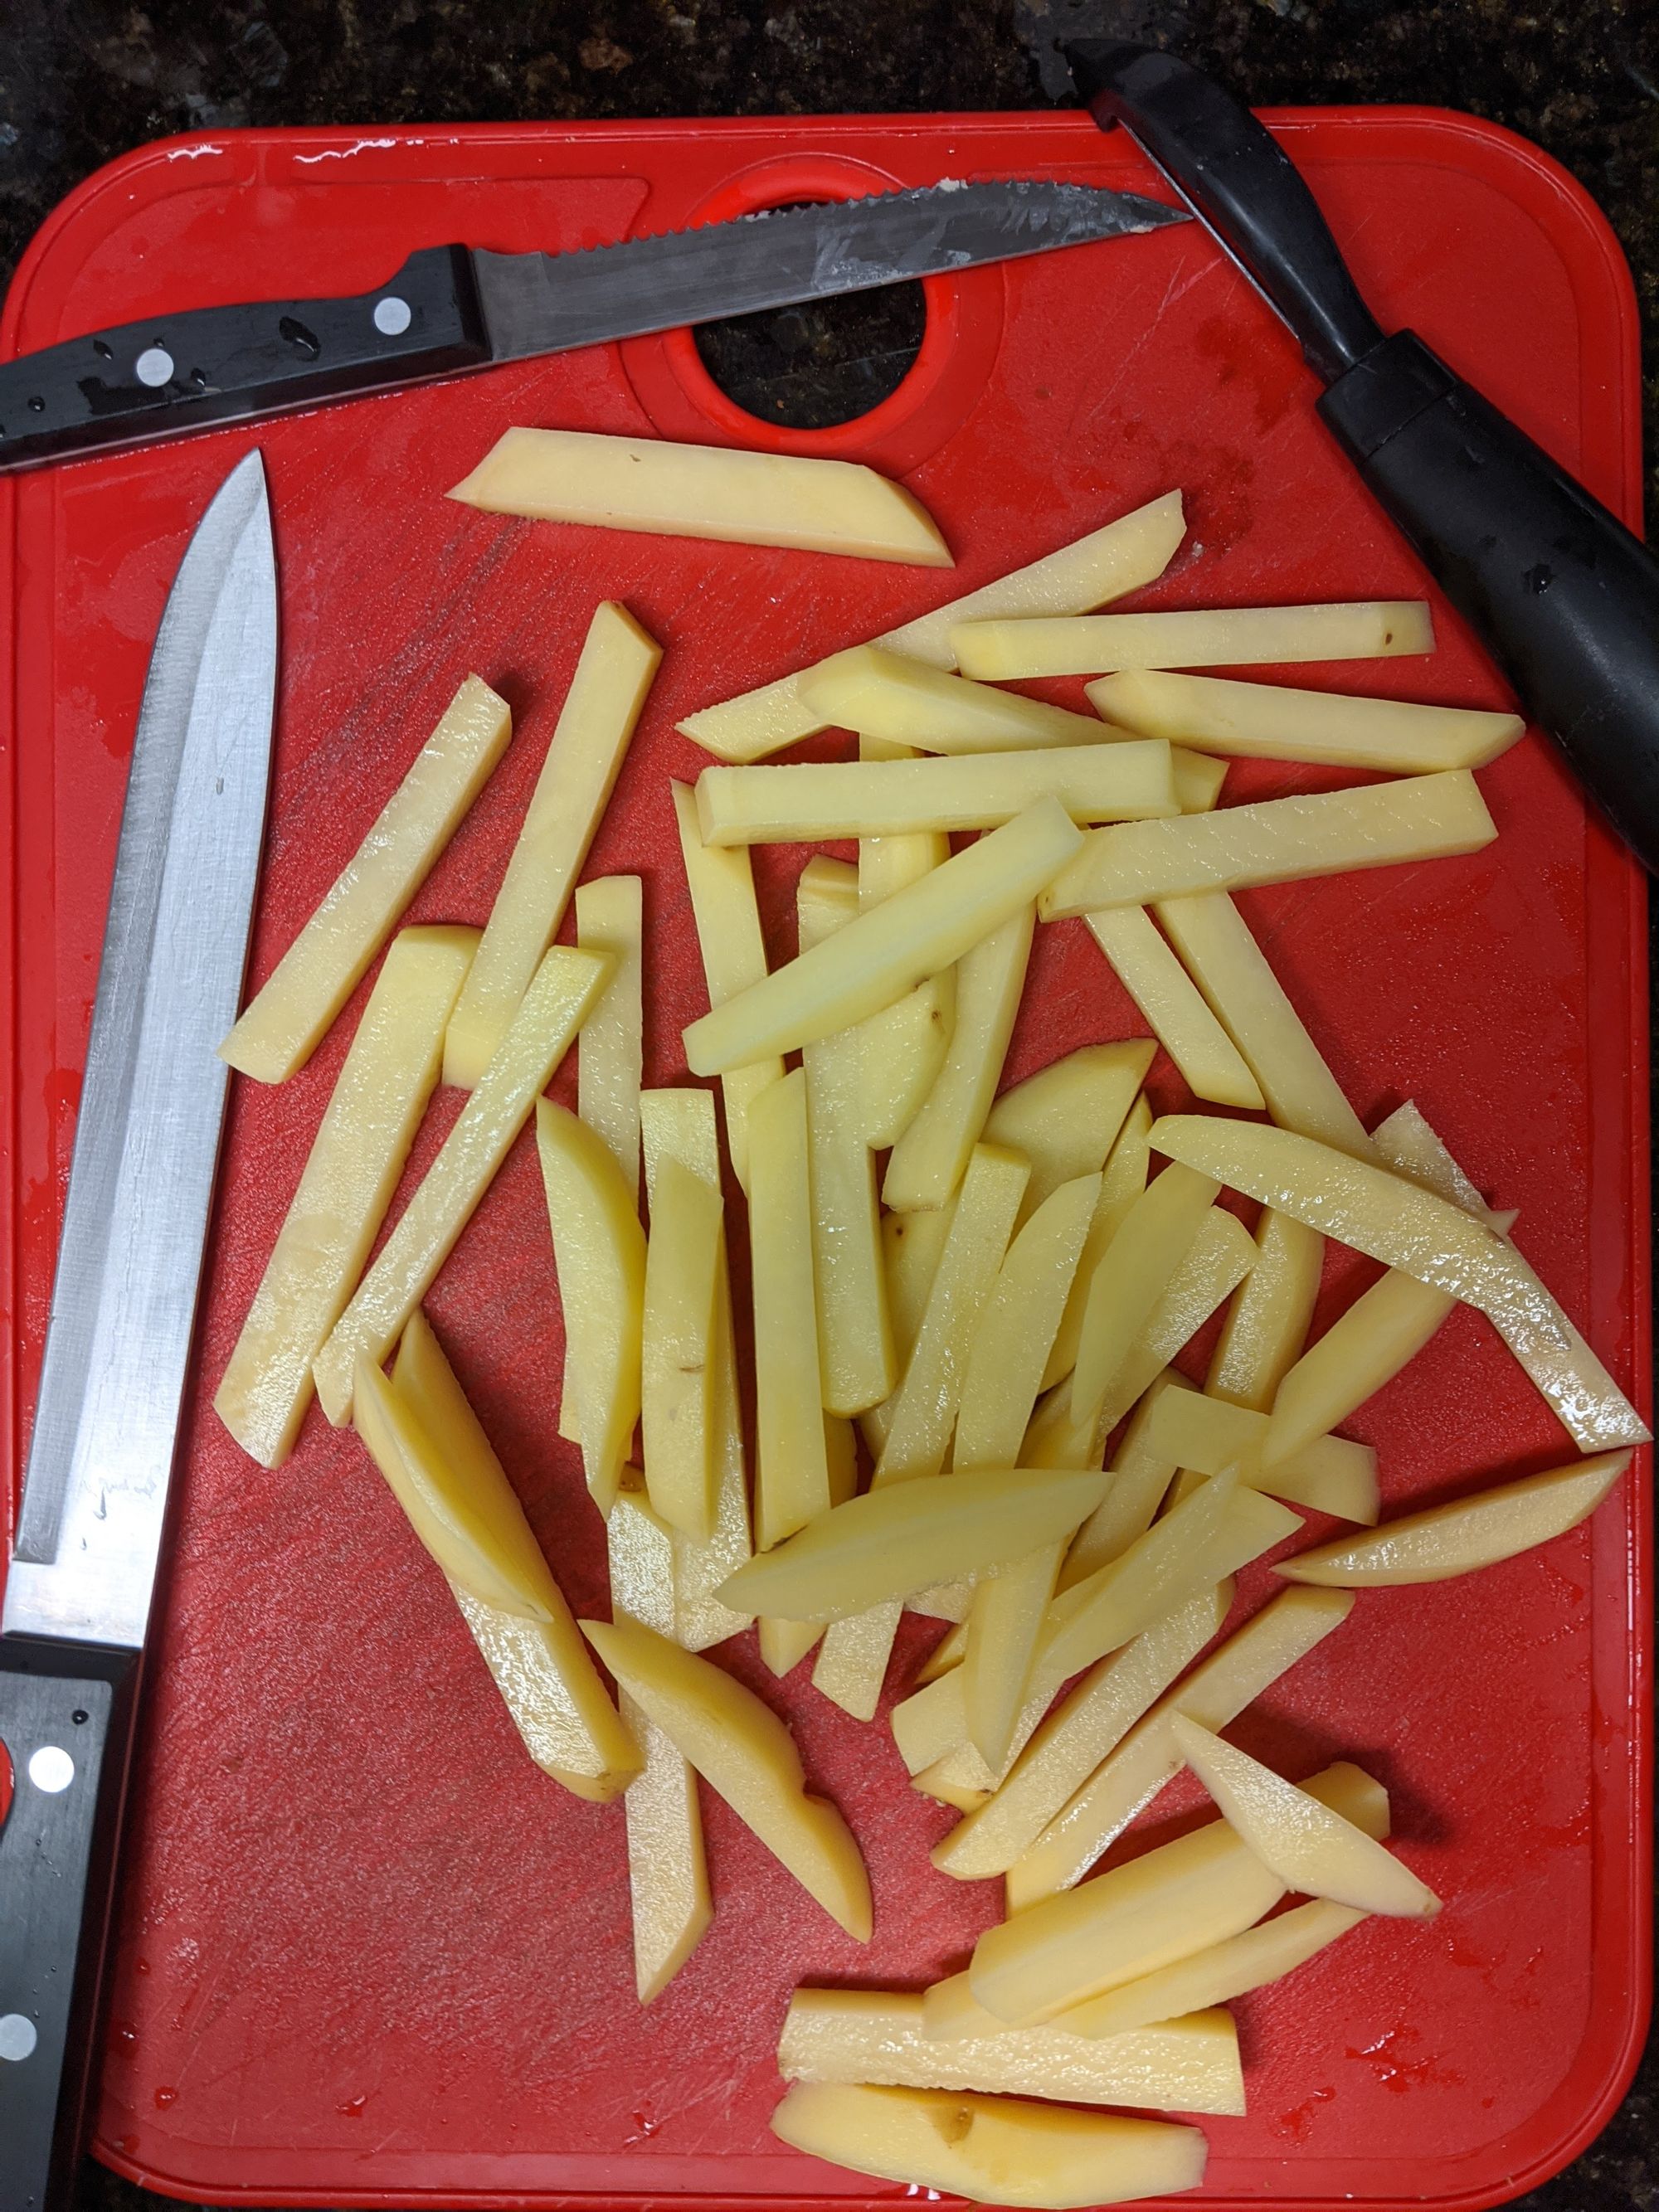
- Cutting potatoes
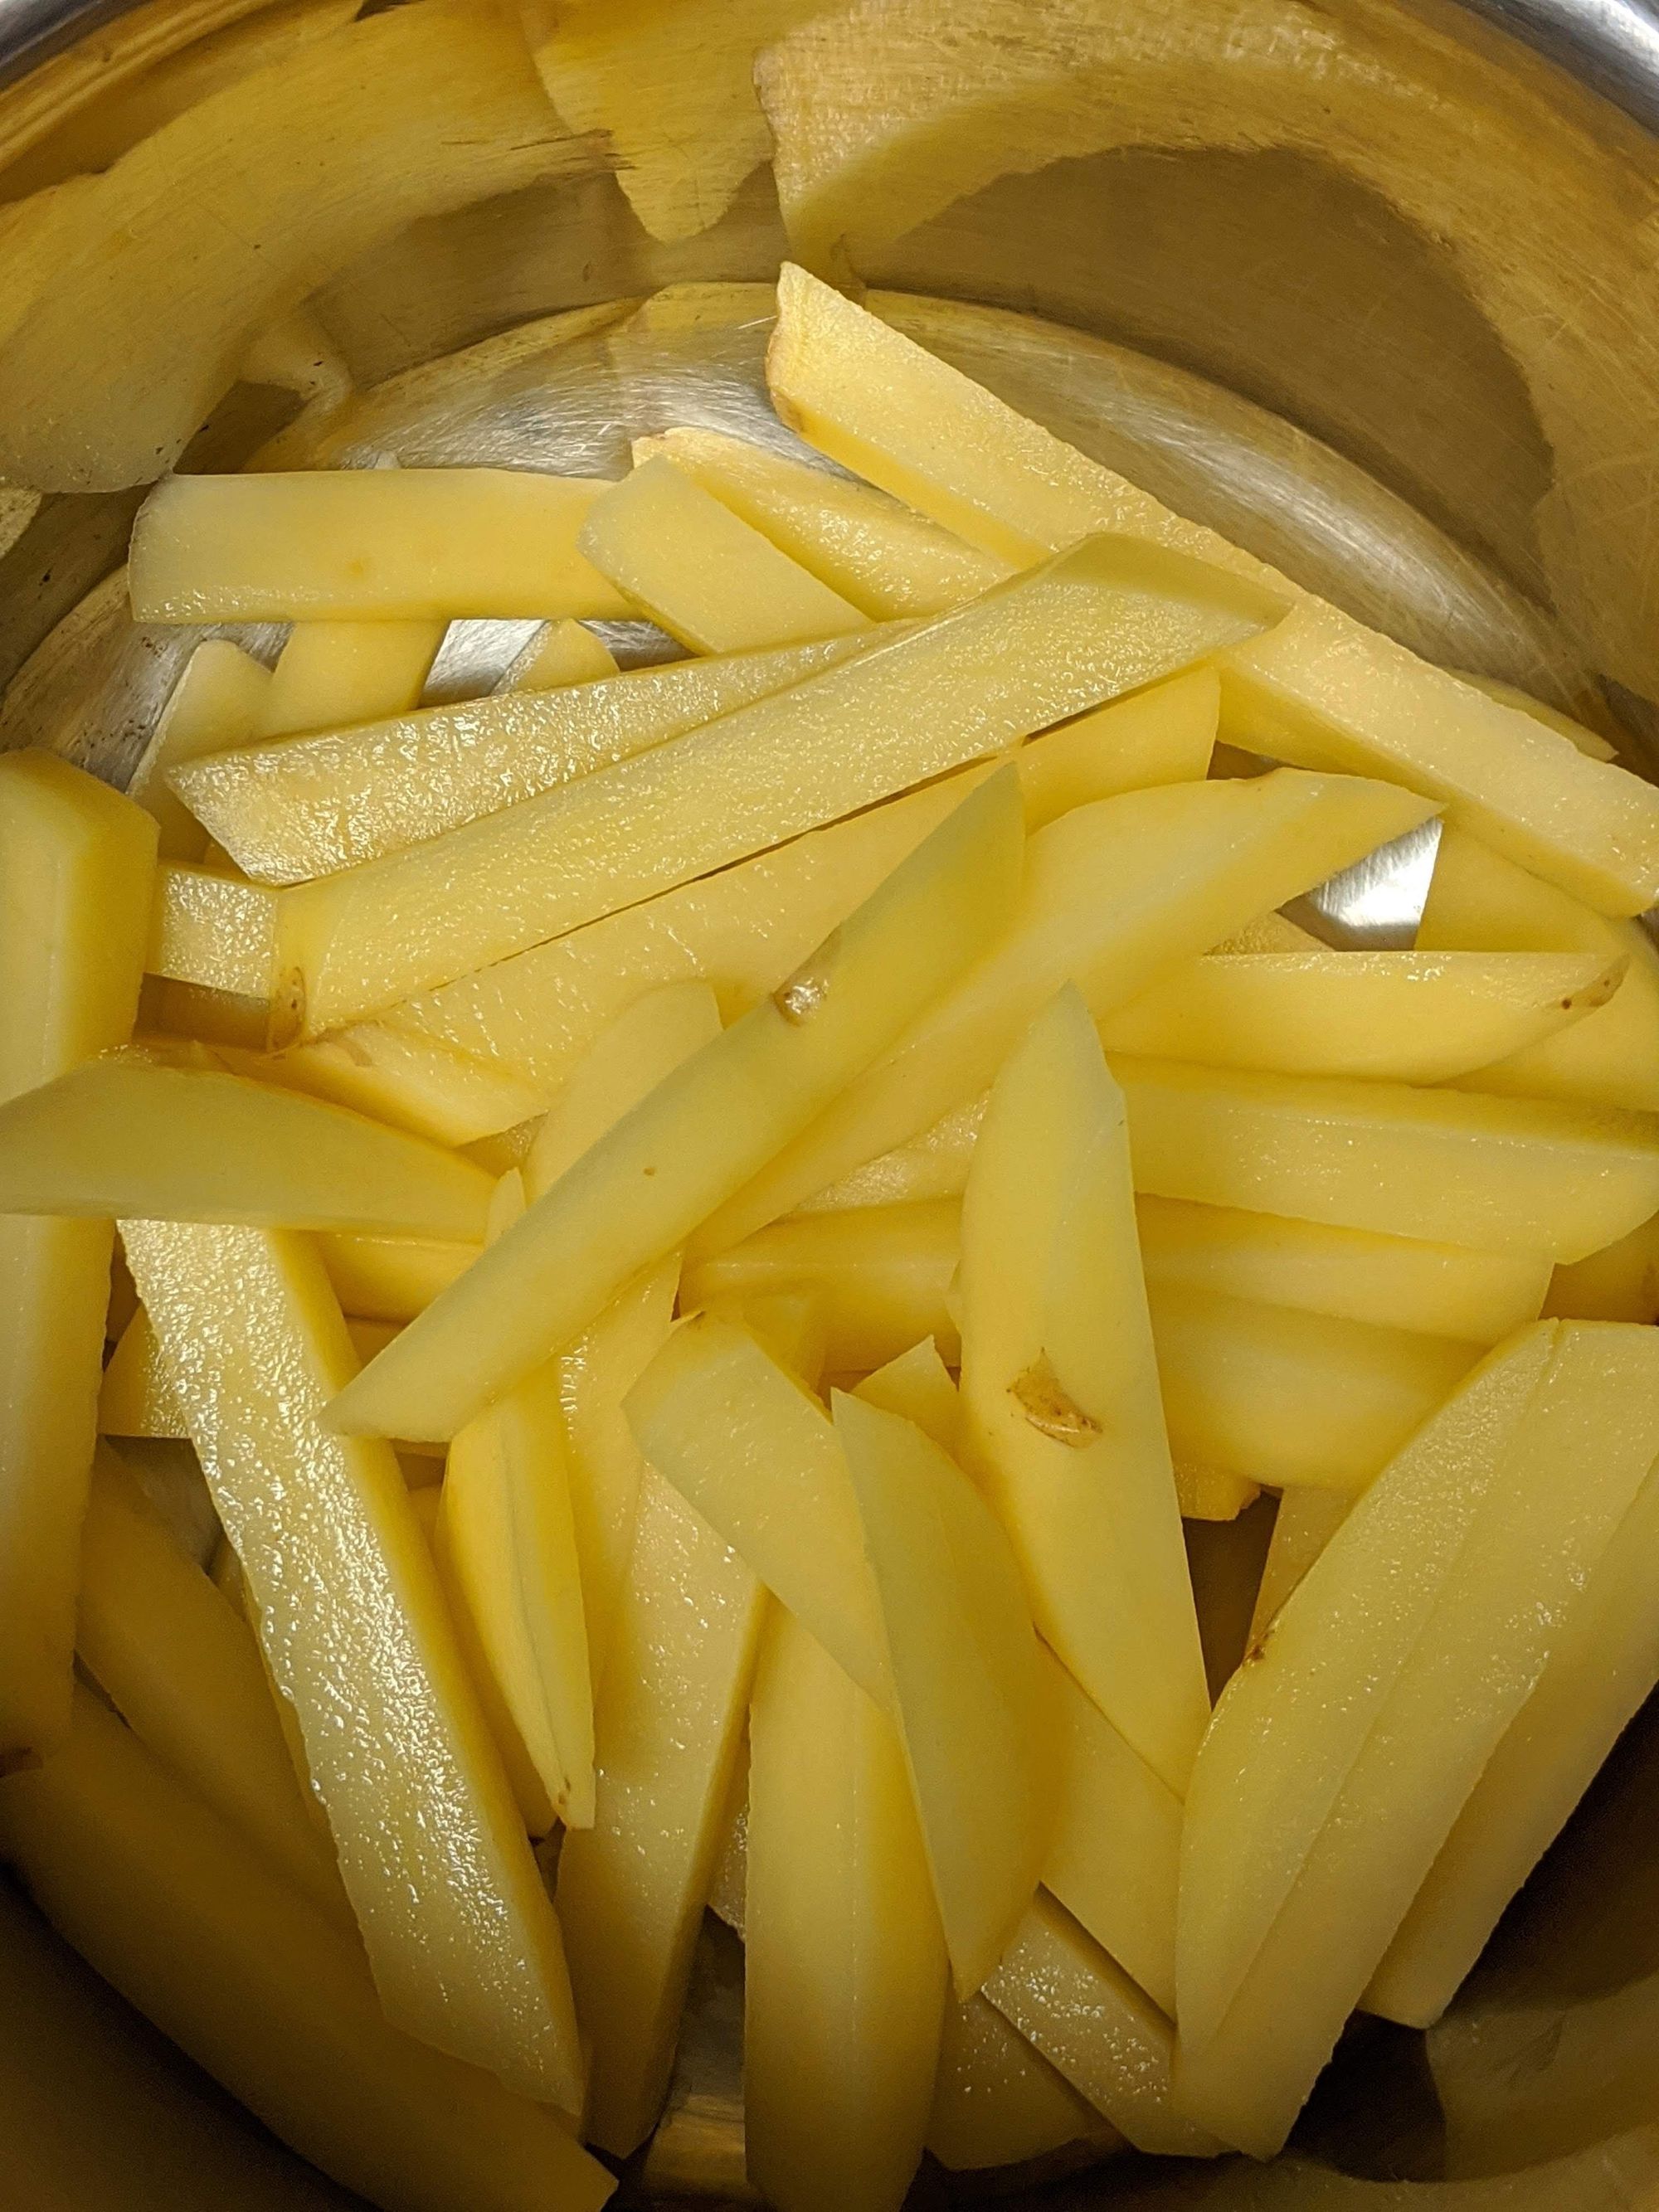
First step is to take potatoes, wash them and cut in the fries shape. It's very easy! Hold the potato horizontally and start making 1cm slices along its width. This will give you 1cm thick slices. Next, hold the slices on chopping board and start cutting them again along the width to make pieces approximately 1cm. wide. This will give you raw fries.
It's usually recommended in many videos to use Russet potatoes as they've less starch content. I used golden Yukon potatoes and fries still came out with a great taste. It's up to you which category you prefer to use

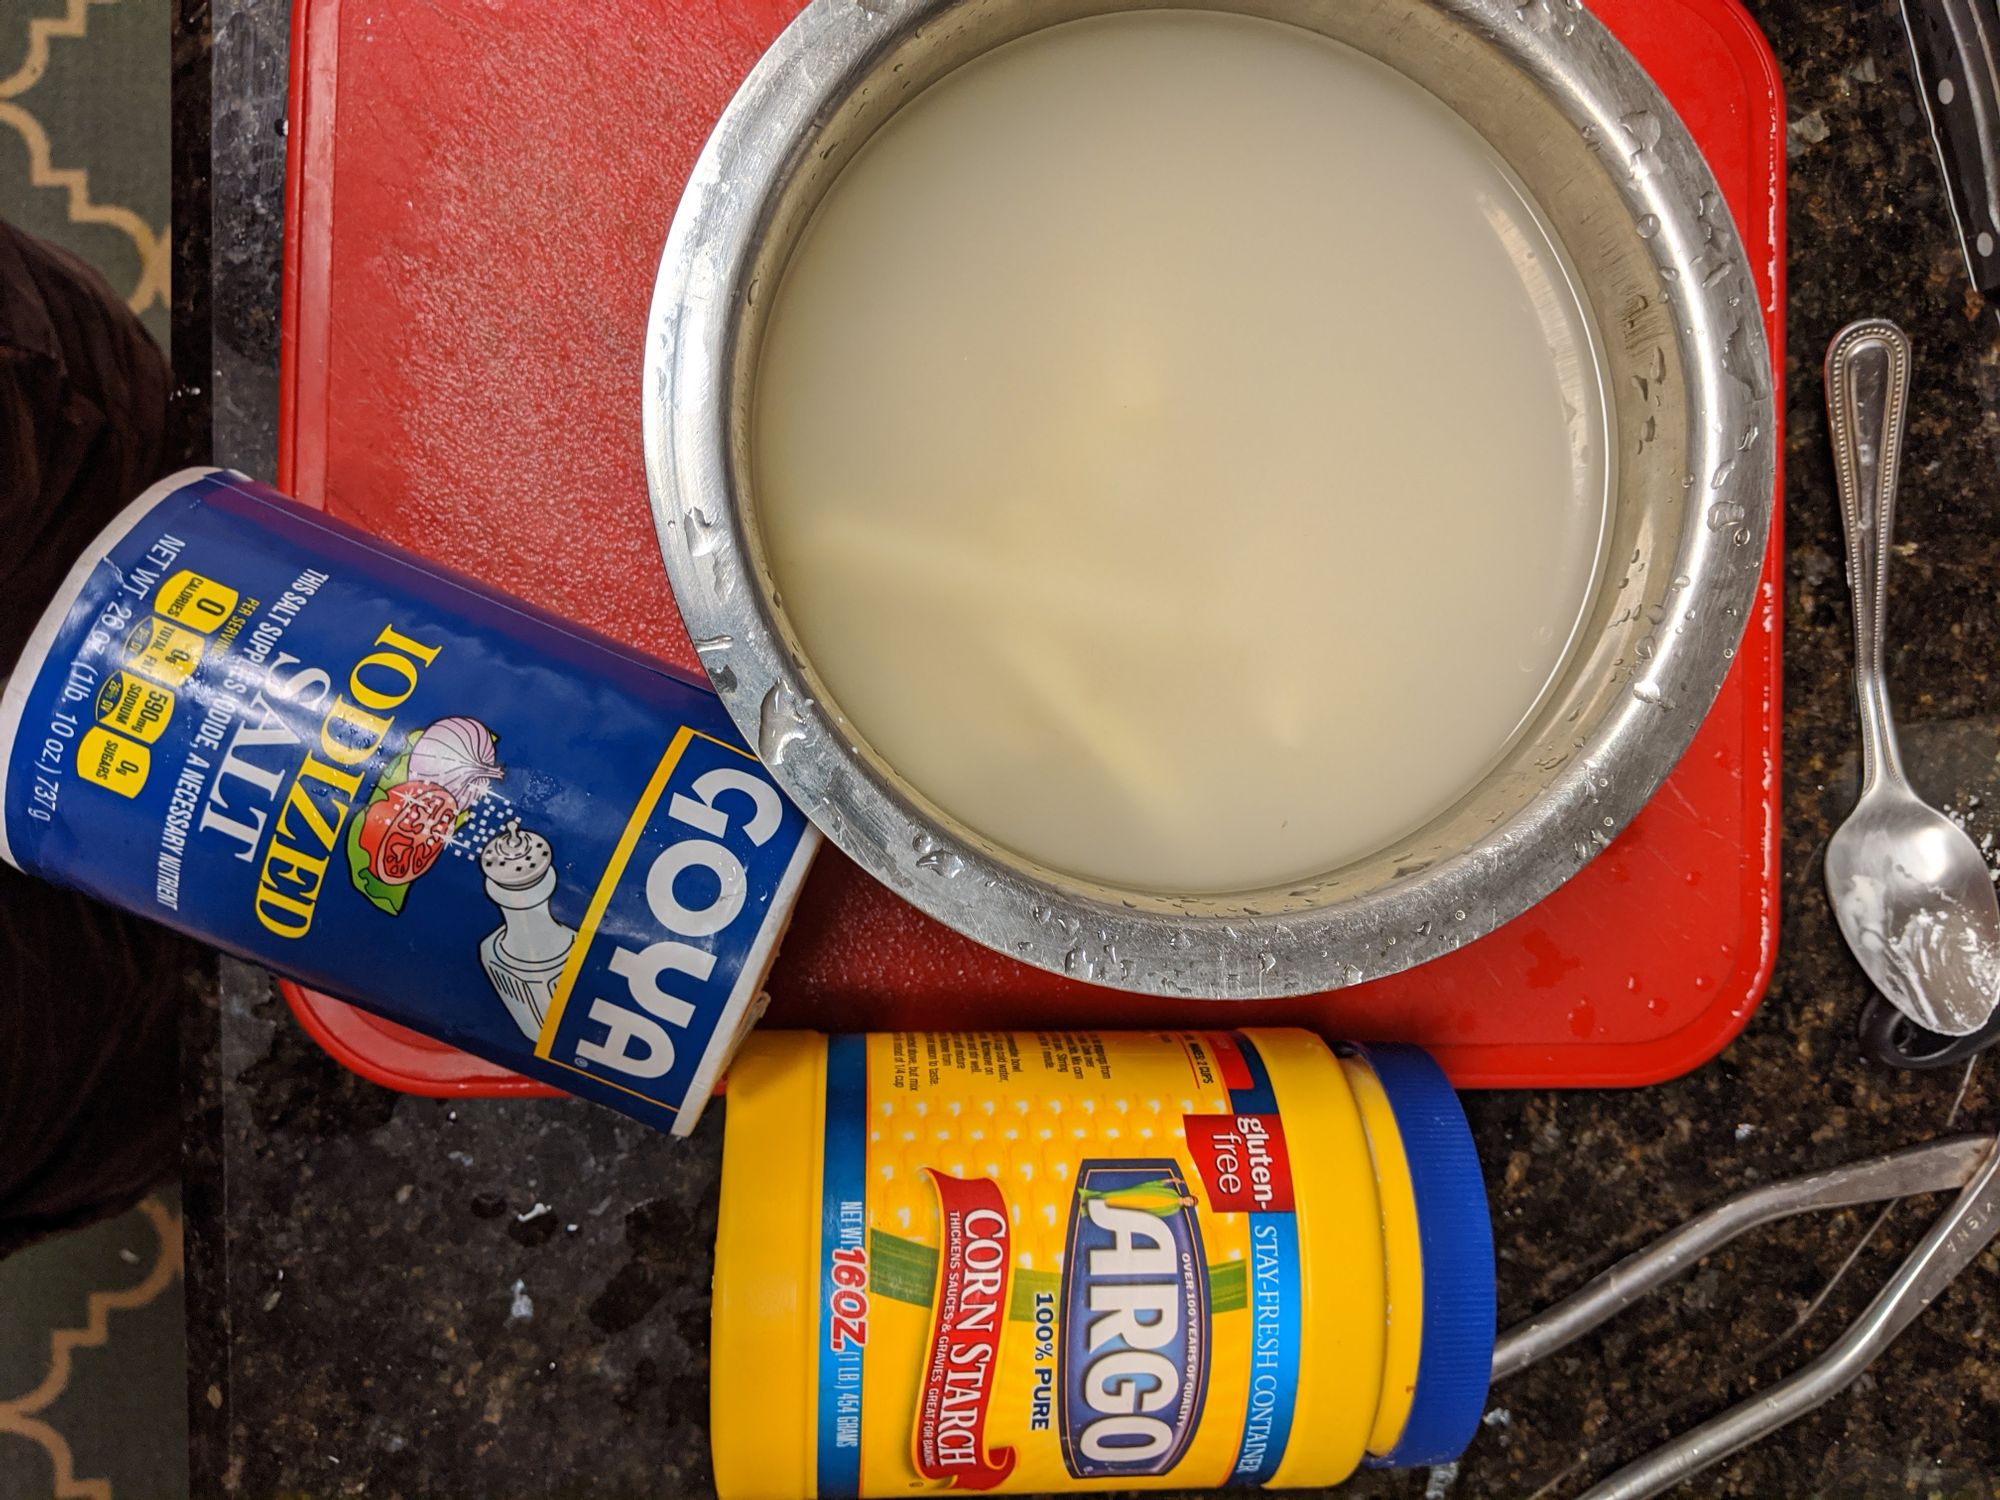
- Washing out the starch
Potato has a starch content which is not so good to make crispy fries, so it's important to remove as much starch as possible from it. What I did was 3-step-process to remove starch and then coat it with salt and corn-starch
First, take the fresh bowl of water and fill it with all the fries. Mix it together, while rubbing the potatoes. You will see water getting whiter due to starch coming out of it. Keep this mixture for approximately 20 minutes.

After 20 minutes take the water in new bowl and transfer all the fries into it. This will make sure there is no residue left on the outside of fries. Do the same thing and keep it aside for 20 more minutes.
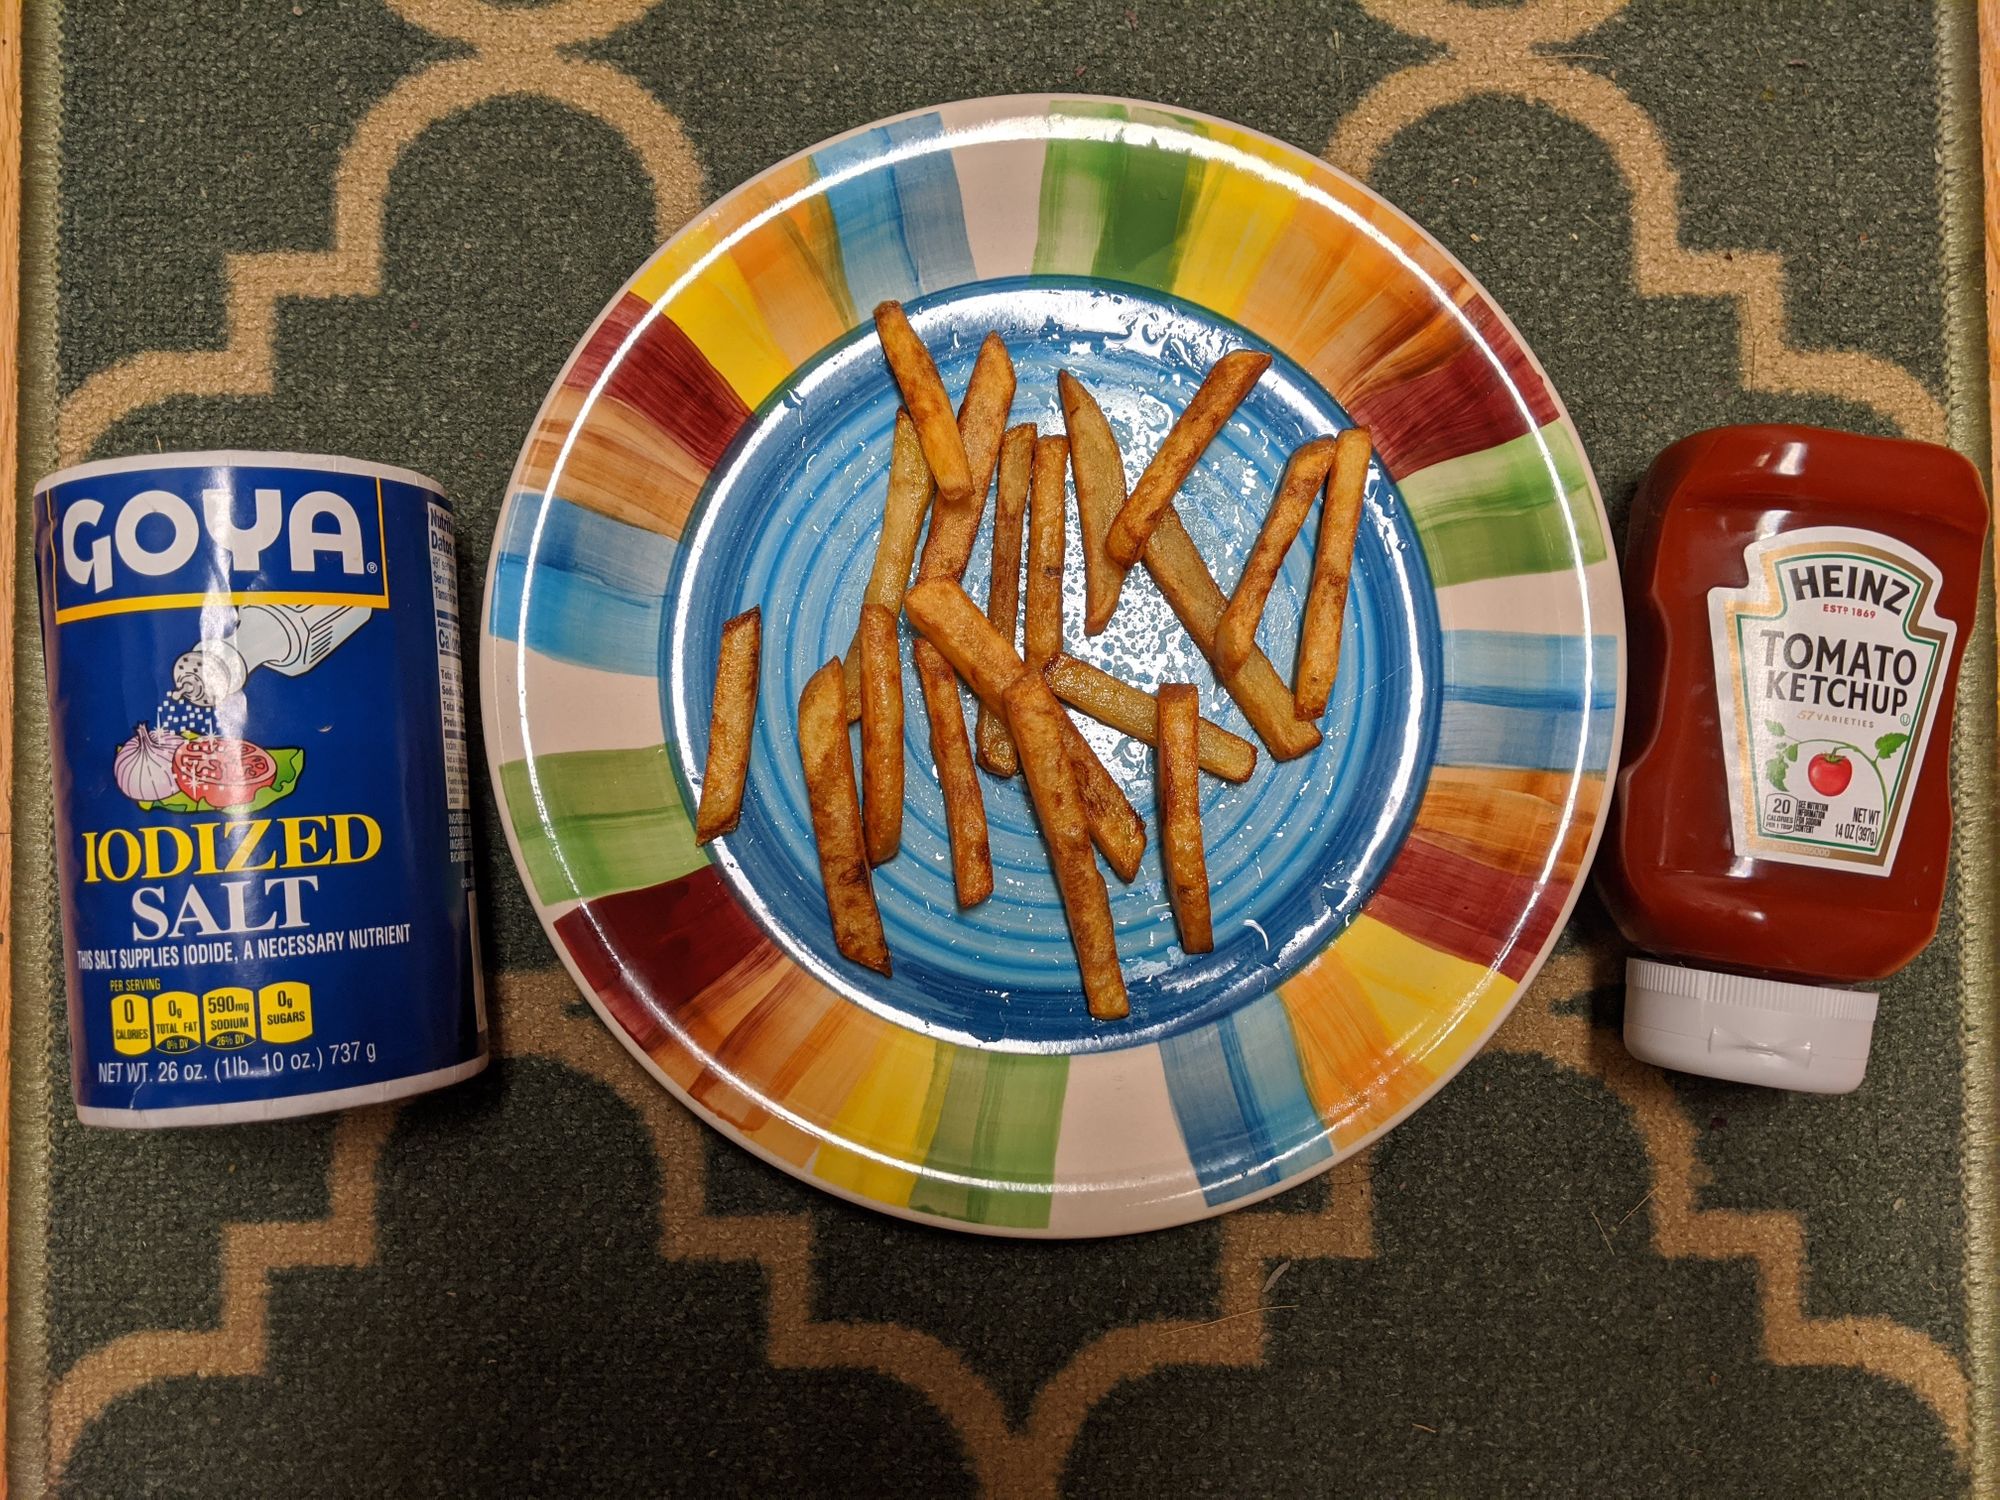
After 20 minutes, take another bowl with water and put a little salt and corn-flour. Put fries in it and mix it together. Salt will get deep into fries and corn-starch will make sure your fries come out to be crispy. Keep this mixture aside for 15 more minutes
- Drying out fries
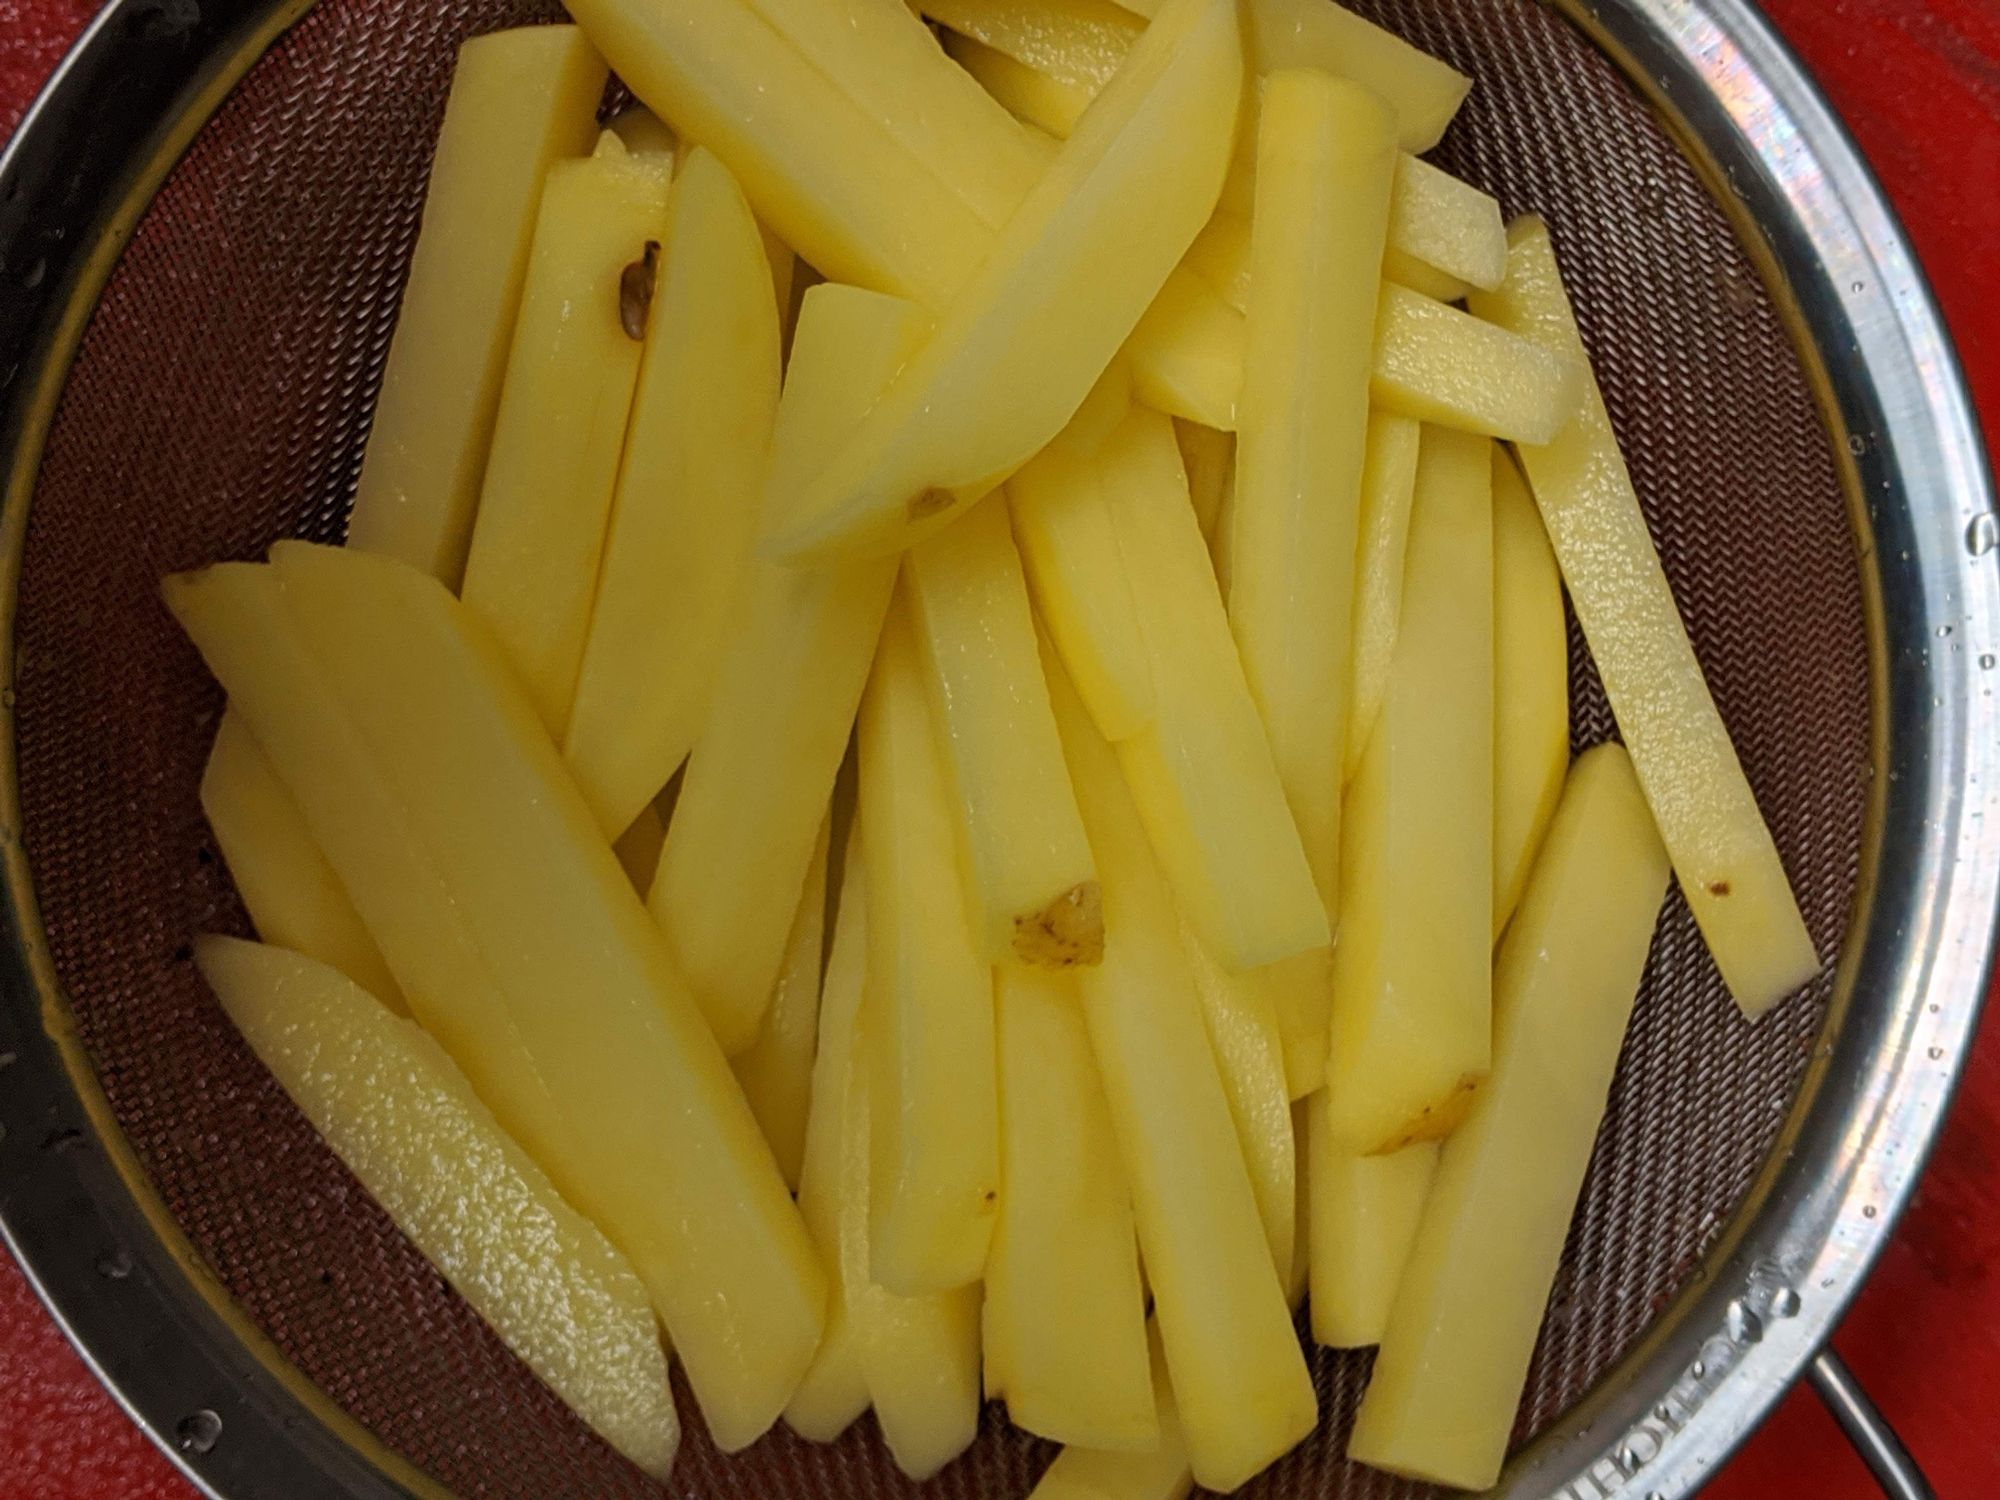
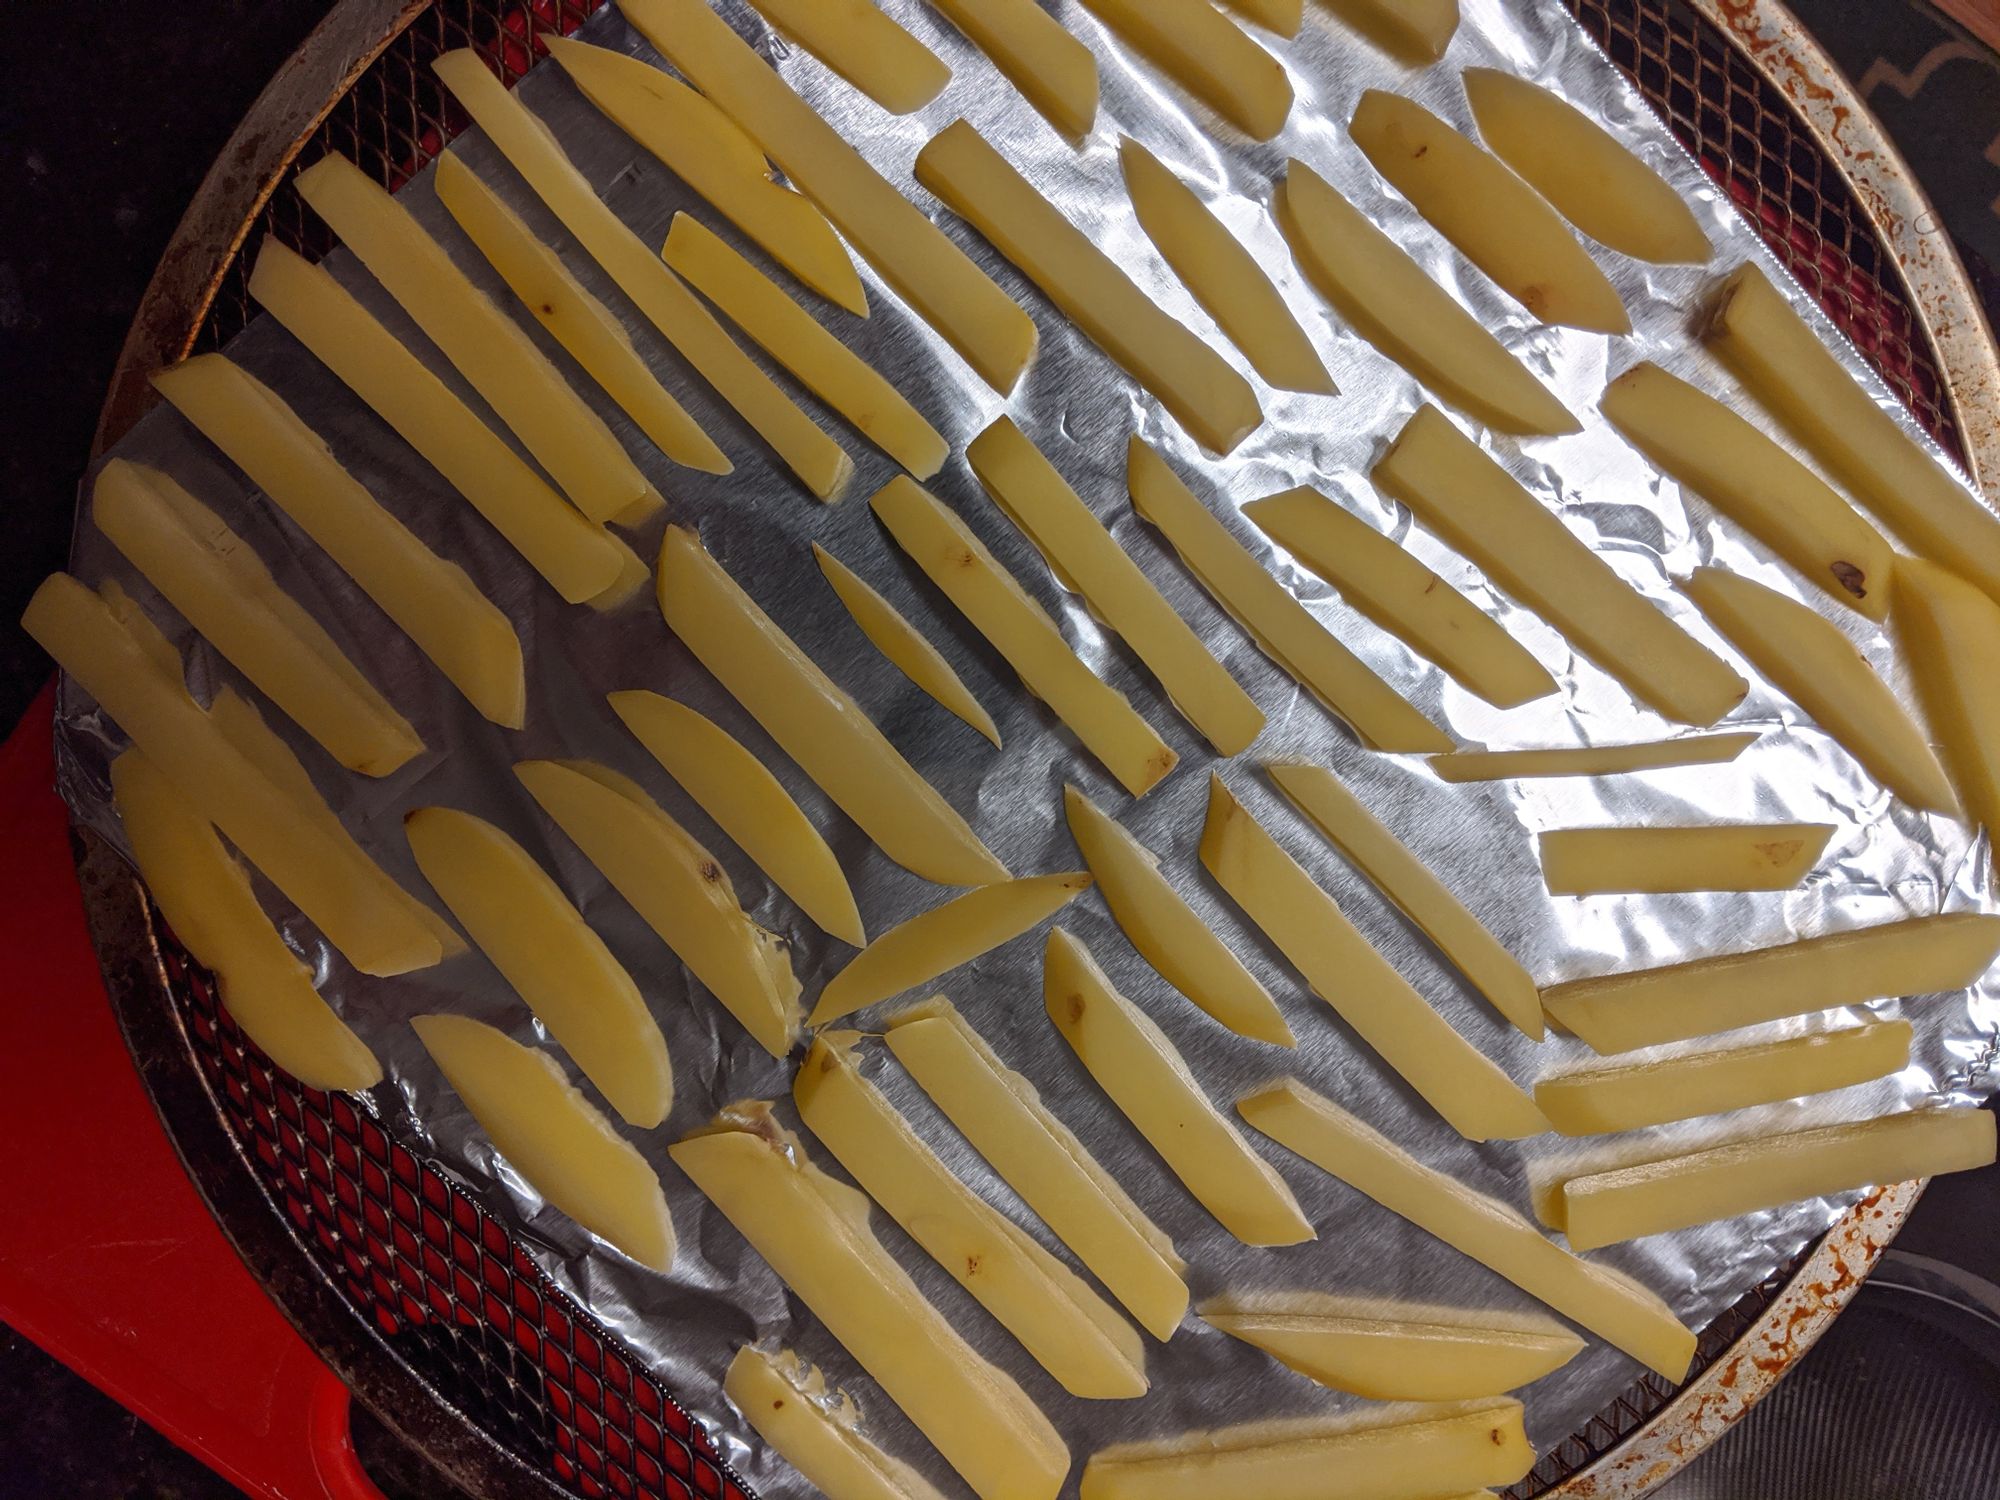
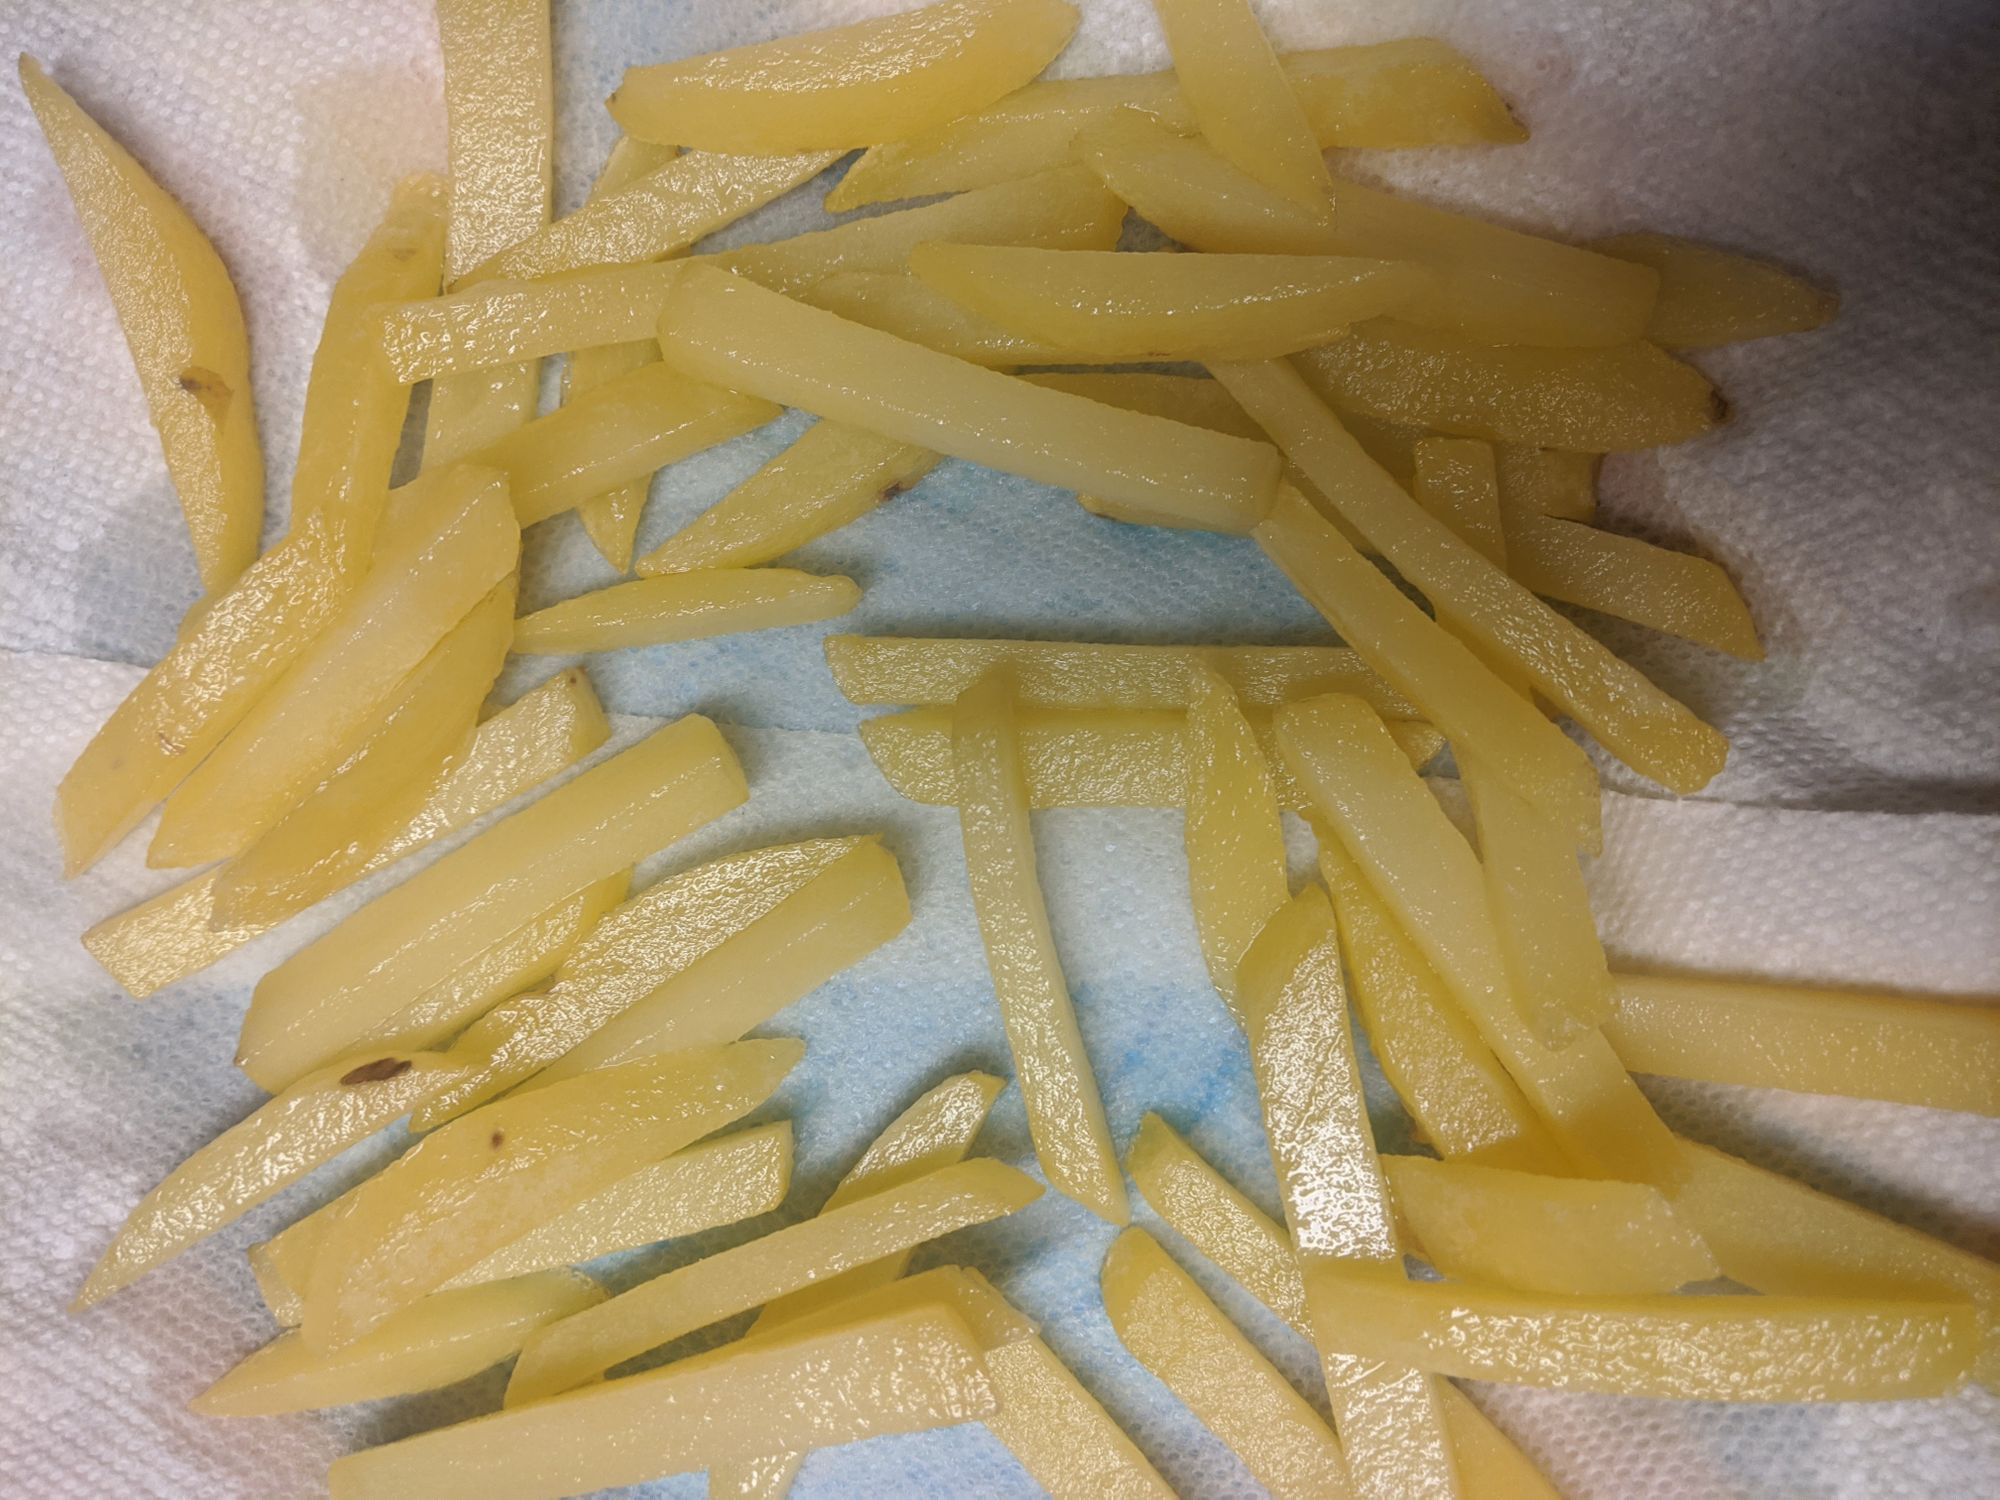
Next part is to dry out fries. It can cause minor injuries if they're put to fry while being wet. Take all the fries out of water through strainer. Spread them on paper-towel or aluminum foil and let it sit for an hour. Make sure to keep them rotating so that all sides are dried out. If possible, you can also put them on perforated baking pan.
To dry fries faster, I took the paper towel dries them individual on all sides. It was quick, but also tedious task. If you have enough time, I would advise to let it sit for a while for automatic drying.
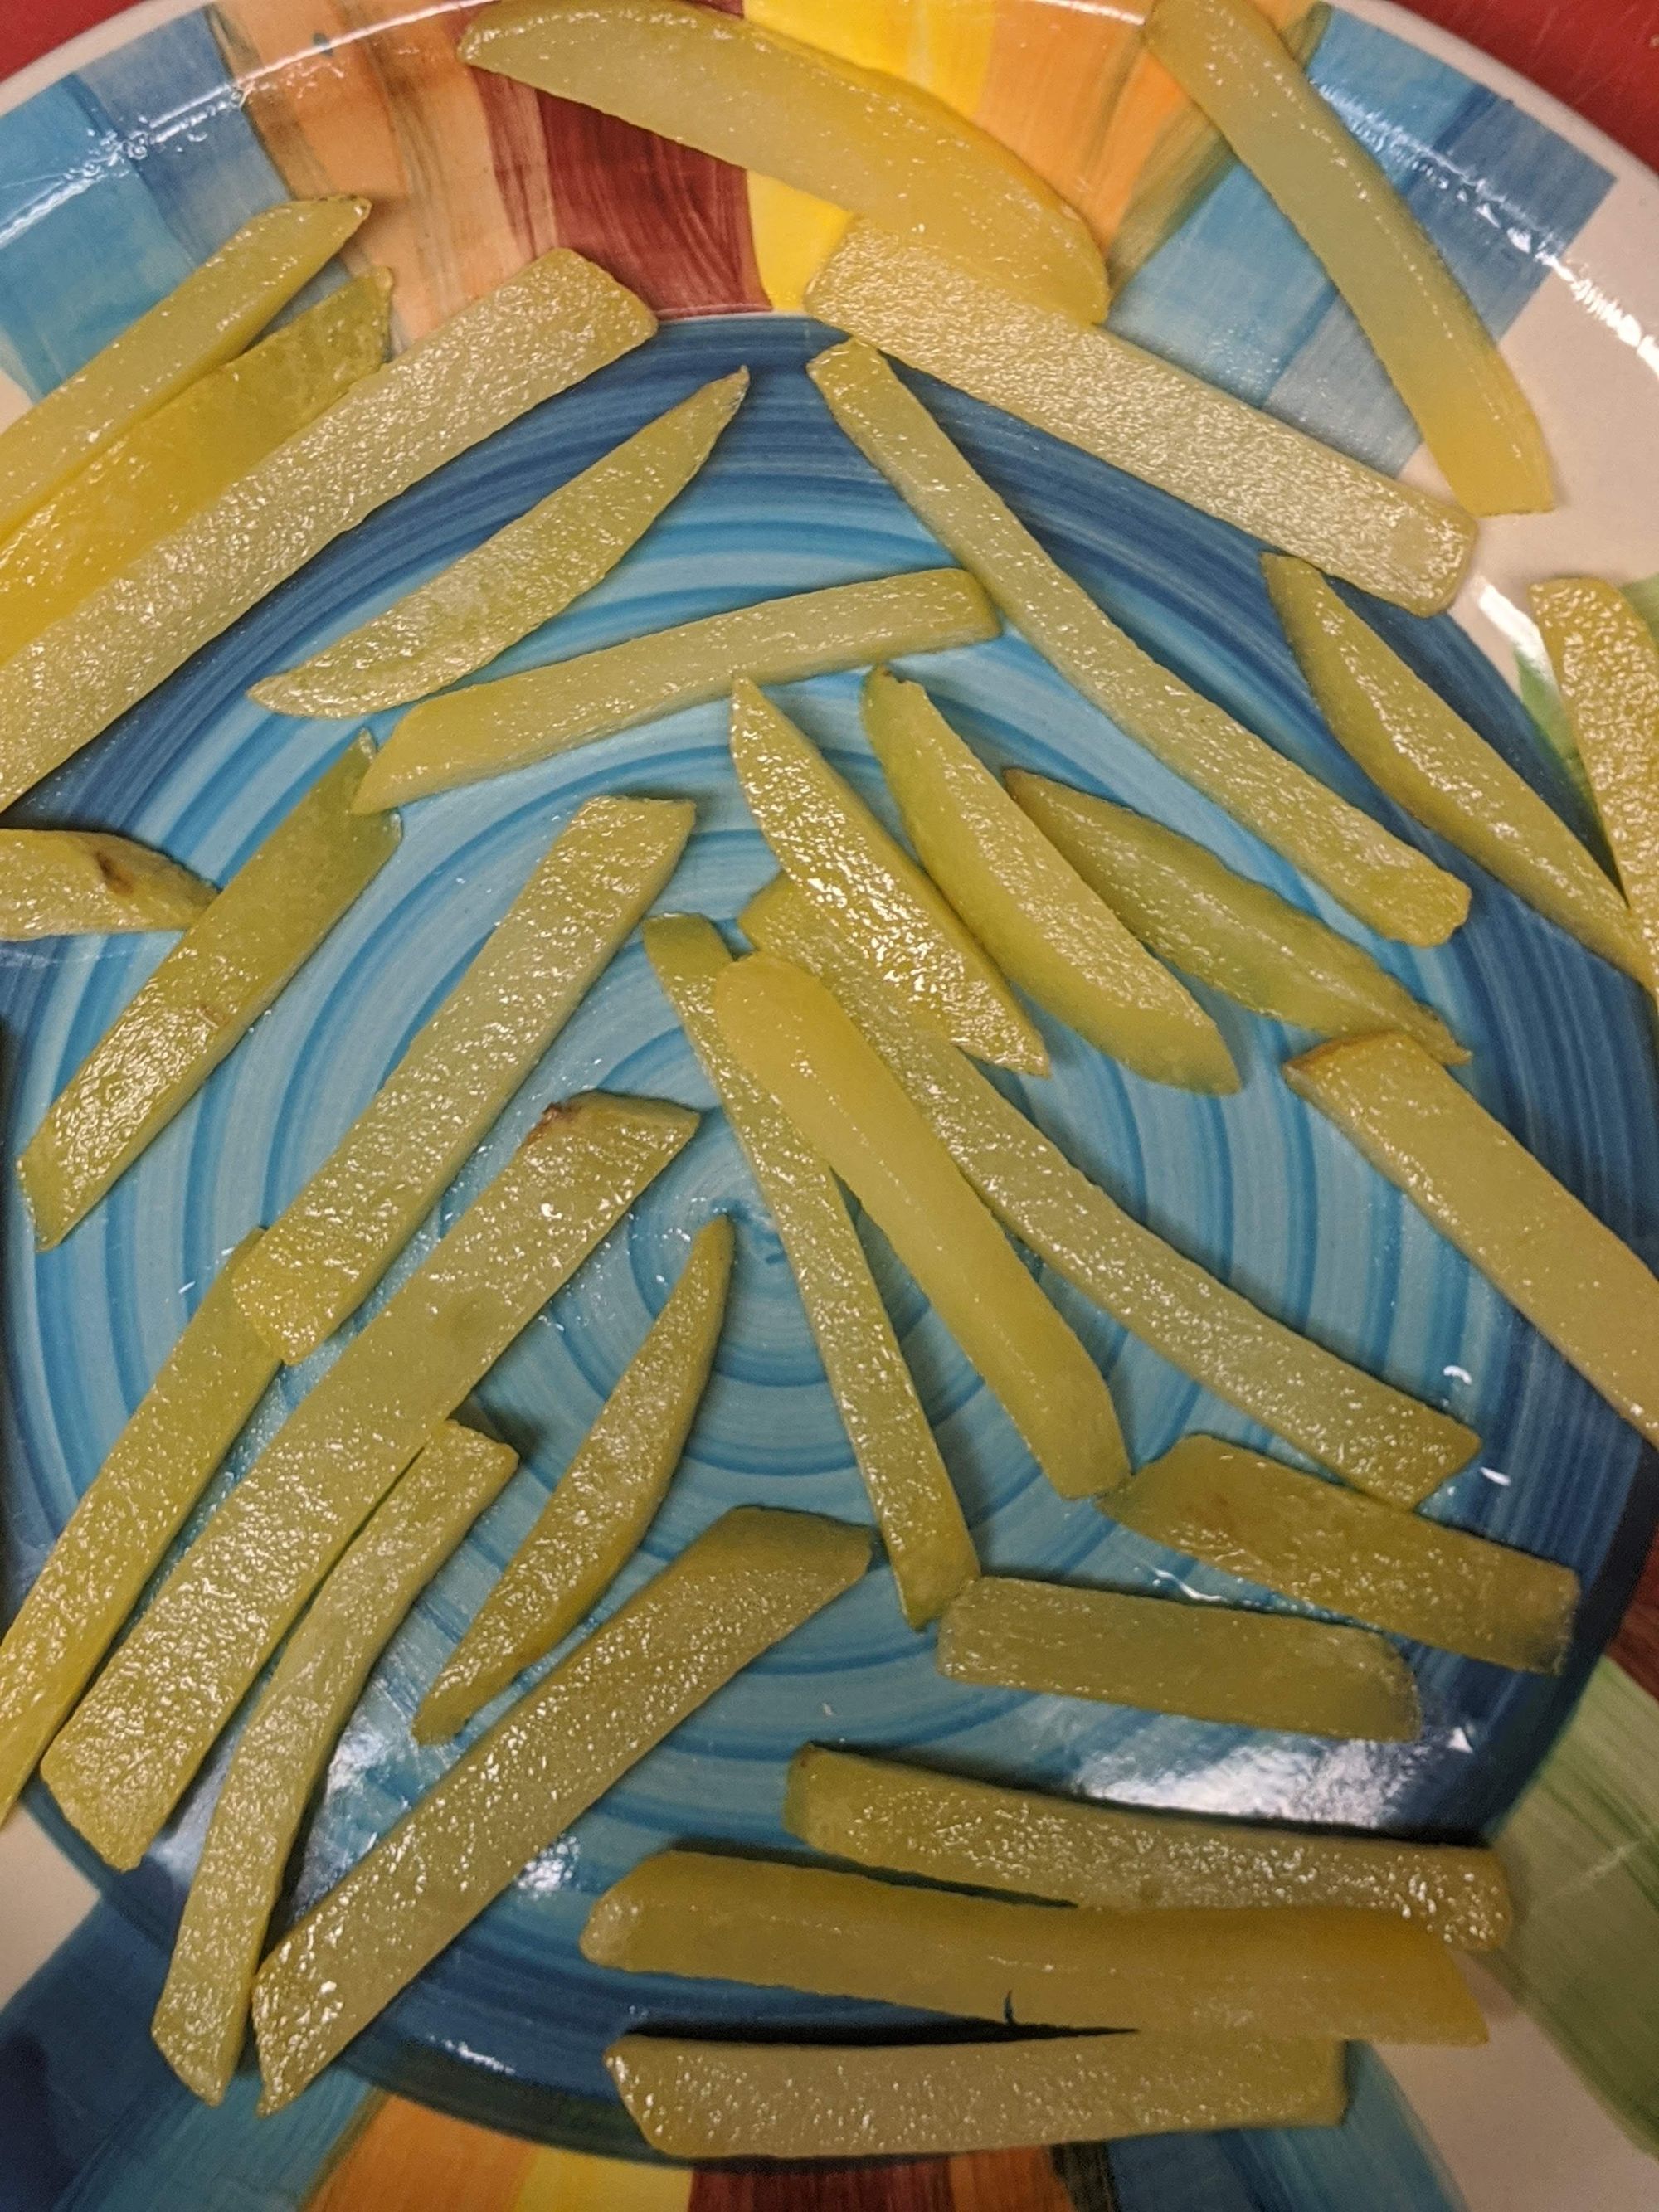
- Medium frying fries
Let's say all our fries are well-dried. Now is the time for first batch of frying on light-medium flame.

This part is bit tricky as it's difficult to say when they're actually done with this phase unlike the last stage. My suggestion is to keep oil on a medium flame and fry for around 90 seconds while stirring them constantly. Since heat comes from the bottom, you want to make sure all sides are well fried. As soon as they start to turn slight brown, take them out.
at this point fries will be flexible like a rubber. You can easily bend or break them. If you hold one end and start shaking it, you can see it moving more like an Inflatable tube man blow up giant waving arm fly puppet.
- Freezing partially fried fries
Next, we are going to freeze fries for about 4-5 hours. You can also freeze it overnight. It doesn't really matter how long you freeze. You can also freeze them once and take out as many as required.
- Deep frying fries
When you're ready to deep fry, make sure to take them out of freezer at least 30 minutes in advance to prevent from being pulled and cause them to break. Keeping them aside for some time in advance will make sure that they will come out by themselves instead of you have to fight with them.
Take the enough oil to cover fries from all sides and heat it on the high flame. Once the oil is hot enough (You can test it by first frying only few potato pieces), add fries to it. Don't overcrowd, and make sure that they make a single layer and not overlapping on each other. Use stainless steel strainer to fry them and keep turning to make sure they get fried from all sides.
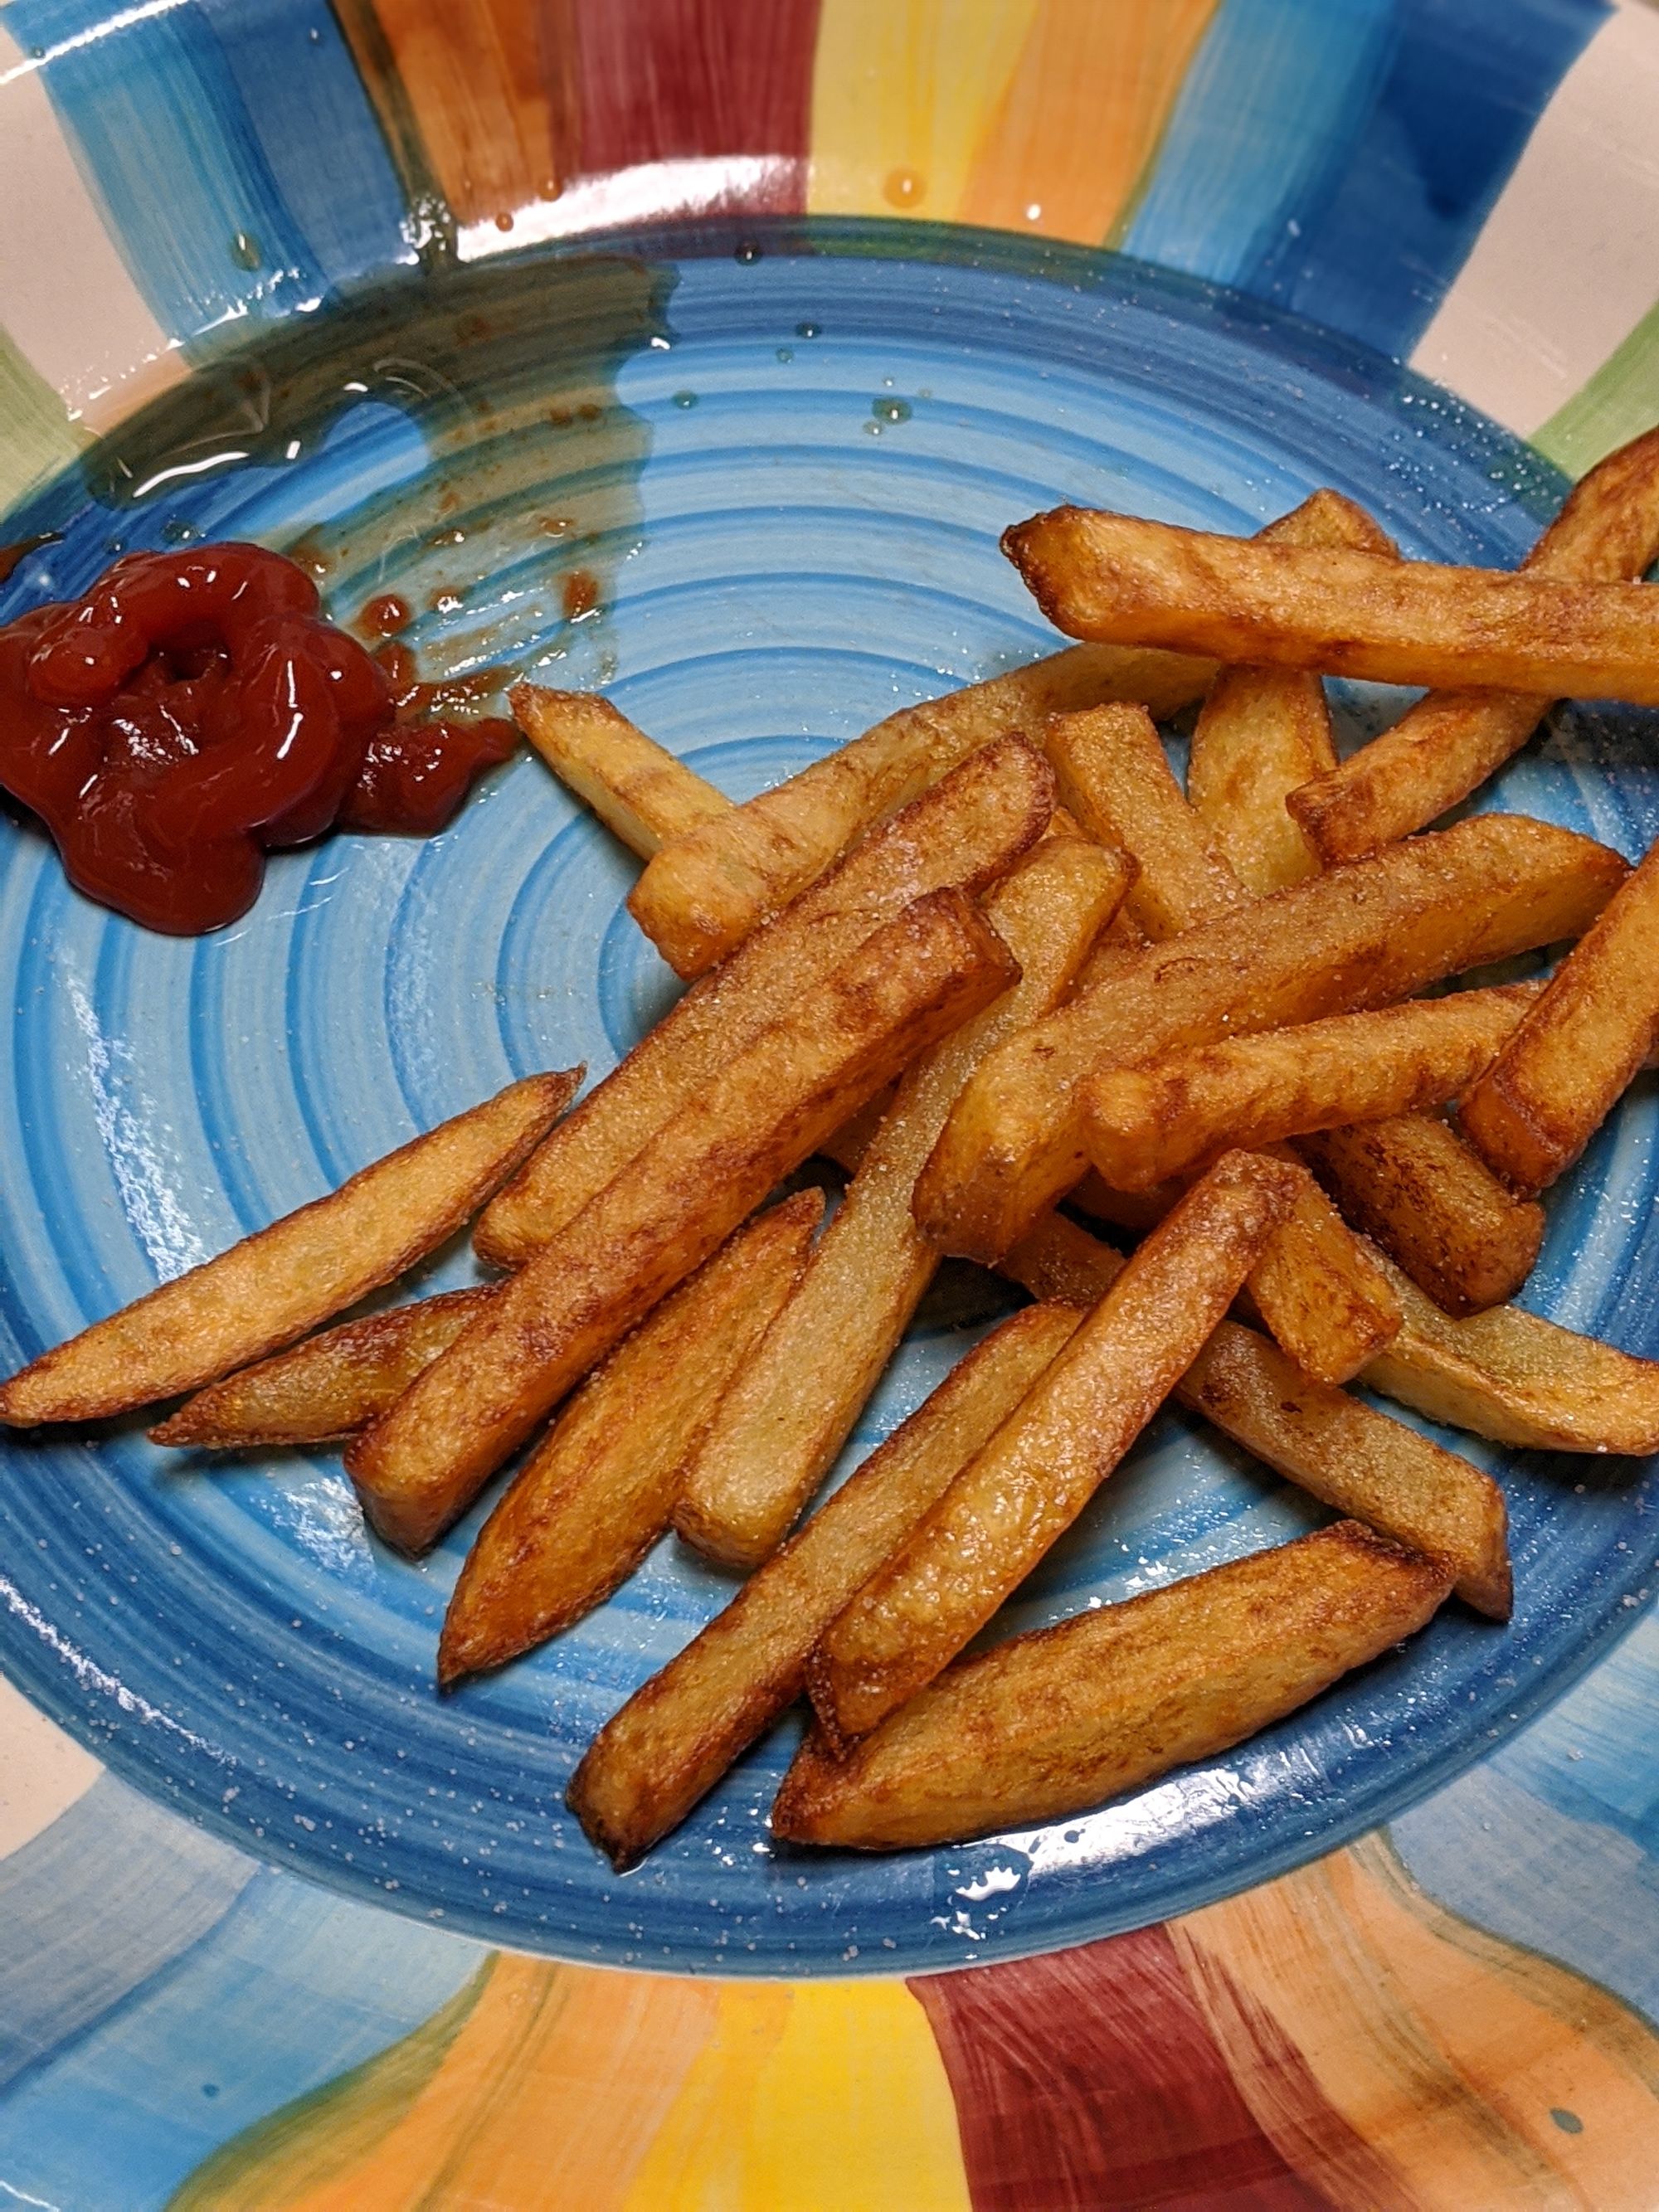
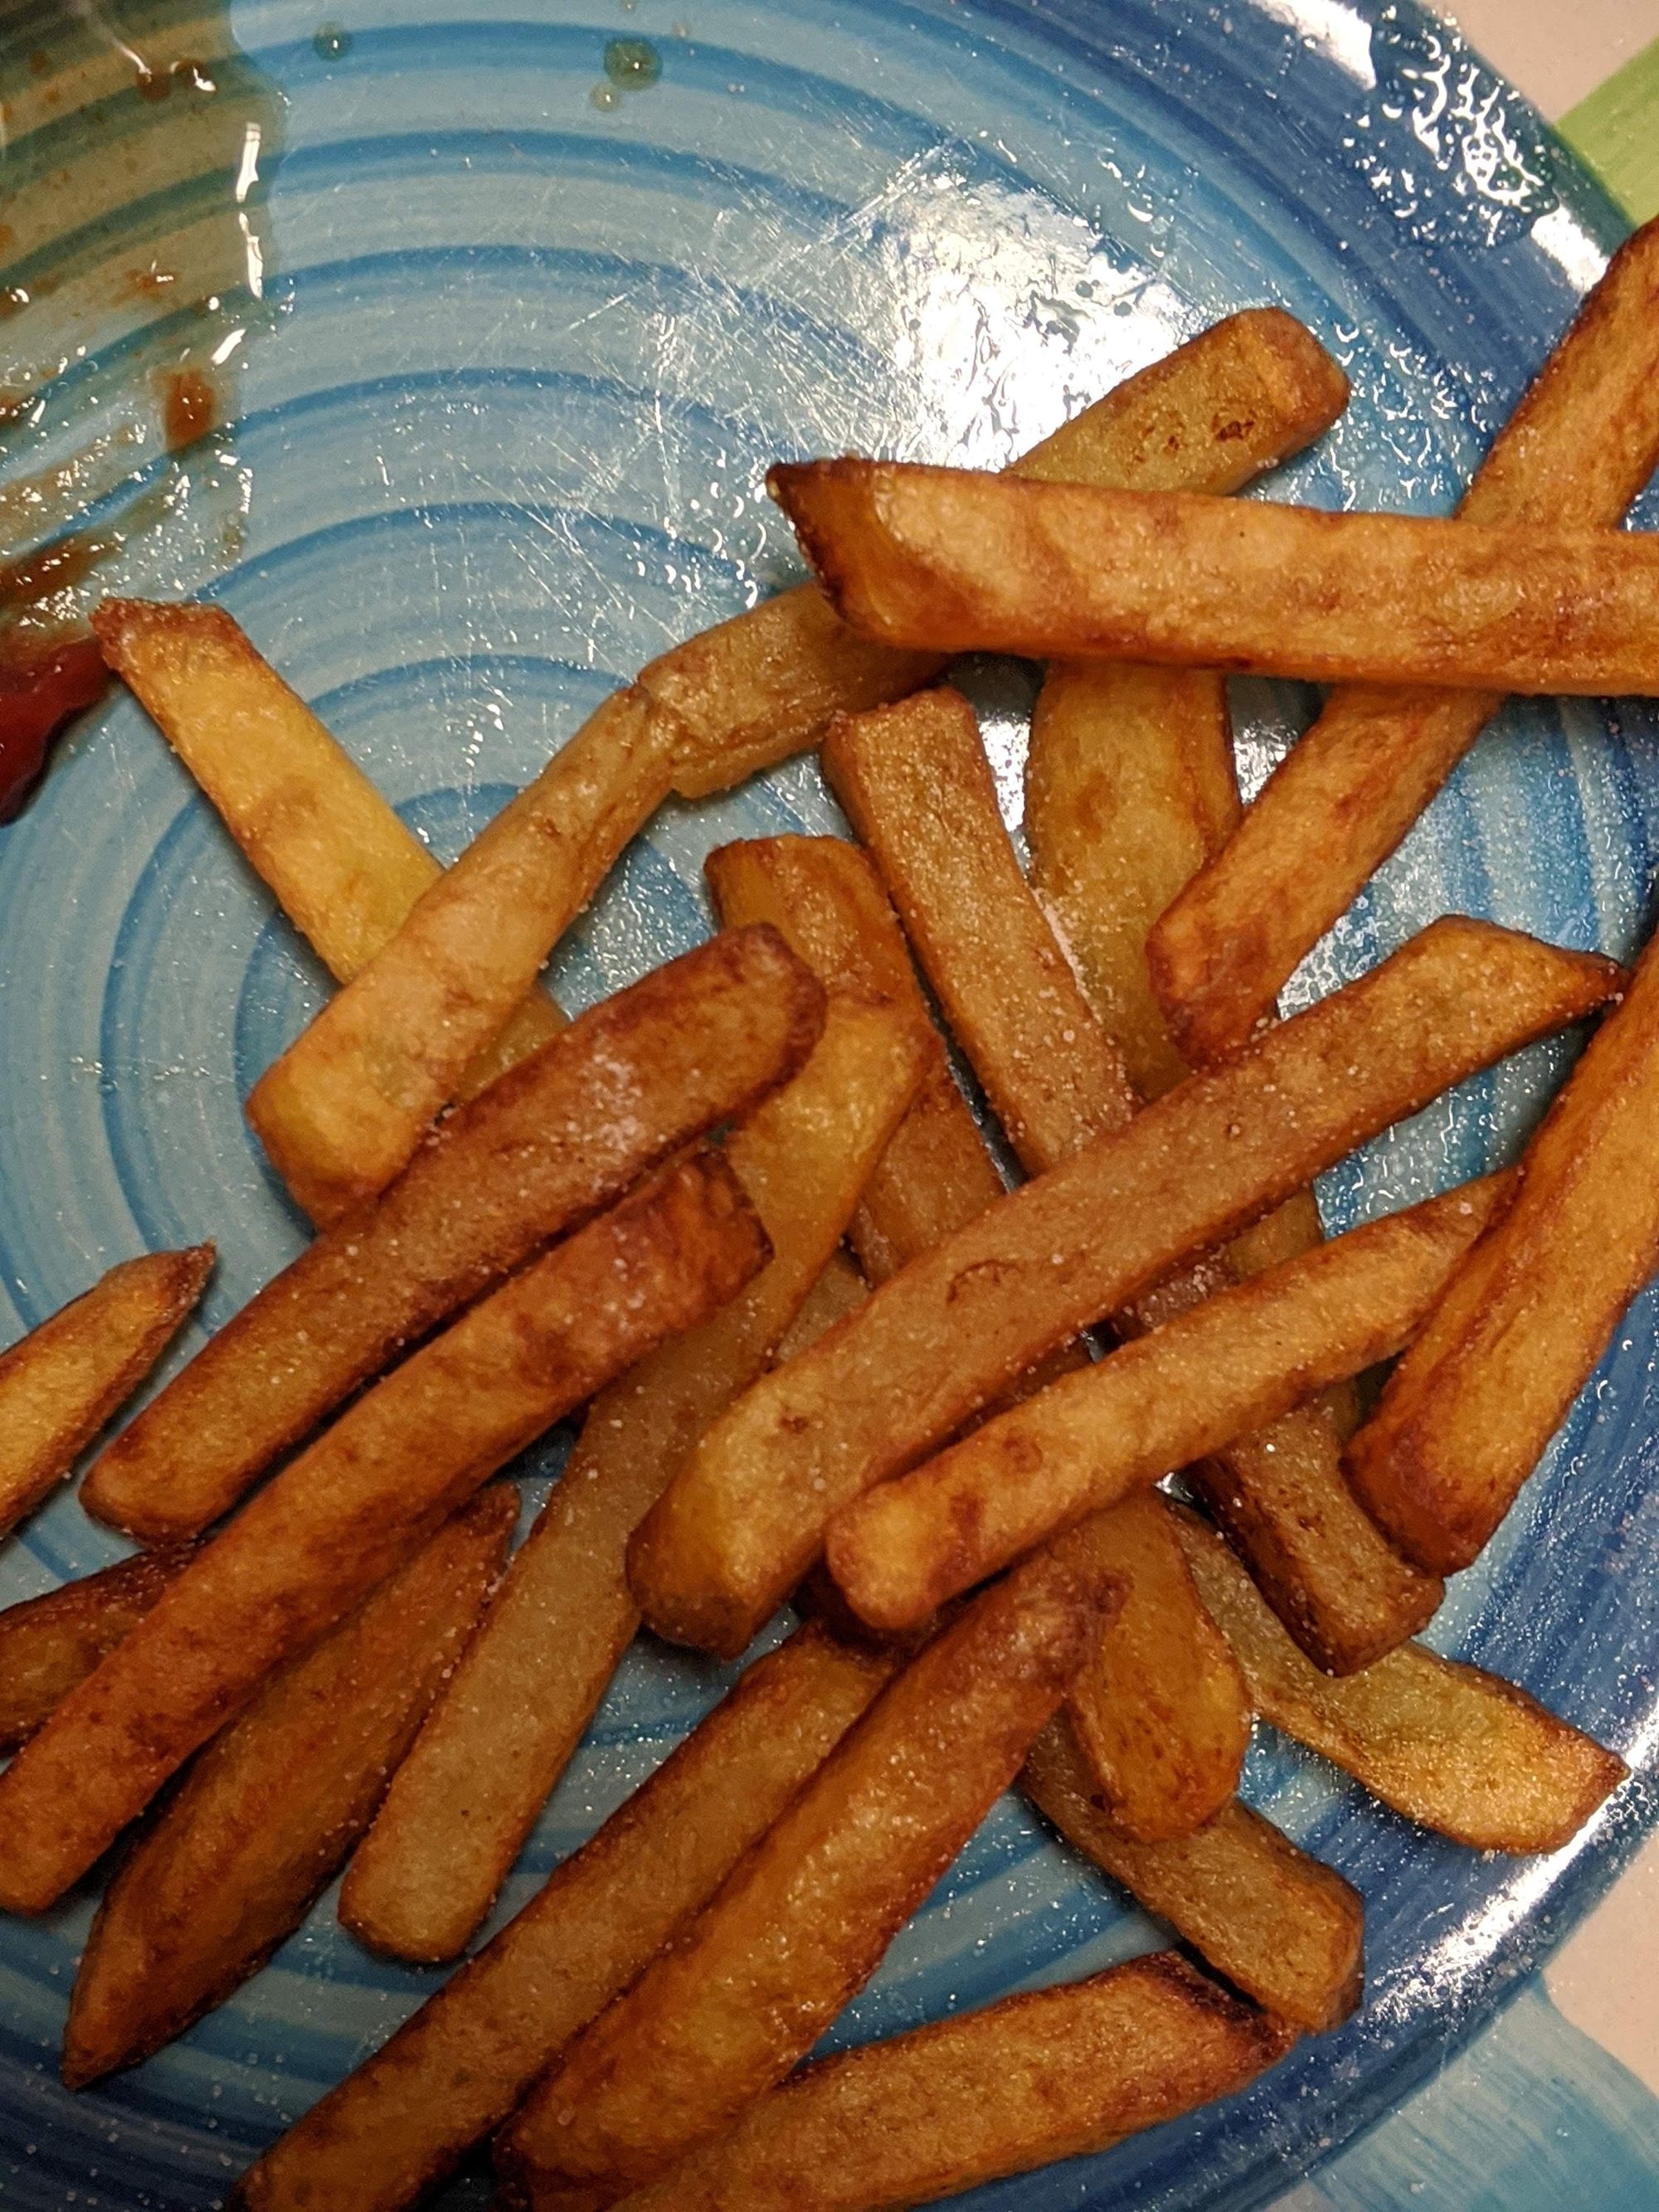
This process might take longer since you want to make sure fries are golden brown and crispy from outside before you take them out. It will take time, but eventually fries will start changing color. At this point, take one piece out by strainer, keep it out for a while, have extreme caution as the piece will be hot. Sprinkle it with salt and try to test it if it's good and crunchy enough. If not, you can keep frying for little longer.
Once you are done with all the fries, take them out at once with strainer and drop them in plate covered with paper towel (To absorb oil). Once they're safe to touch, sprinkle them salt and pepper, mix them well and enjoy! Eat fries as soon as they're fried while they're crunchy and tasty. The more you keep them outside, more they will become soggy and tasteless.
Repeat the same procedure for the next batch of fries. If you prefer it for some other time, you can keep remaining half-fried fries back in the freezer.
Also, here is the crunchiness level audio if you're curious about how crunchy it had become,
Hope you liked reading about my experience making french fries. Do make it soon if time permits. If you have any follow-up questions, please do let me know in comments!
References:
I didn't invent the French fries recipe. So of course, I didn't do it on my own. Here are some videos that helped me along the path:

